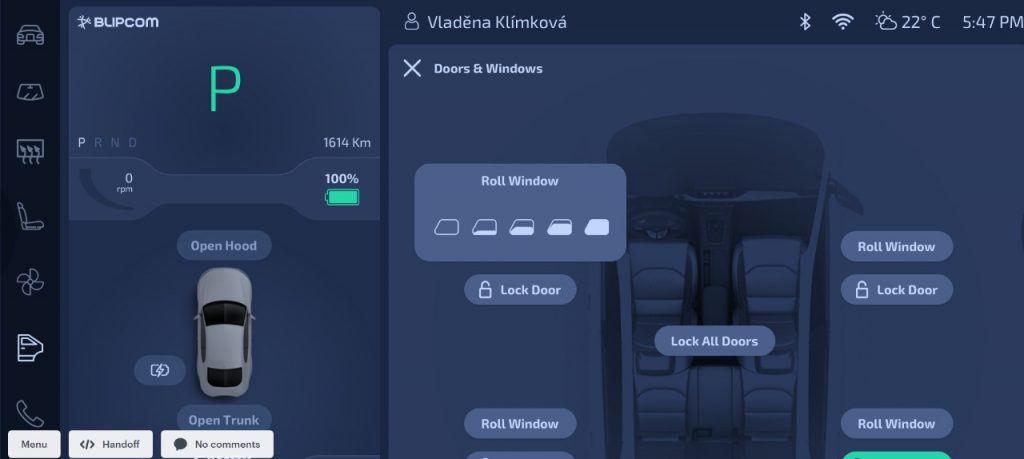
UI GOALS 🙂 What I hope can be designed at the end (since I am not a designer got one of my designer guys to come up with a GUI)
What we have right now (LOL :P)
So the finished product will probably be called “AUTOVIA” 🙂 so match up with our other stuff Pytavia and Banktavia 🙂
So in this part of the build I hacked up a quick UI to display all the engine readings that I could pick up from the newly developed OBD2 connector for the pre-OBD2 standardized car 😛
It was quite challenging getting the data out in the resolution that I wanted but its now working. There are some small delays as you can see on the UI of the speedometer but its working and just need to slightly tune it so its more real time with no delay.
The other thing I wanted to also get working was streaming the camera from the raspberry PI through a web browser so that the whole UI could be contained in a single web application running of the Pi. In future the goals for this will be to have the video streaming from the Nvidia Jetson nano, so we can get better then 0.8 – 1 frames per second LOL …
Also as part of this phase I got the object detection up and running on the Raspberry PI and its pretty sweet, slow as hell but works as expected using some of the standard models that exist. Will discuss more about what I did here in one of the next 3 posts.
Also to help out anyone who wants to stream video from a PI, below is the generic video streaming code I wrote that can be adapted to be used in any situation where you want to stream video to a website from a camera connected to a Raspberry PI. https://github.com/sidonesia/python-video-iot ENJOY.
To get quick access to the code for the OBD2 access you can follow this link and check out the code: https://github.com/sidonesia/python-automotive-iot. I will go into further detail of the code later but for now its there to check out. The goal at the end of this was to learn to use my power tools and ELM327 commands.
I got started on the project by learning a thing or two about how to fix bent, broken and rusted panels. As well as detailing and buffing old and oxidized panels.
To start the project off I bought myself some tools that I needed so I could pull bits and pieces of the car apart as well as sand, cut and buff things out as I needed to. I started off by buying the following
Drill kit with 91 bits which included (disk sander, buffer, socket bits and an assortment of drill bit sizes and screws). The drill which I bought is a hammer drill and can go through metal , masonry and wood.
Socket wrong and spanner kit so that I could open up door hinges , panels , and help get into the nooks and crannies of the car.
Along with the power tools above I bought an assortment of bolts, cutters, paints, primers , buffer pads and pretty much everything else I needed.
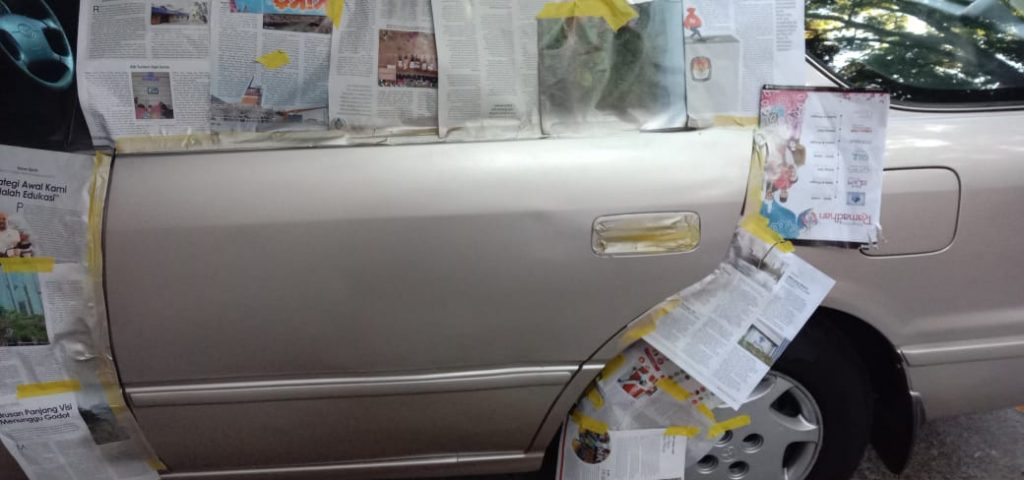
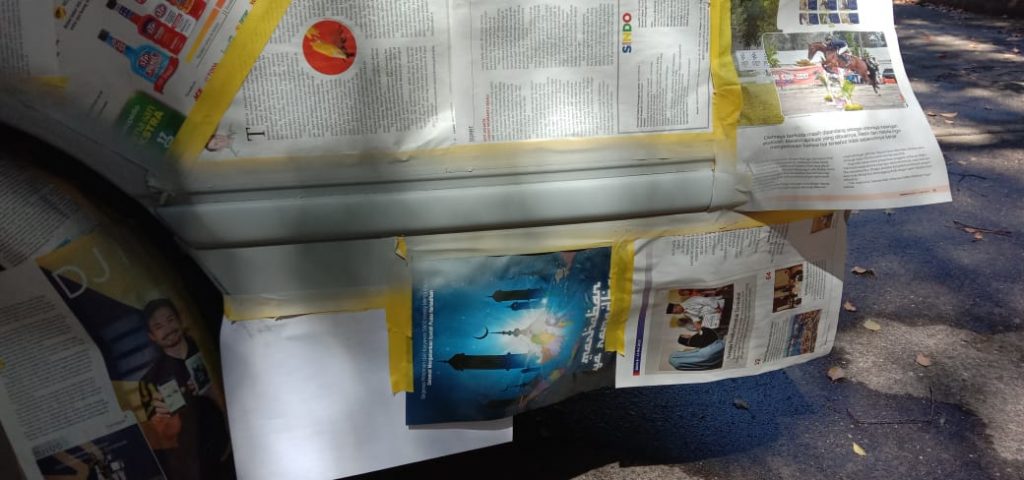
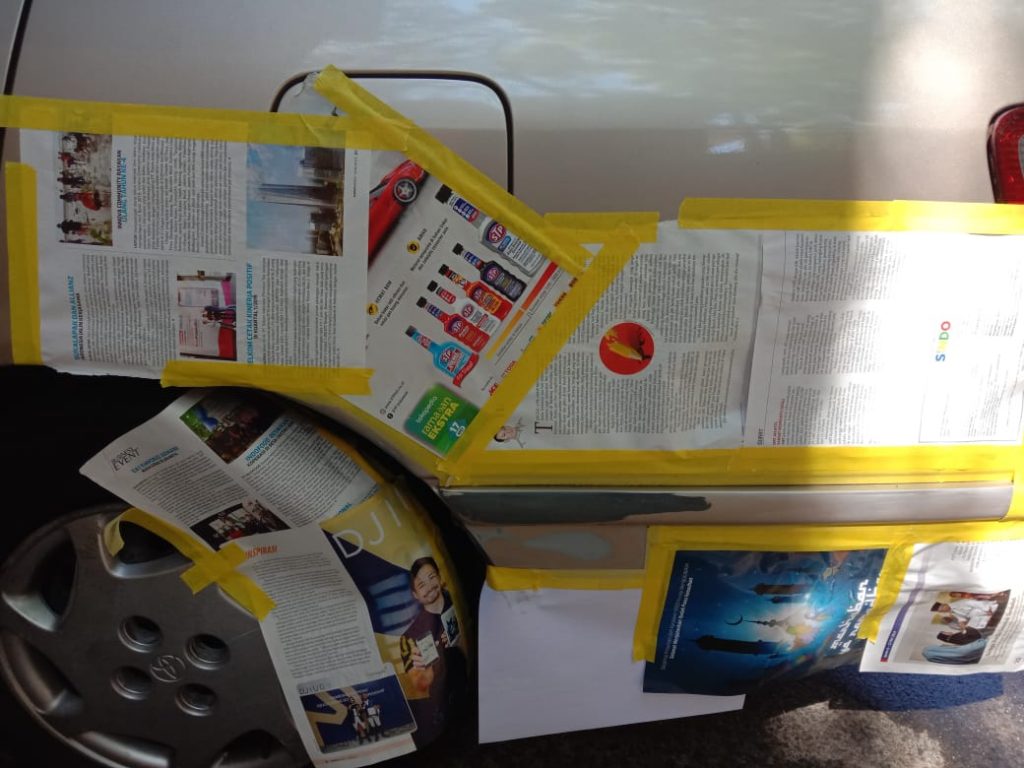
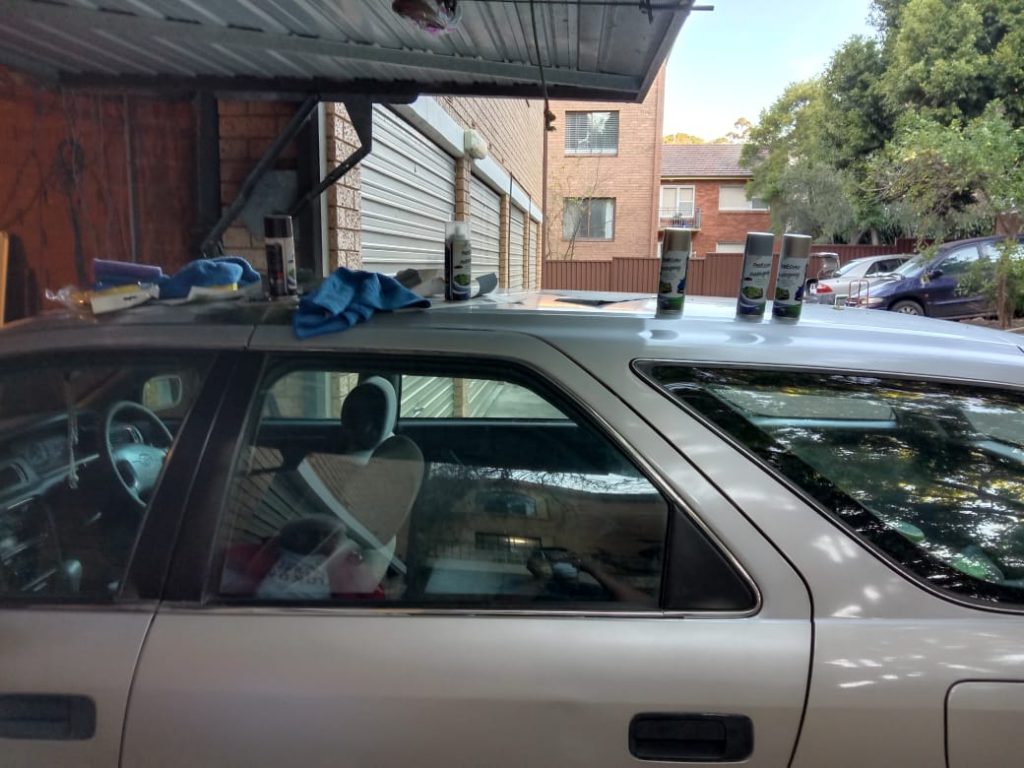
Next stage was getting started and putting these power tools into action. So I began sanding down the car and painting. No need to describe this as the images will do a better job of doing it.
Cutting out rust
Fixing deep marks and scuff
Priming the panels
Sanding down the panels
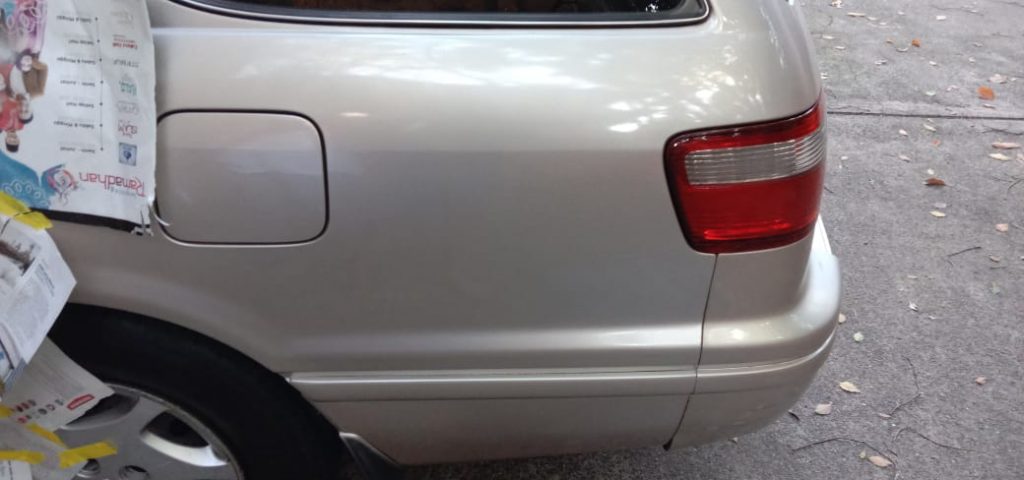
The finished product after I completed the panel beating , sanding and painting of the car is a half decent passenger side look. Still need to buff it down and then add a coat of clear but will do that later on.
So I have started on a new side project that I think is pretty audacious but will teach me a lot about a multitude of things that I have been wanting to learn and what better way then to use what they taught me at Uni called PBL or problem based learning. This project I would like to call as deemed by my good friend Ahmad is the Intellicam 97. It’s called this because well, I want to make my Camry intelligent.
I have been inspired by all of the new developments in technology specially around AI and autonomous vehicles. I studied AI and machine learning during university in early 2000’s and I never would have guessed how far this technology has progressed now in 2020. Back when I was at uni, it was about movie recommendations, predicting what users would want to buy given they purchased certain previous products and around advertising (it still is today for many companies but for the really innovative ones they have taken this to the next level)
In 2005 I did my masters and did a lot of work with laser range finders , sonar and computer vision in robotics class but back then it was hard. There where no libraries such as what is available today or at least I didn’t know they existed so when we had to build a neural net we wrote the code ourselves, if we wanted to build KNN, we built it ourselves.
It’s different now, I have played with Tensorflow , Scikitlearn, Panda’s , openCV and shit has really progressed. To learn this tech even further and learn a bit of automotive this will be my goal.
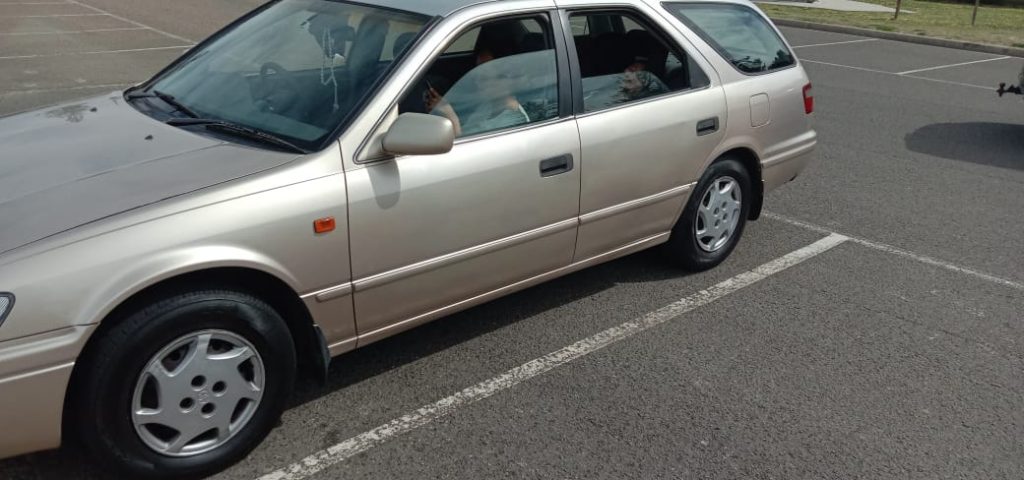
Rebuild my Toyota Camry 97 into a fully digital smart car that can see, navigate, warn me of road conditions, take voice instructions and execute them. Its a workhorse and has been in the family for about 12 years. This is what I plan to do:
Give the car body a full make over meaning, fix up the paint, rust, suspension and tires. I want to learn a little about panel beating, car detailing and how the steering of the car works.
Convert the speedometer and dash items all into digital, Just like a tesla, change all the knobs, switches and dials into a touch screen computer.
Install 2 SBC’s on the car , on is the Raspberry pi 4 to handle electronics, servo’s , OBD2 communications and run the general car management app
Install a Nidia Jetson Nano to do the computer vision processing so that the car can do better and faster object detection and character recognition.
So what have I done so far ? So far I have completed the following:
Fixed some of the really bent panels on my car
sanded those panels down and painted them to give the car a nicer smoother looked
Fixed some of the oxidized paint using compound rub, drill and buffer
Developed the OBD2 communications module from scratch to get data from the OBD2 port (would have used the python built in one but couldn’t cause my car pre-dates the OBD2 standard for Australian cars)
Developed some basic object detection using OpenCV and tensor flow
Ran the object detection on a raspberry PI and found out that it is (SLOW AF) and hence why will run it on the Nvidia Nano once I purchase it
And that is it so far. On my next post I will go into detail of some of the body work that I have done on my Camry to ensure that it looks classical and original on the outside to complement the high tech look that it will eventually have on the inside.
So my team and I have been using Pytavia framework for the last 4 years. We have been meaning to bring up the website for a long time but just didn’t have the bandwidth to do it.
Finally we have completed it and now we can share a little about its details and you can simply clone my github to give it a go.
Note its still quite rough since its the first upload but it works quite nicely for Python MongoDB projects and has been the core of all our development.
So MongoDB has been the main database my team and I have developed our software platform on for the last 5 years. Its easy to learn and so far for us allows for a much faster development process.
We also found that as long as the right processes are put in place for apps that still require some sort of structure within the application, its a really nice DB to use if we still do want some relations between collections.
Now before we get into a spat about RDBMS vs NoSQL , this is just from the experience that I have had bringing my team up with complex software projects and the current technologies they are used to using since they are newer or younger software engineers.
To note, I personally spent a good portion of mys software engineering career using RDBMS’s but as of late I have also pretty much already moved away from RDBMS’s when I can help it and moved into the NoSQL world whole heartedly.
MongoDB Replica Sets
Now this post is not about MongoDB vs NoSQL or any sort of comparision but more about how to configure MongoDB as a replicaSet within a lab setting so that we can understand how it works and play with certain failover situations.
So quickly , what is a MongoDB replica Set configuration. MongoDB replicaset configurations are ways that we can provide a HA setting for our application (with HA meaning High availability).
HA configurations are used when the data needs to reside on many different nodes physically dis-joint and present in various different areas. Replica sets have a configuration where there is a primary node or master node which means the current active node for which read’s and writes to the database are made.
How to do the setup
Jadi sekarang yang penting, cara setup dan konfigurasi MongoDB buat replicaset. Please note, the assumptions are as follows:
3 nodes used for the replicaSet
MongoDB 4.2.8 being used (should be OK though for various versions)
Operating system is Centos 07
Assuming no DNS server to add the actual full DNS names
Step 1) Install MongoDB
Install MongoDB. The first step is to install the MongoDB database, as this is a Centos 07 installation we will update the repo to look at the MongoDB repo. To see a full instruction on how to do this we can refer to this document here by MongoDB.
But essentially the steps are:
create the new repo at : /etc/yum.repos.d/mongodb-org-4.2.repo
Update the host files with the actual names of the hostname of the MongoDB servers so that we don’t have to configure them with IP addresses but with hostnames instead.
So assuming I have 3 servers I add them into the host file and give it the names
Step 3) Run the MongoDB installation
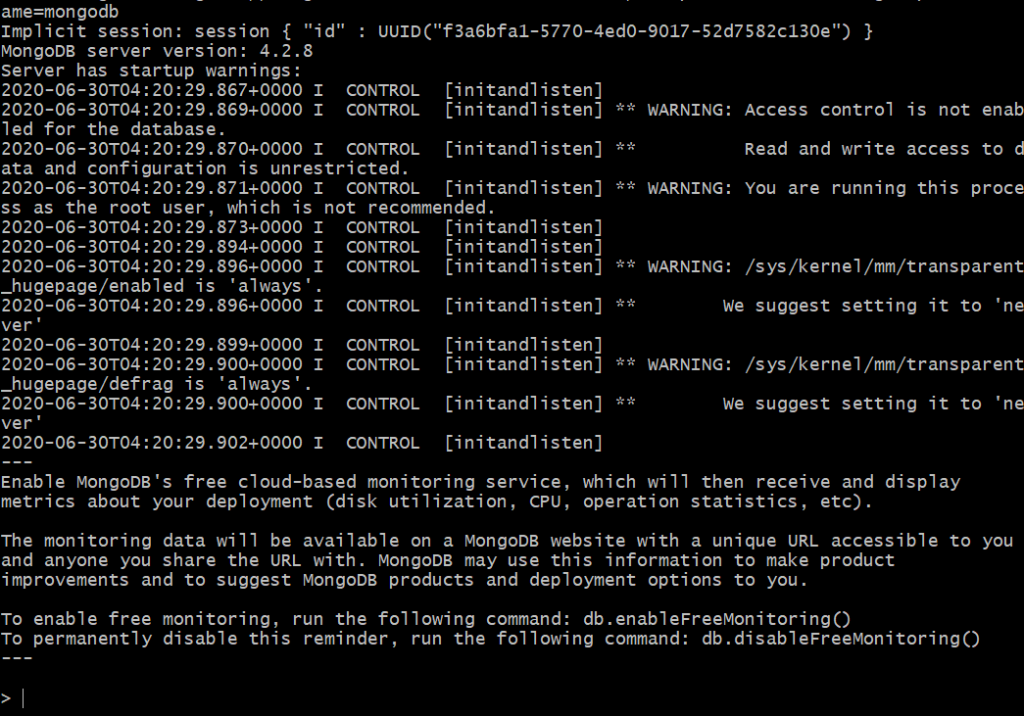
Lets look at how to run up the MongoDB processes. Note: If you are running the MongoDB as a lab setup you can run it as root , but as an installation for production please consider the proper security requirements for your setup to ensure that your database is safe and secure. With that , lets look at the setup.
Start the mongod process on each server :
Lets look at the command line parameters:
–bind_ip is the ip address that the mongod process will bind to
–port is the port that this process will listen on requests from
-dbpath is the path where all of the mongo data files will reside
–replSet is the name of the replica set
Note that in this case I am running the mongod with nohup , this ensures that mongod runs in the background. Now we repeat this process on each of the different servers which are servers
mongodb02.in.sidonesia.com on port 27017
mongodb03.in.sidonesia.com on port 27017
Step 4) Configure the replicaSet
After the MongoDB mongod processes have been run on each machine the next step is to create and connect all the nodes to create the replica set. The following steps will allow the process to happen
To get on this command line type in : mongo “mongodb://<hostname>:<port>”
The next step is to configure the replica set and initiate it , to do that we use the initiate command 🙂 as per below:
rs.initiate() # rs = replica set commands
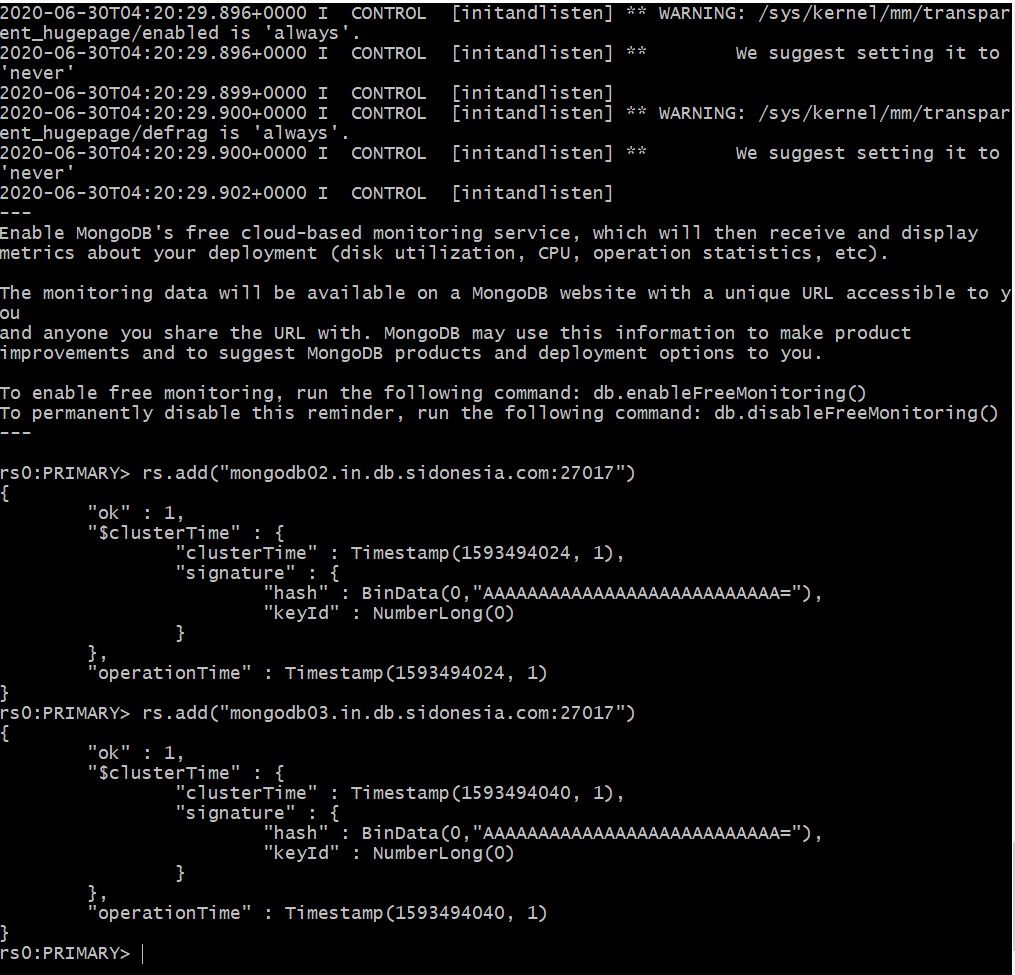
After this is complete we add the nodes 2 and 3 into the replica set using the command rs.add(“<node_name>:<node_port>”)
The commands look as follows when adding the different nodes, also note, ensure that network connection is available between the nodes and that you an reach the port numbers of each host , you can do this by doing a telnet to the port of the other nodes which should yeild the following output
As you can see there is the ^] which means that connection is successful and the host mongodb01 is contactable and the ports are open for communication
Next run the replica set add commands so that you add each of the nodes into the cluster as per the commands below
As you can see above after adding each node the status of ok is set to 1 and the nodes have been added.
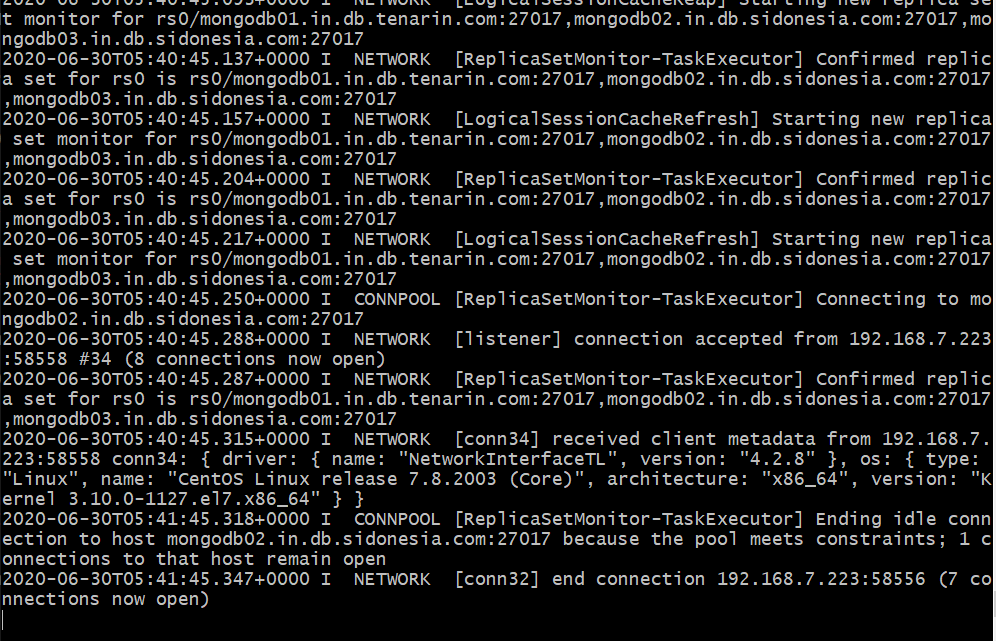
On the other machines , inspect the log and you should see output as follows where it shows that the MongoDB instance on the specific node has been added as part of the cluster
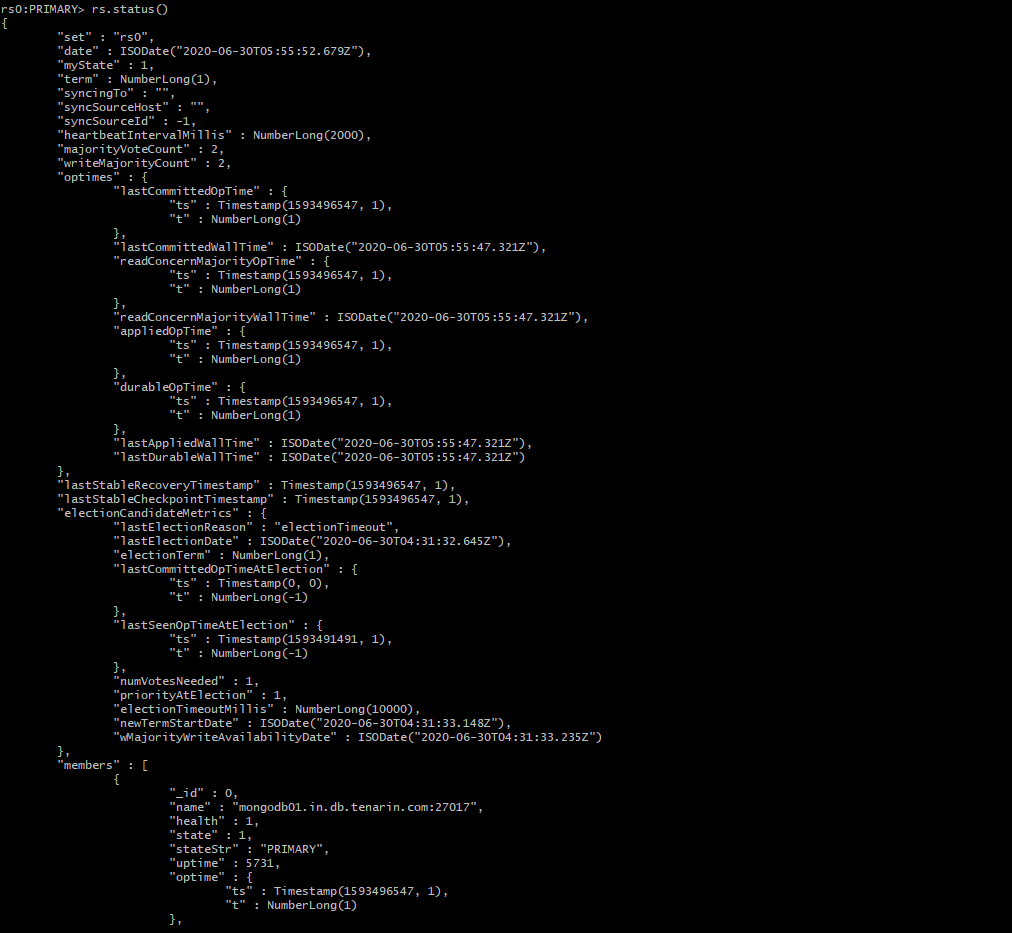
After the modes have added you can also check the status of the replica set by using the command rs.status(). This will show all the information regarding the replica set including the primary and secondary nodes
It will show some overall information and also information on each node stored in a JSON array.
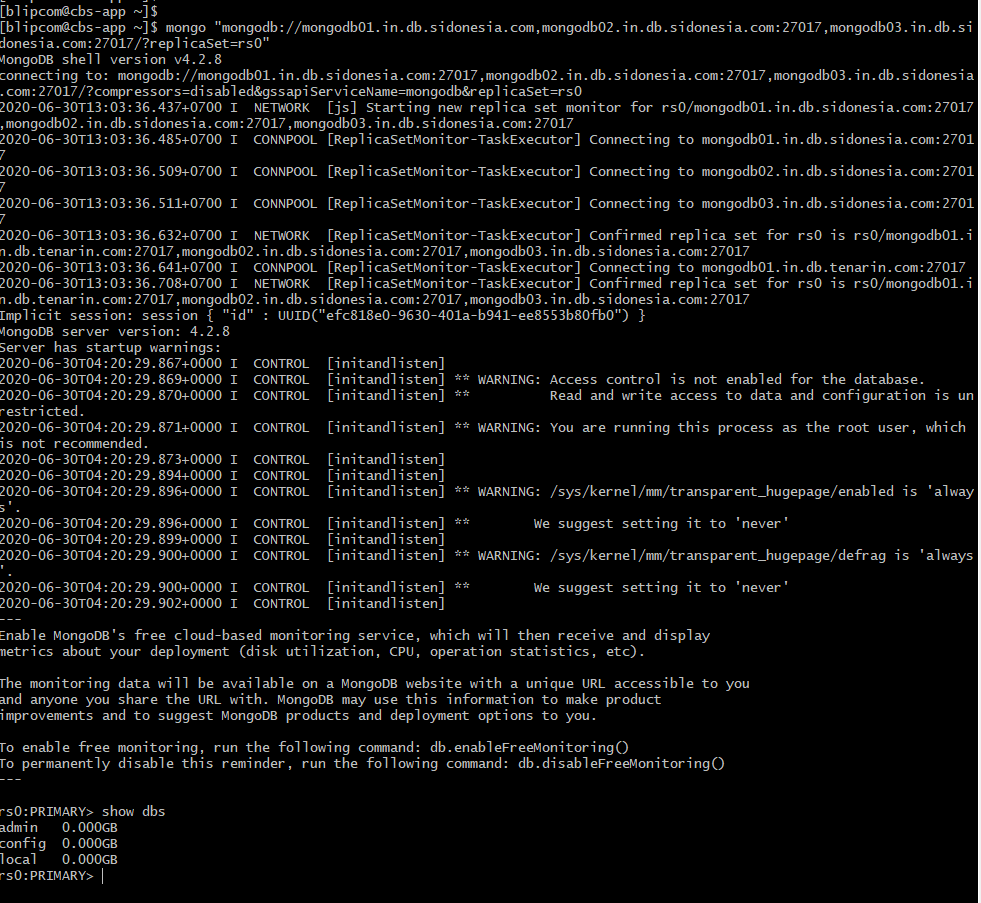
This is the final step , now run the mongo client command from a separate machine that has access to the cluster and you should get a prompt.
The command is as follows: mongo “mongodb://mongodb01.in.db.sidonesia.com,mongodb02.in.db.sidonesia.com:27017,mongodb03.in.db.sidonesia.com:27017/?replicaSet=rs0”
This should get you into a mongo prompt and you can now test the cluster by stopping the nodes and continuing to do work
In summary that is how to get a 3 node cluster up , you can do various tests such as mongorestore a database and see that the data is replicated across all 3 nodes by inspecting the logs.
When doing a mongorestore you only need to send it to the primary node and the replication will occur. In the next post i will write a little about the architecture of the replica set and also show how to test the replica set to ensure that it is working as expected
Man I am excited for this new year. Scared a little BUT mostly excited cause things are happening. However on the 31st of Dec, there is NO TIME to be scared or think to much about the future there is only time to think about what to do on Dec 31st NYE.
I was sick, had a sore throat, was feeling kinda weak, but I still didn’t wanna stay at home. There were decisions of going to bandung, decisions to stay, to go play pool, nothing was clear. I just surfed the net and drank hot tea and medicine all day to try to get better for the new year and the rest did me well.
I was tired from long hours at work getting the initial design for our product completed and I think it took its toll. Come 7 I called Rafie, where are you broooo. He answers “Downstairs”. I go down and ask him, so what we doing for NYE man … “Dunno” he answers “but I gotta pick up a cake for my mum”.
Then Ajeng whatsapp me. “Gimana Sid jadi keluar ?” Ngak tau nih. Eventually we work out there is no plans and we have the evening free. “OK Jeng jadi kita on the way … siap2”. We drive to where Ajeng is staying for her training and our plan is simple.
Go to a nice place to eat till the new years bell , blow on the horns, greet everyone happy new year and then call it a night. NOPE … this didn’t happen 😉
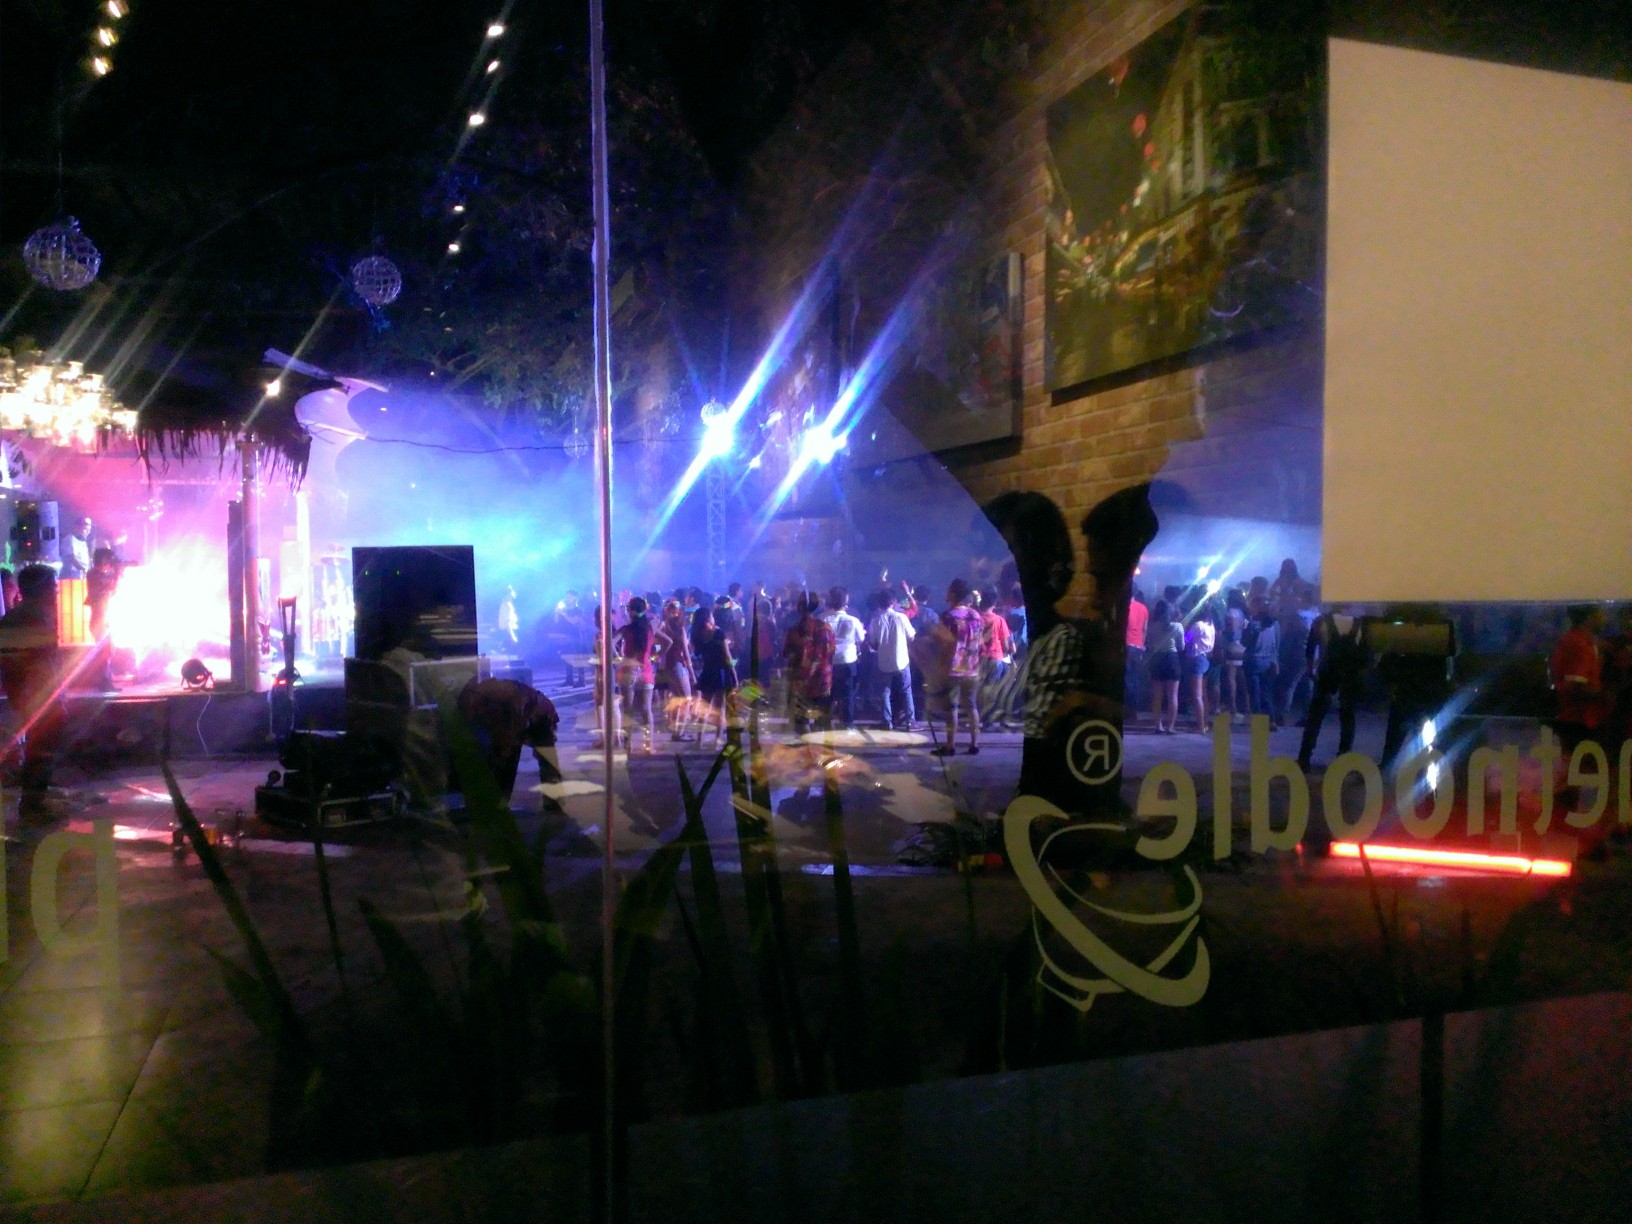
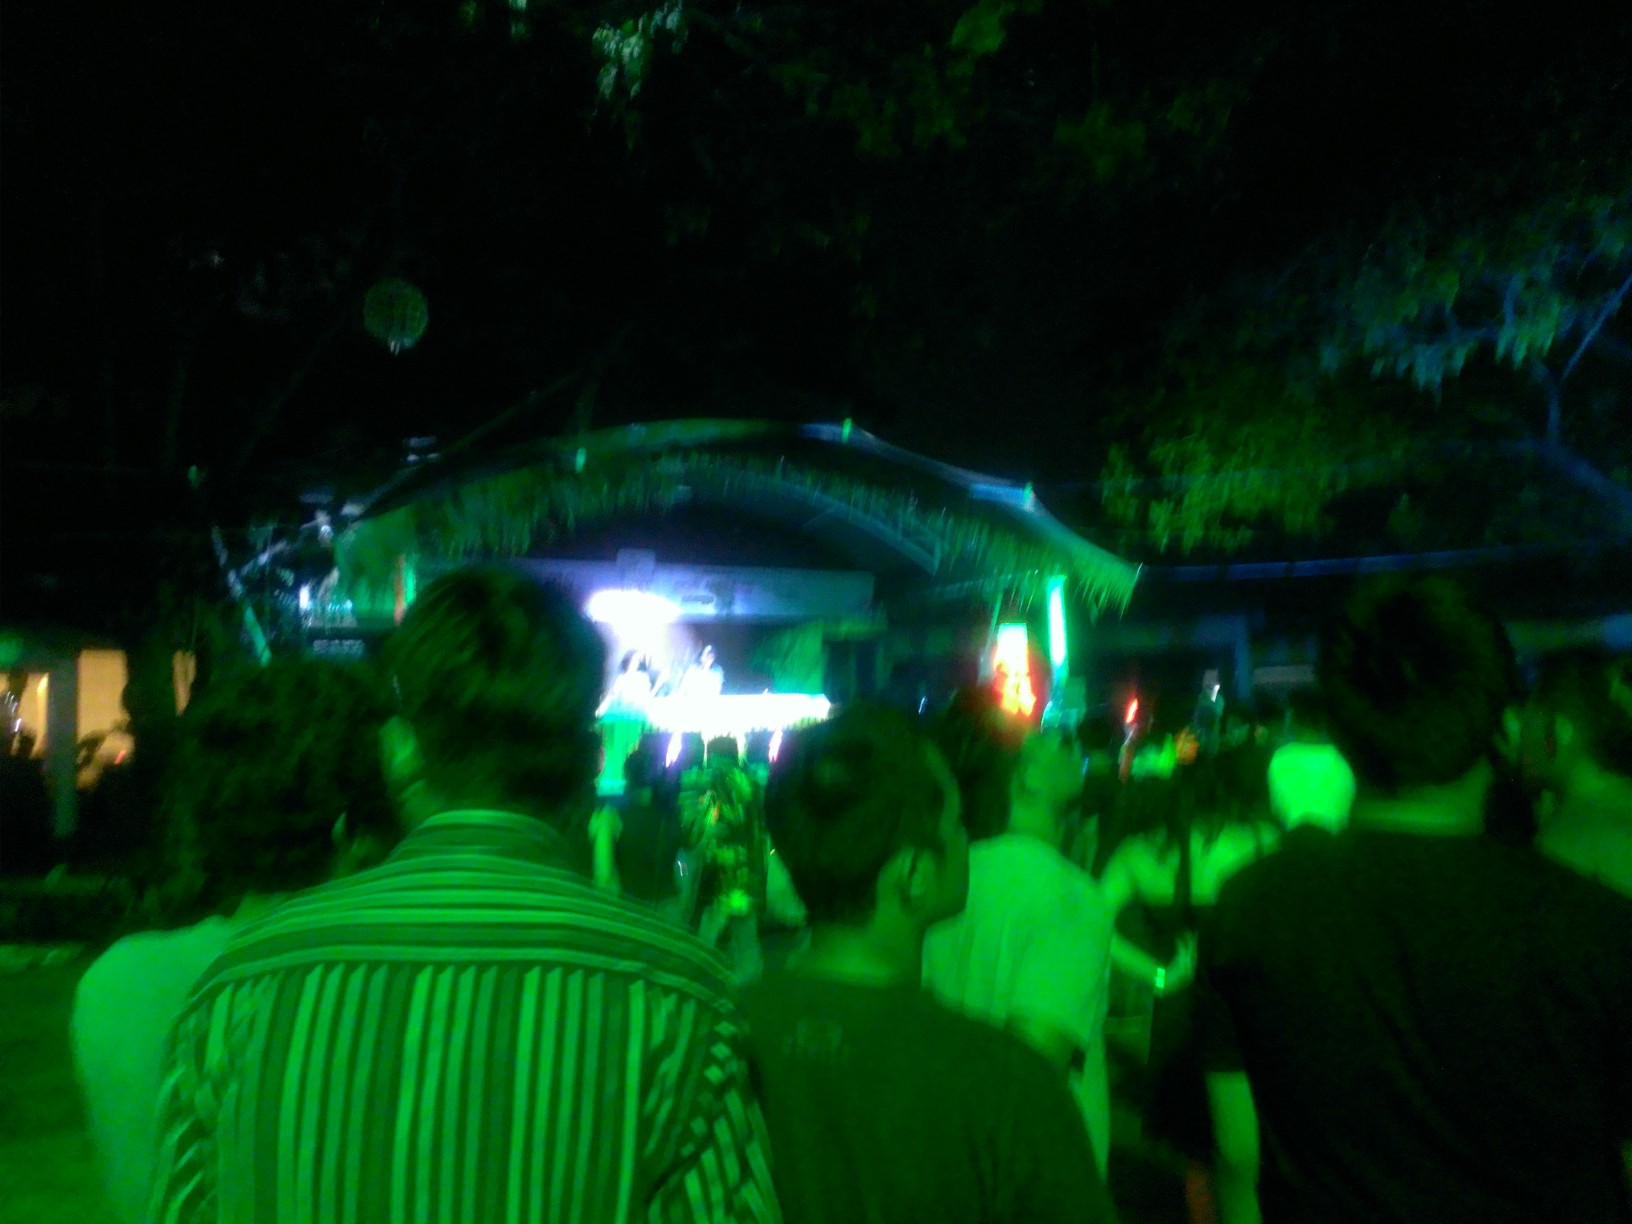
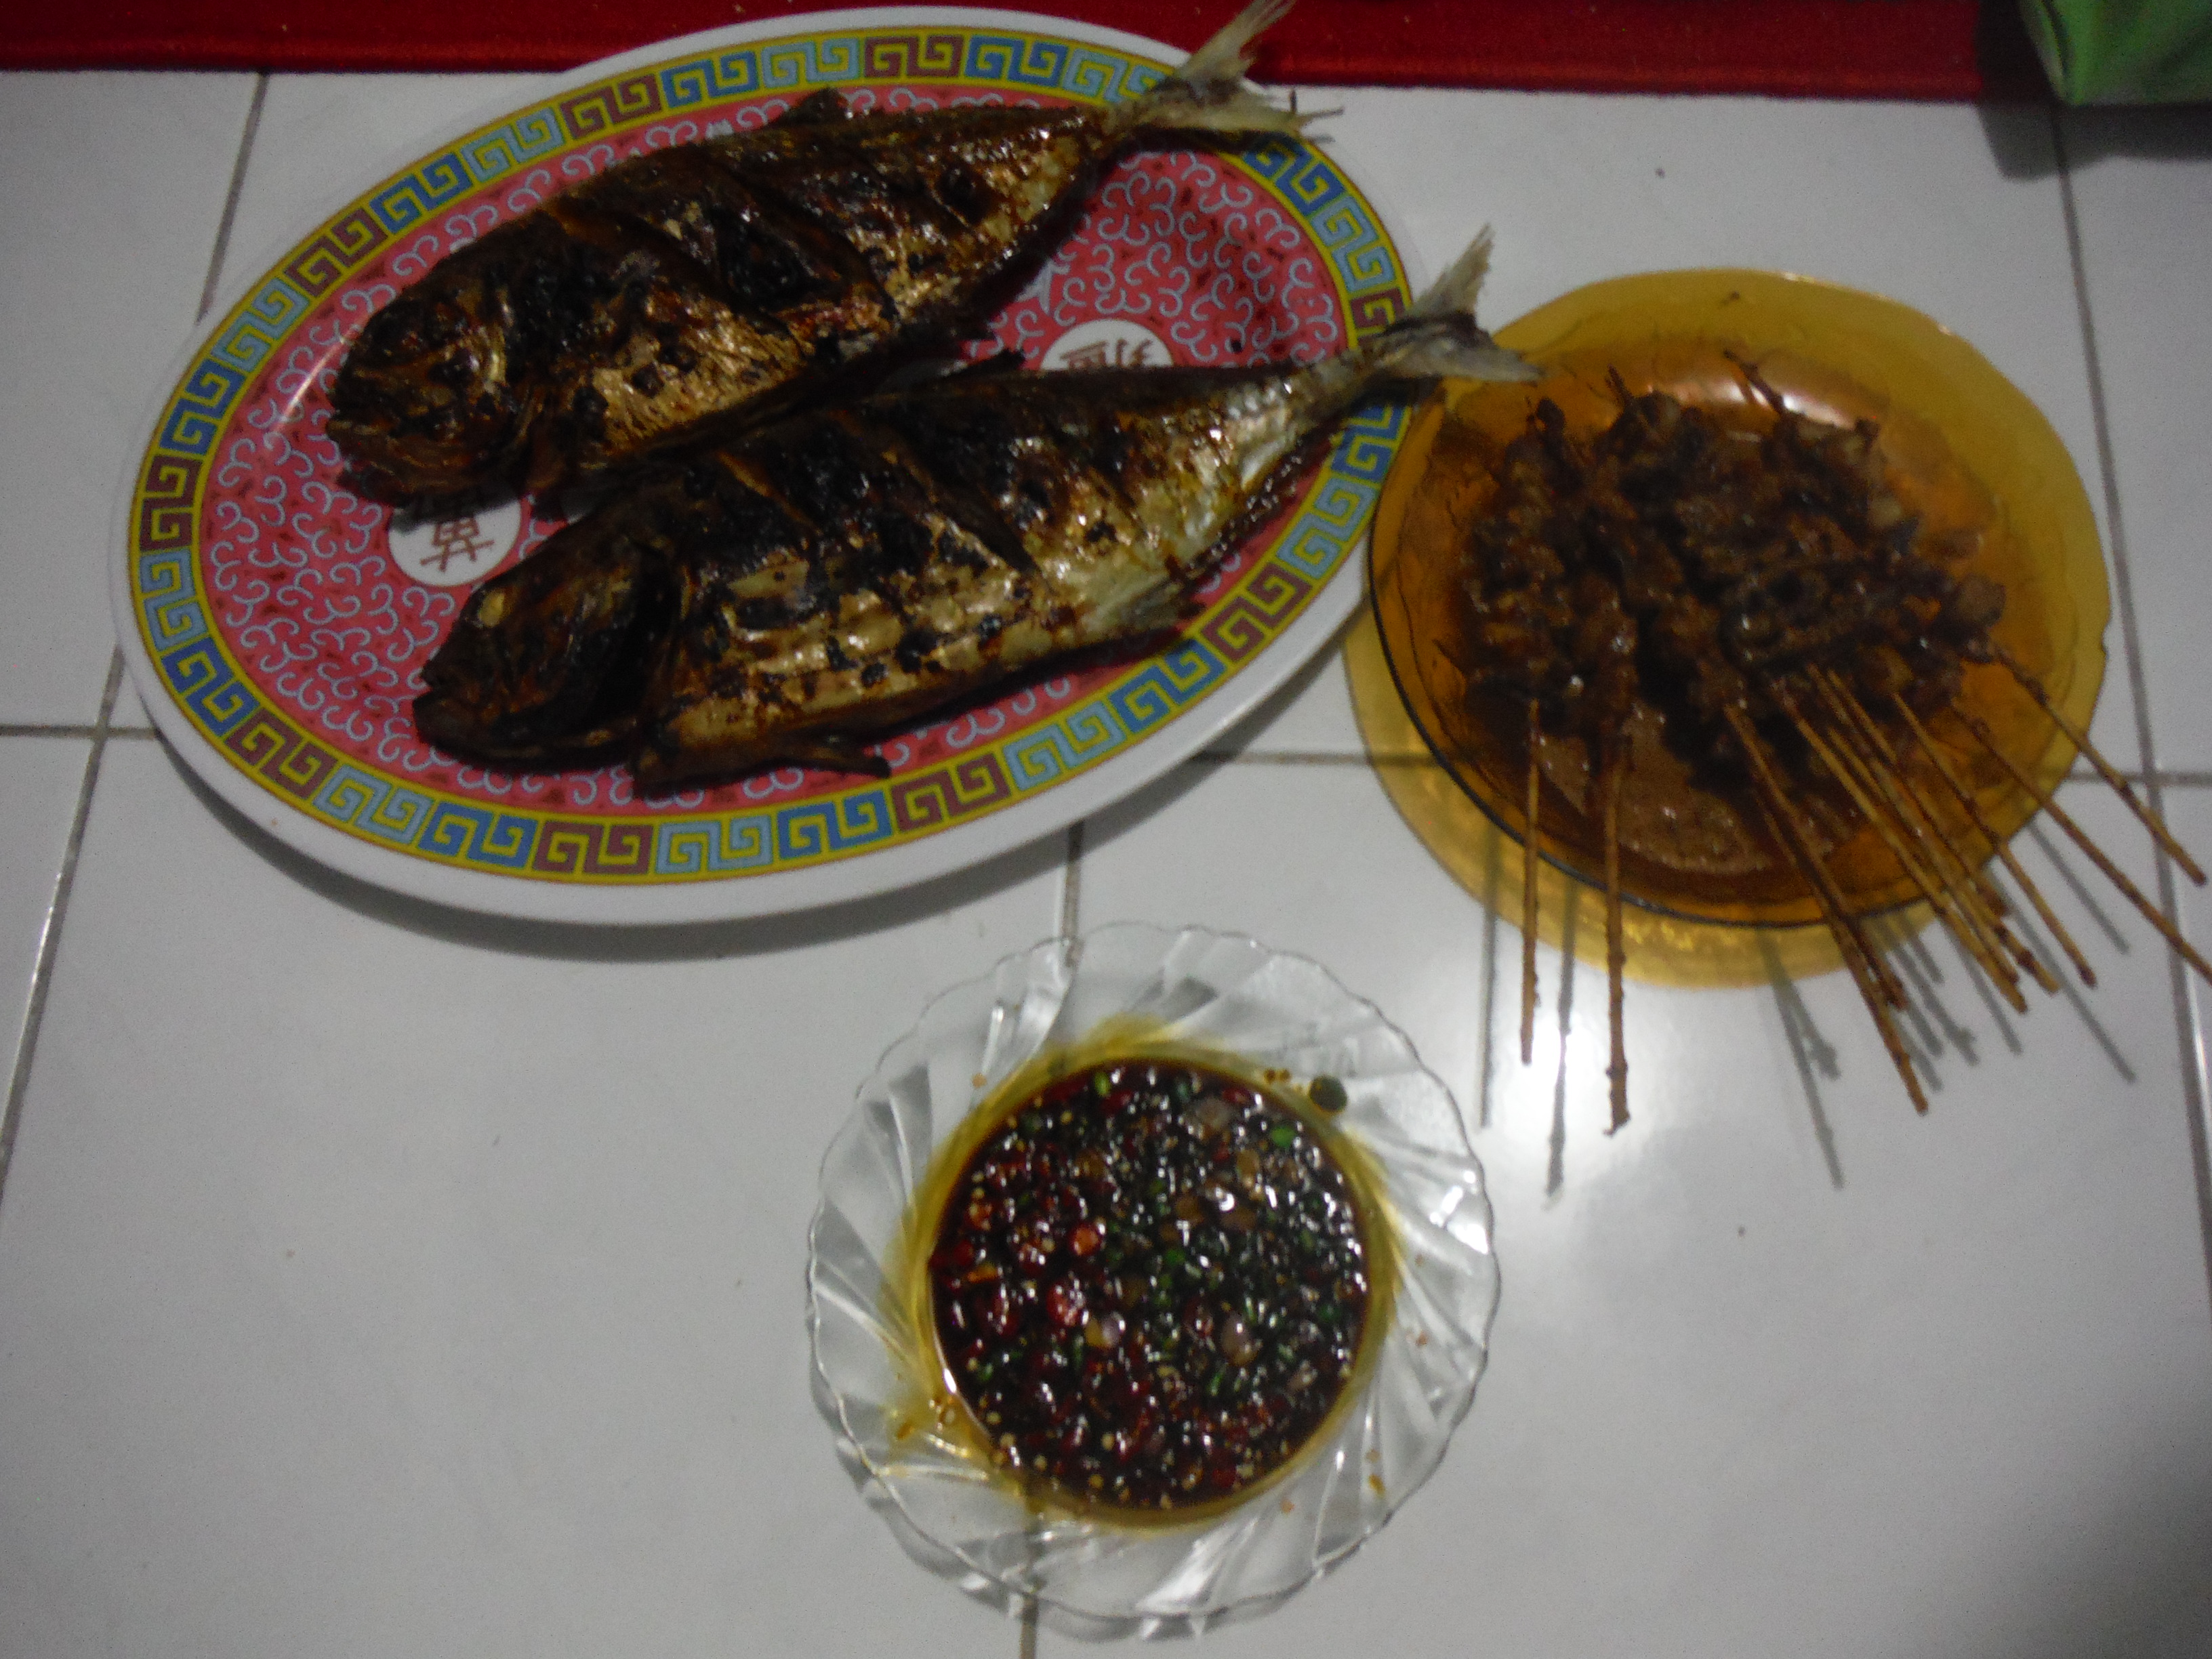
So we went to noodle house at living world and right outside there was a dance party setting up 😛 The music was pumping, the people were dancing and it looked like fun …
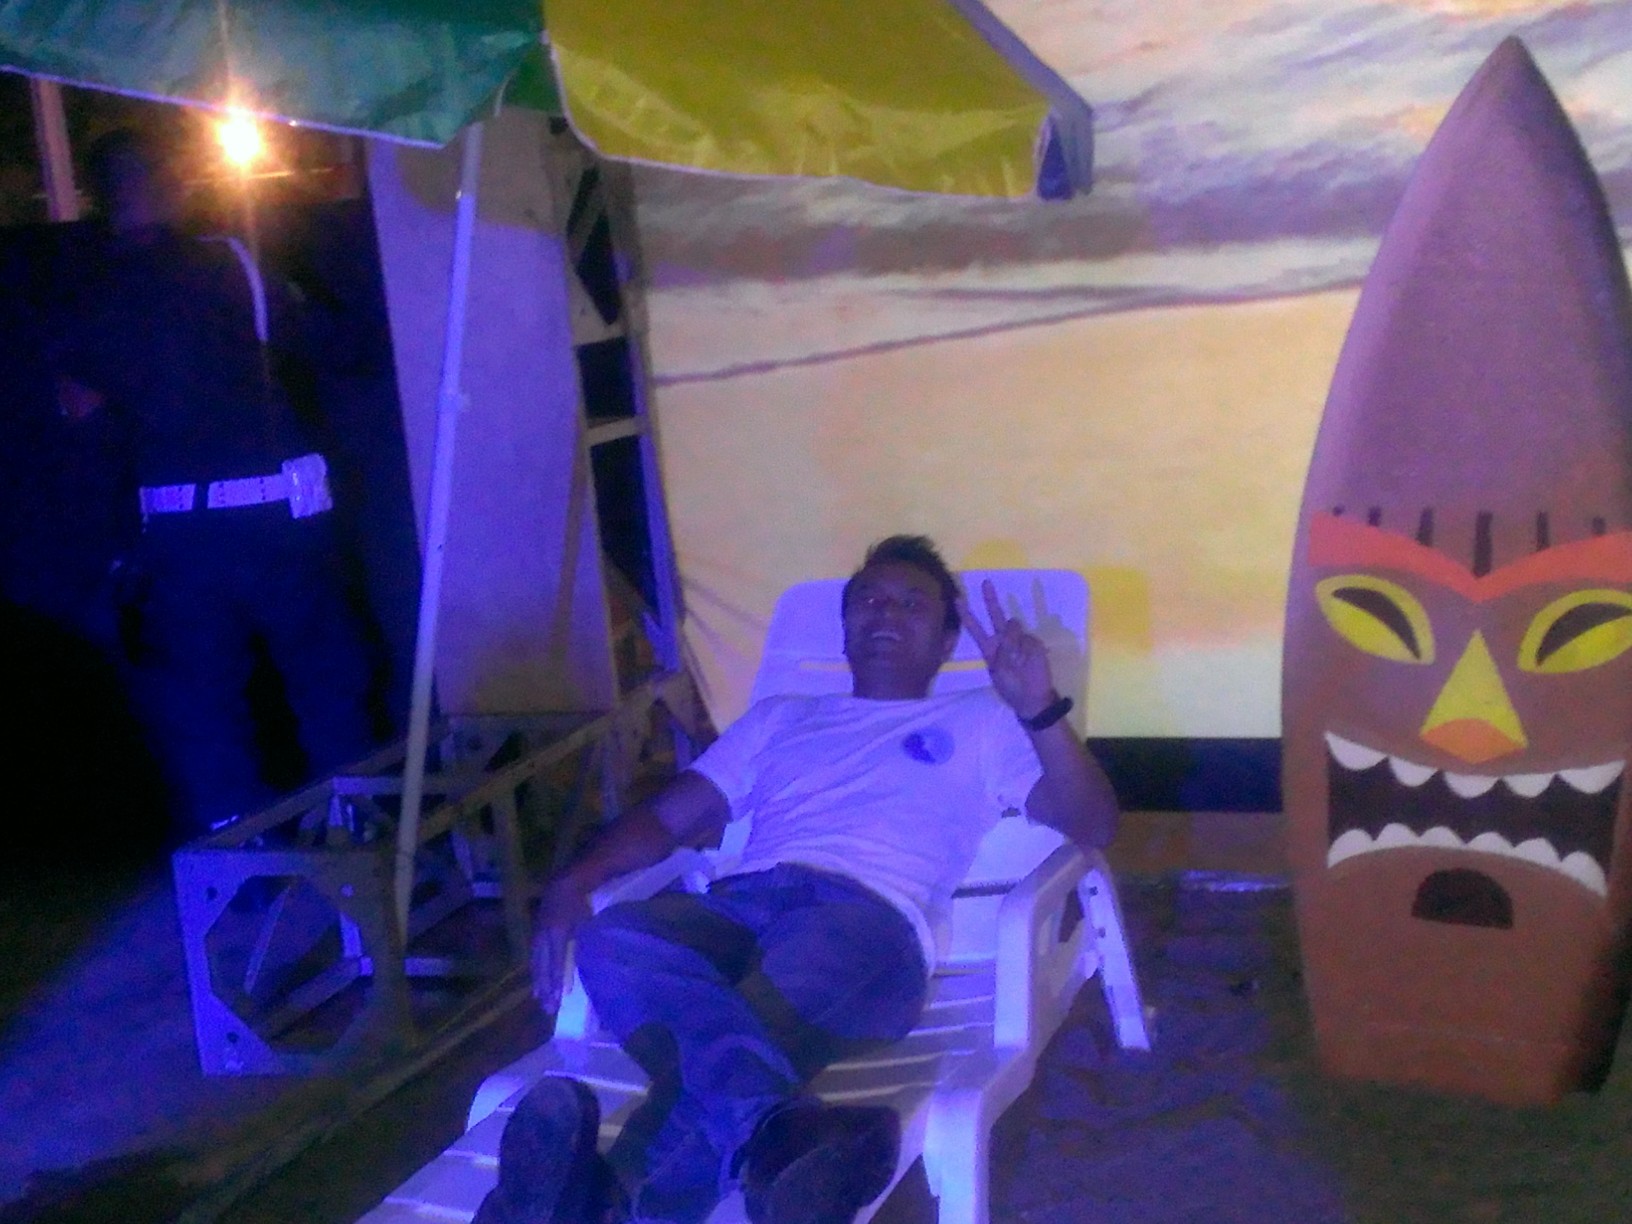
So we ate … and well, the pictures tell the rest of the story 🙂
Was a great night and I forgot that I was sick, I guess now i’m paying for it haha but thats ok. It isn’t to bad and you have to celebrate the coming of the new year.
Have fun everyone and may your new years be everything you hope it to be !
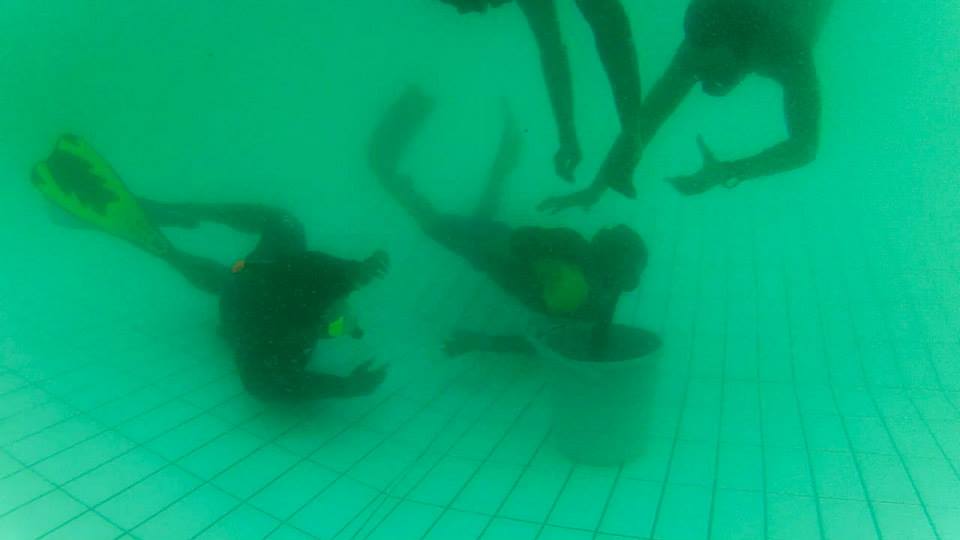
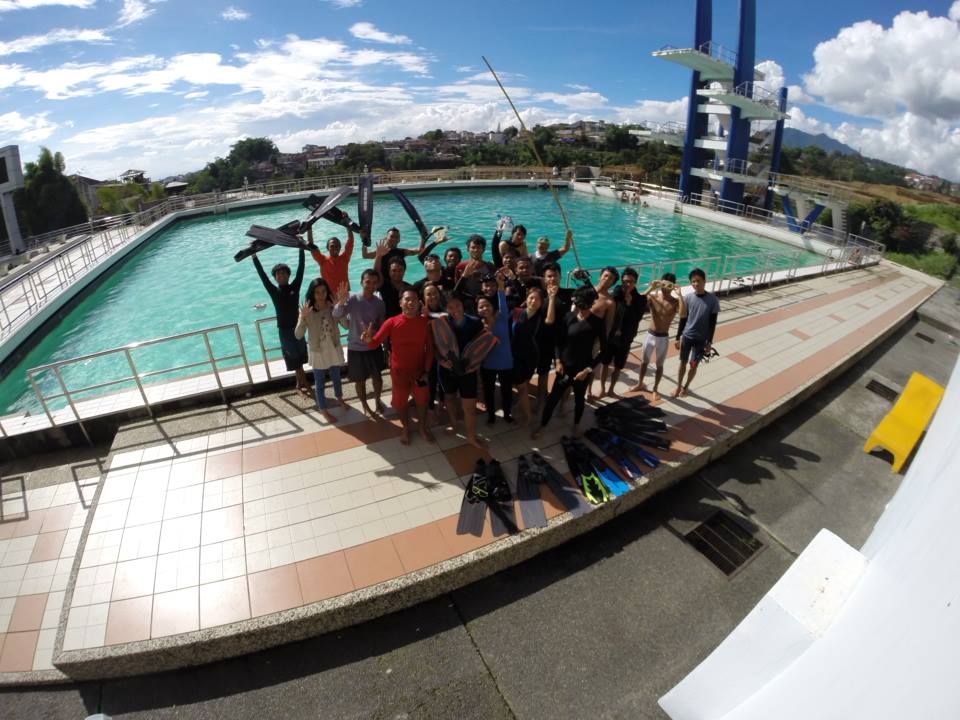
So in addition to training freediving on sundays at the Bandung Freediving club we have some fun and play different kinds of games. This week Bima introduced us to a game called underwater rugby. If you have never heard of it then try to guess from the name, yes its pretty much what you expect.
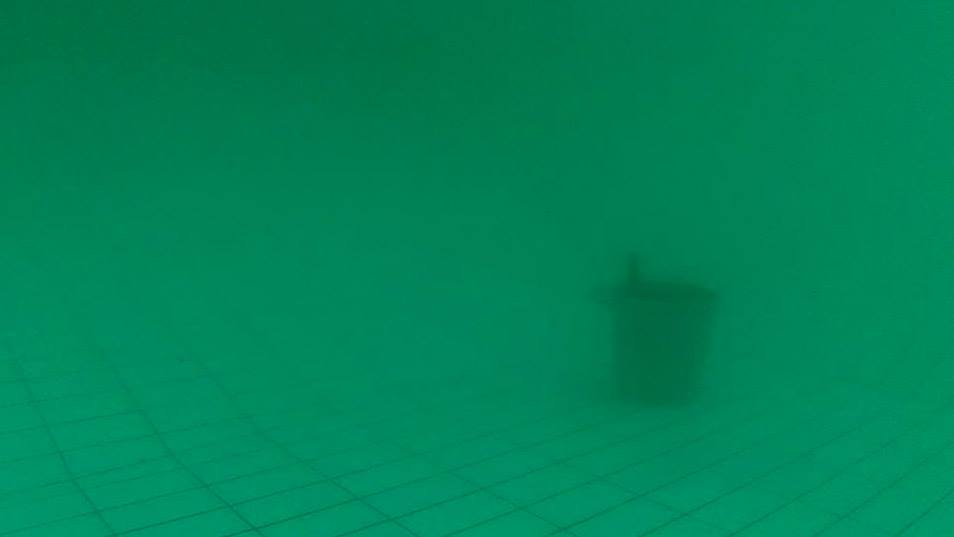
The aim of the game is to place the ball into a basket located on the bottom of the pool. You pass the ball to team mates through the water and tackle the opponent who has the ball (all underwater). This sport requires stamina, requires strength and obviously good water and breath hold skills.
I played it for the first time at UPI pools and now im addicted. Its awesome and after 3-4 hours of free diving training where its all about calm, peace and serenity, with long static apnea breath holds, long dynamic with and without fins you sometimes just get the urge to punch someone and this is the perfect game 😛
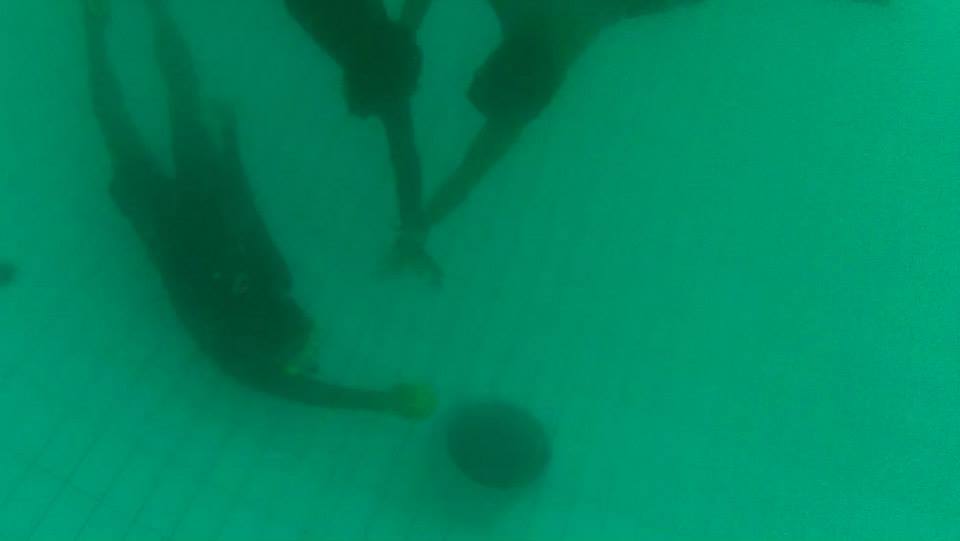
So in more detail lets describe the equipment. You have 2 buckets which act as the goals, you have a ball that is slightly heavy and negatively buoyant, you have two teams and you have a strategy. The attacking team tries to score on the opposite teams basket while the opposite team defends.
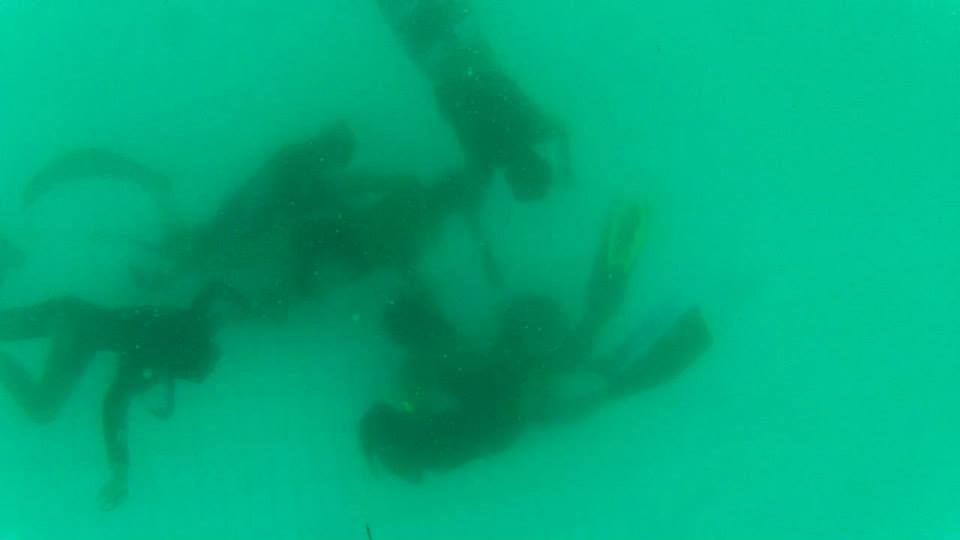
Defence is done by tackling the individual who is holding the ball but the tackling must end the moment that individual drops the ball (so you obviously don’t drown them :P) To break it down those are the rules in a nut shell. What makes this sport so fun however, is that fact that it requires strength, stamina, tactics/strategy, teamwork and lots of underwater skills such as manoeuvrability and breath hold.
You may think that there is a lot in common with free diving but there isn’t all that much .. breath hold skills yes, manoeuvrability within the water yes , but staying calm and peaceful NO ! you have to swim fast, you have to be aggressive and you have to rough people up 😛
At the end of it i had scratches on my sides and some on the side of my face. Had a few bruises too. Next time I play I might just wear a hoodie so that I can prevent scratches on my face from someones long fins digging into my face … but other then that it was a fun and exciting game.
Check out the images of the game (sorry about the water, visibility was horrendous that week)
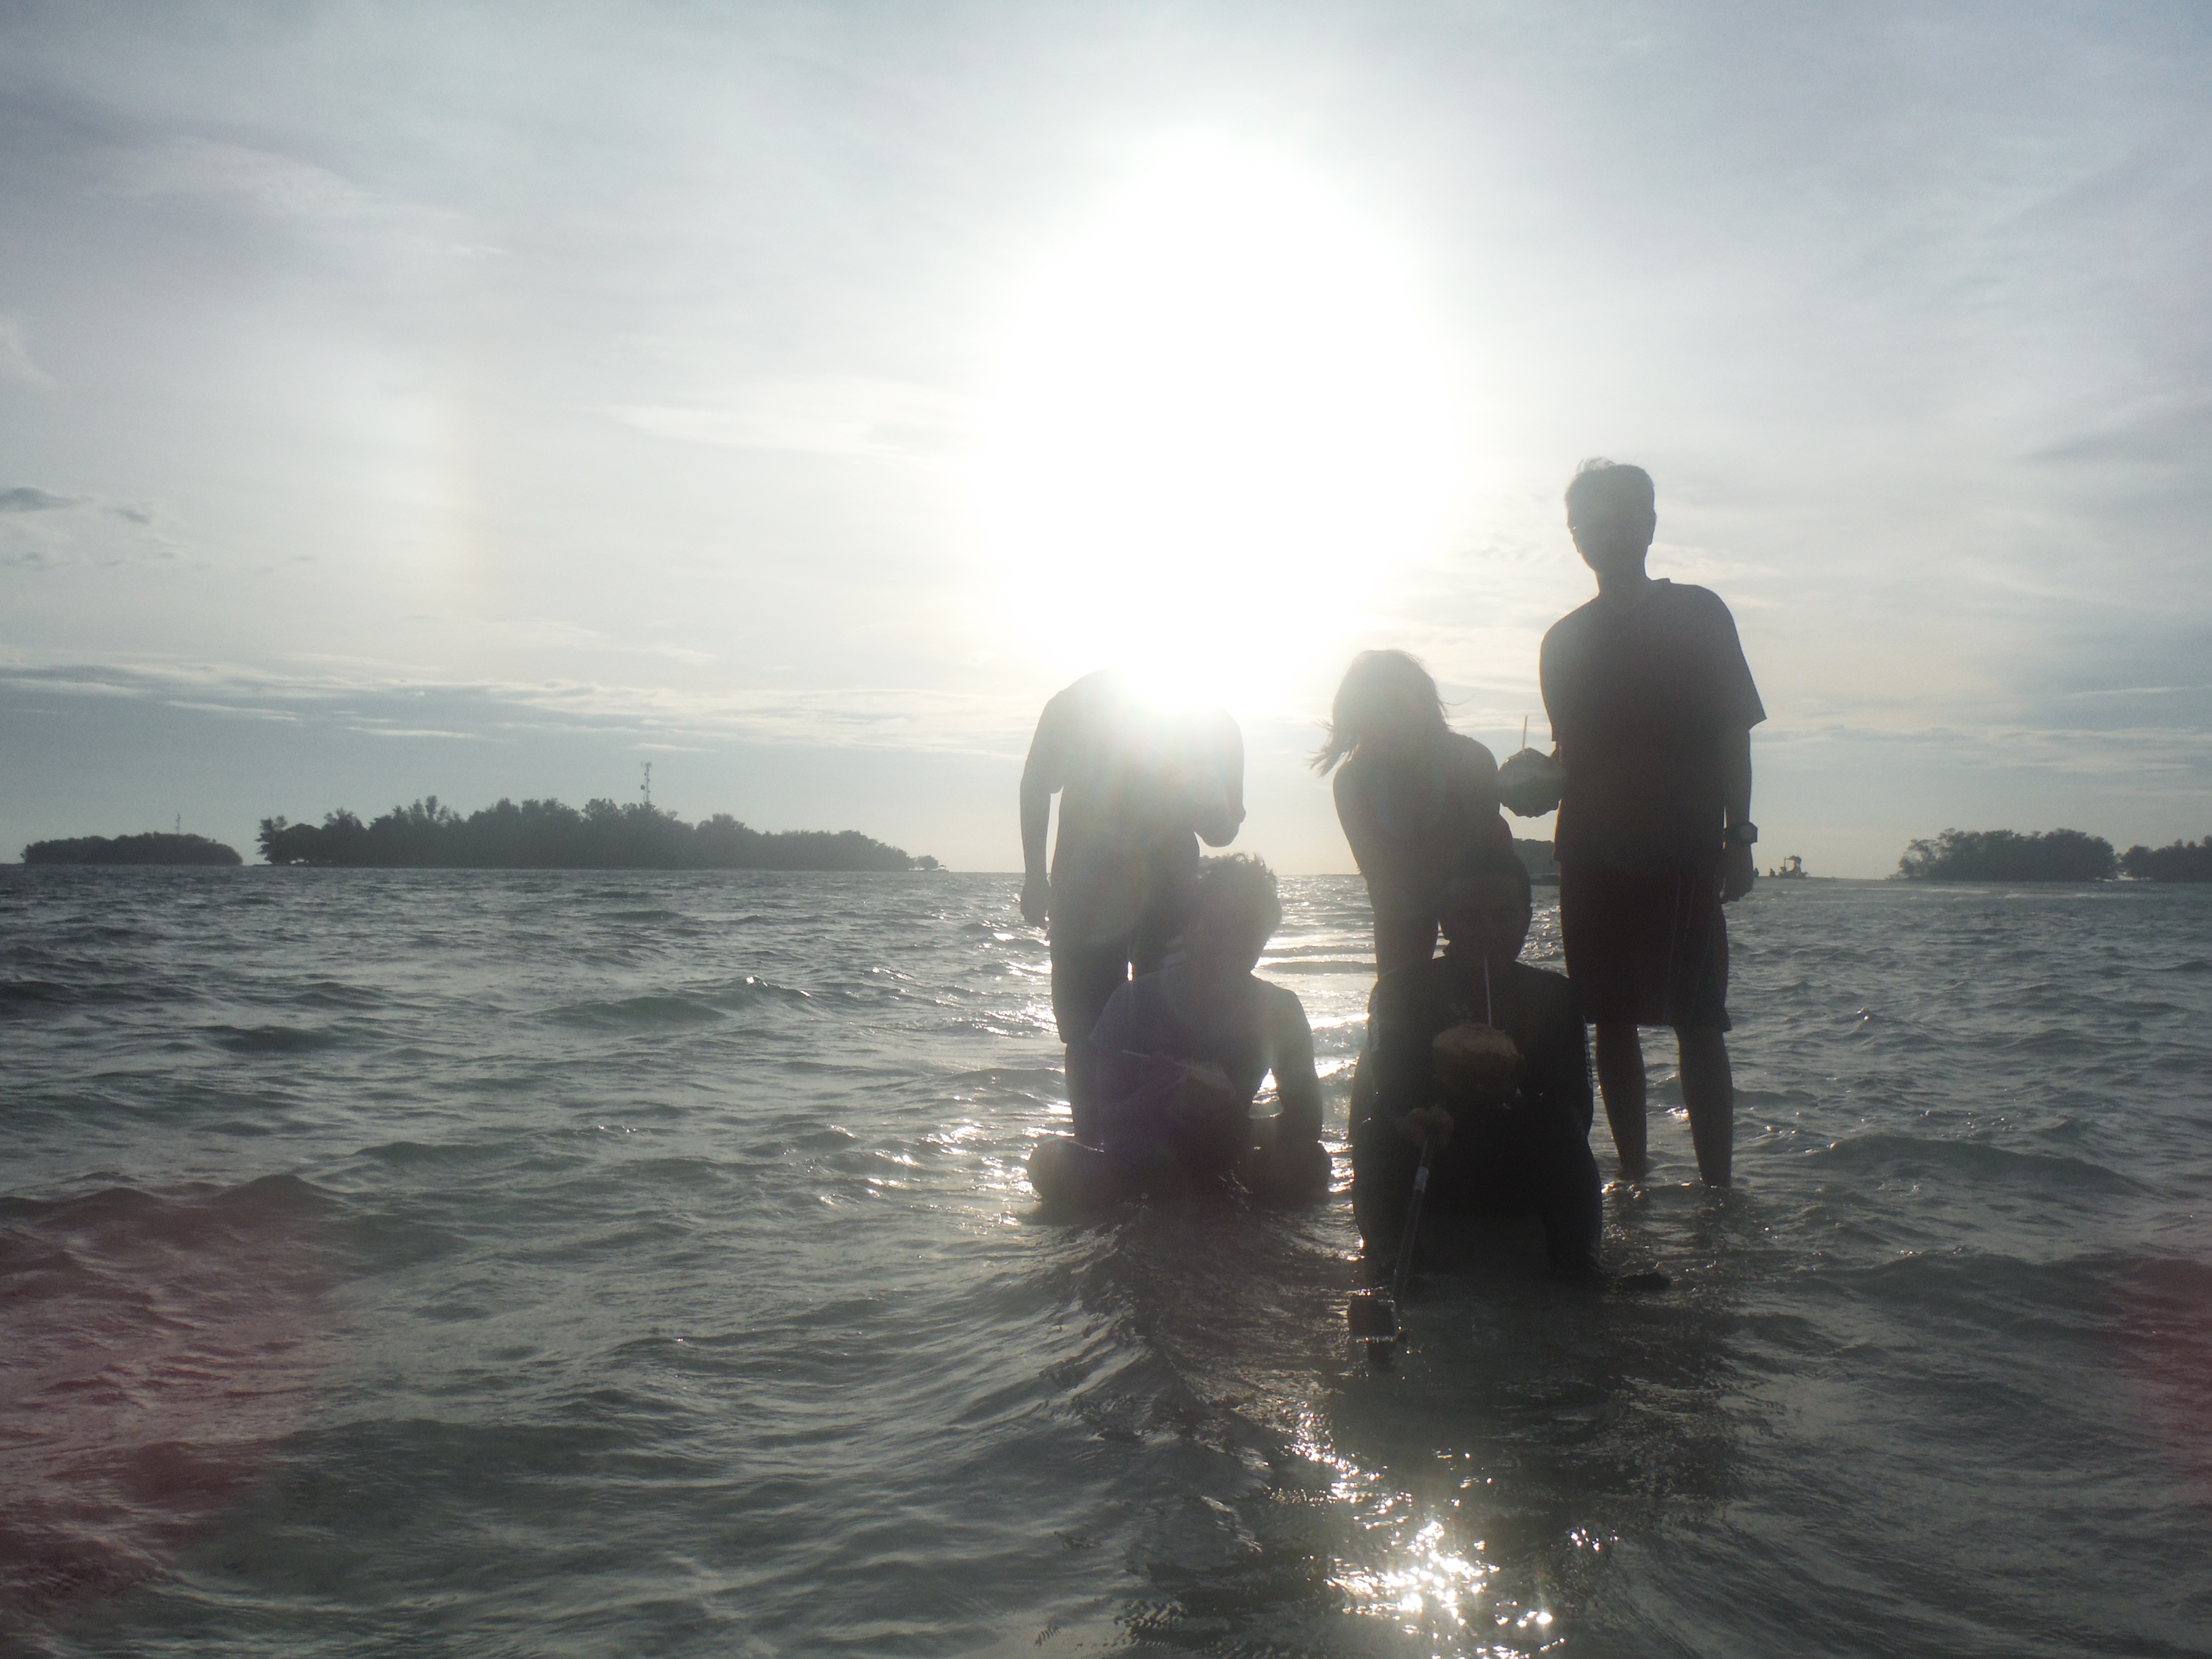
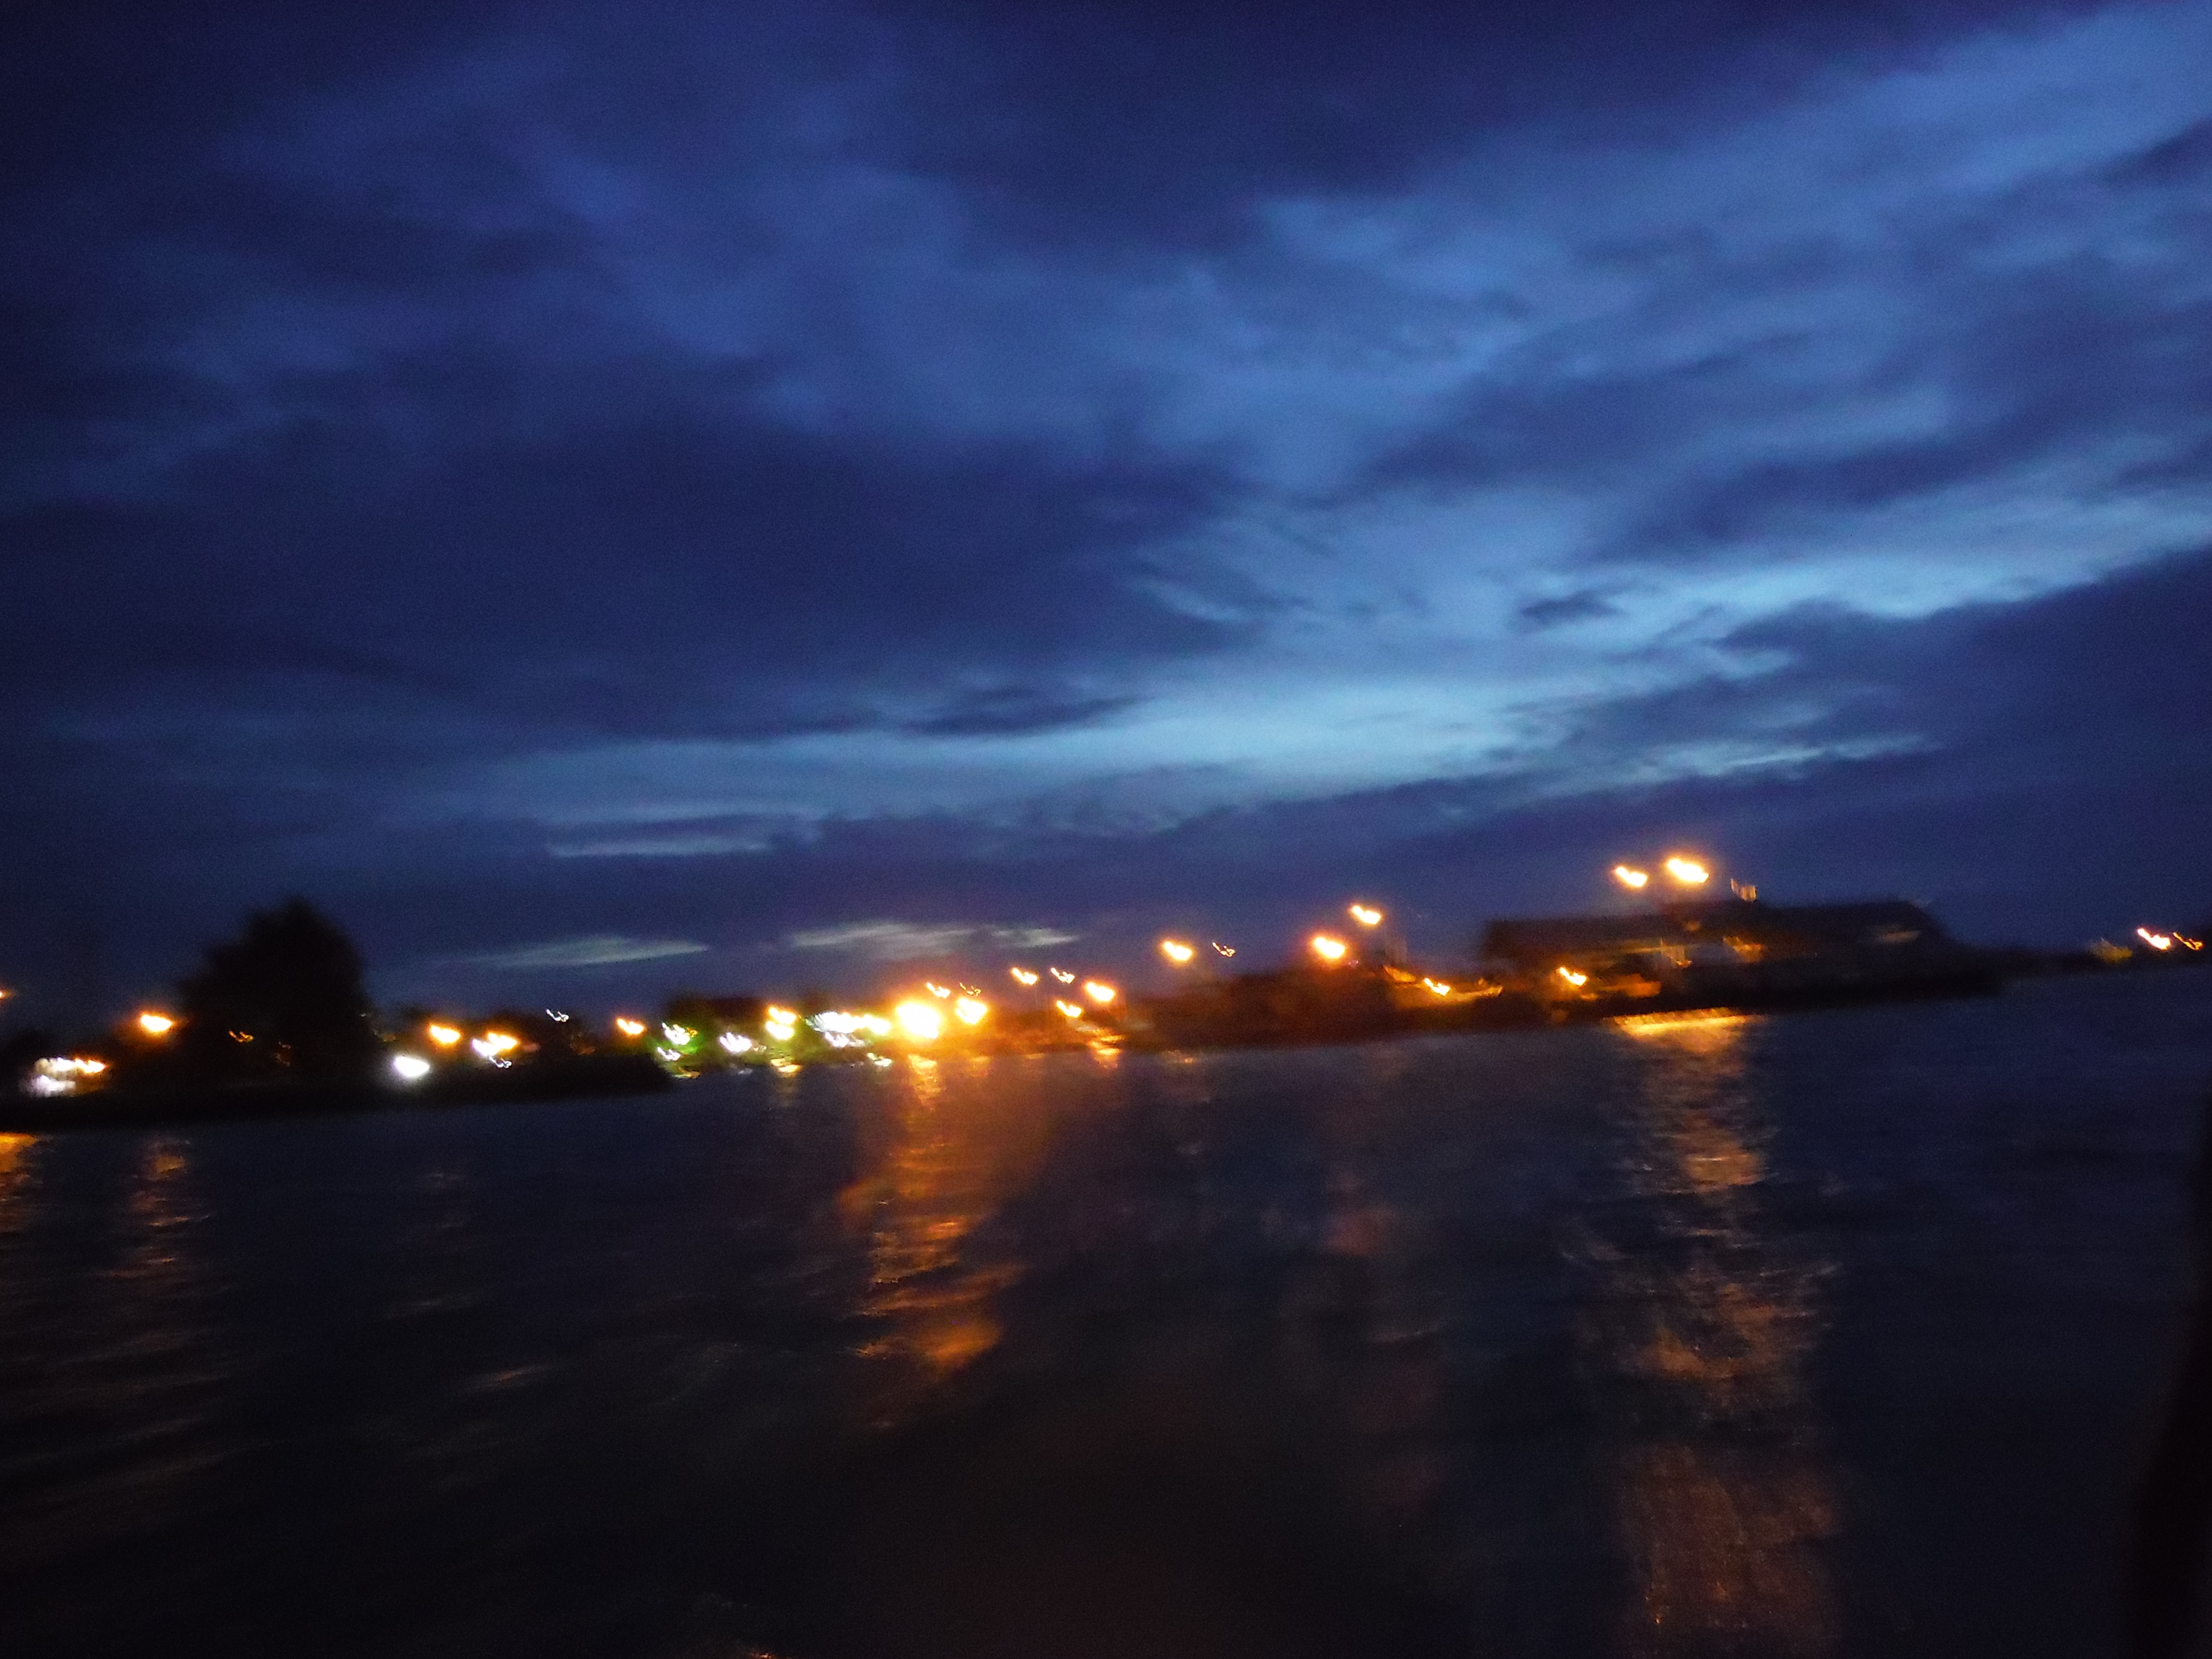
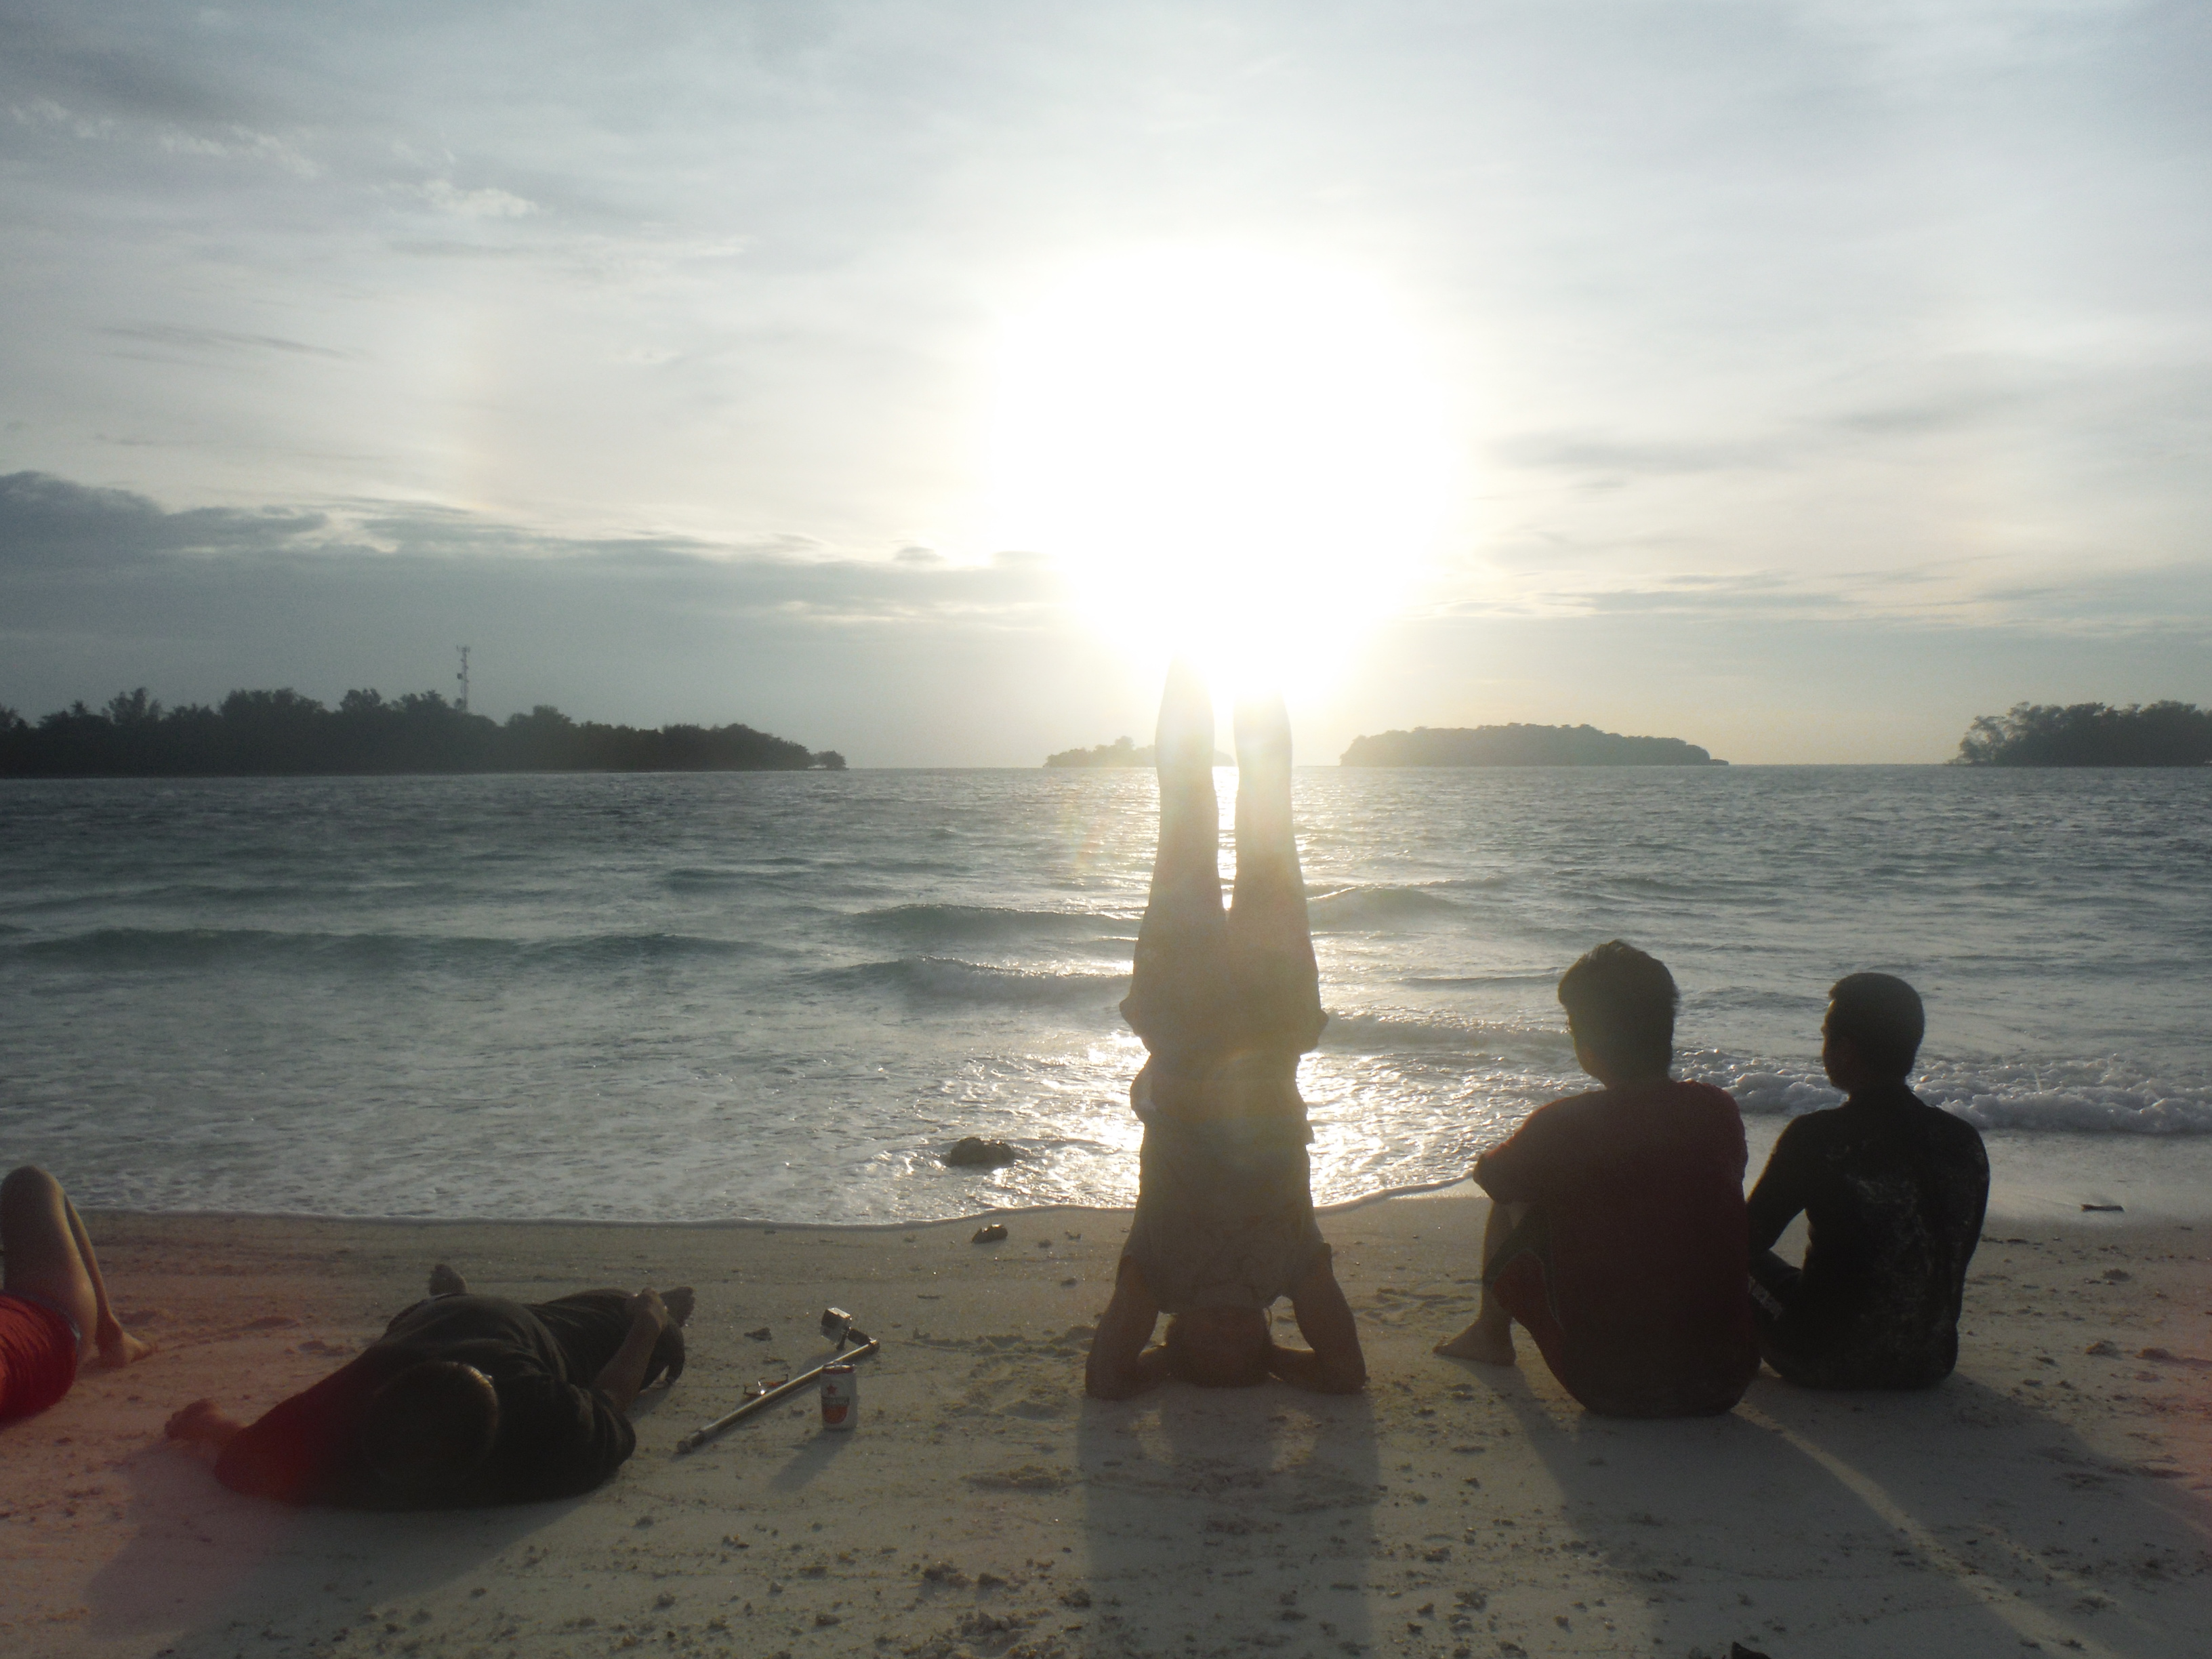
So its rainy season here in Indonesia ! If you plan a trip to one of the islands its a gamble as to whether its going to be good or bad weather on that day. The best way to fix this problem is to simply not care and go anyway HAHAHAHA ! Take the good ole Aussie approach. “Yeah she’ll be right mate” …. 🙂
Rain hail or shine, if you plan to go on a trip be happy no matter what the weather is and your going to be sure your trip will be SCHWEEET ! 🙂 I guess the only consideration you need to take is to ensure that its safe and that you aren’t putting yourself or anyone that relies on you in danger. I was somewhat worried about that because there were some new guys on our trip that might have had issues if the boat capsized but it wasn’t as bad as I thought and the weather and ocean was pretty good to us. If it was just me and mark, I could imagine that if the boat capsized we would have started laughing and started taking pictures LOL, then only after 2-3 hours if someone didn’t come get us we would probably start getting just a little worried (just a little :P)
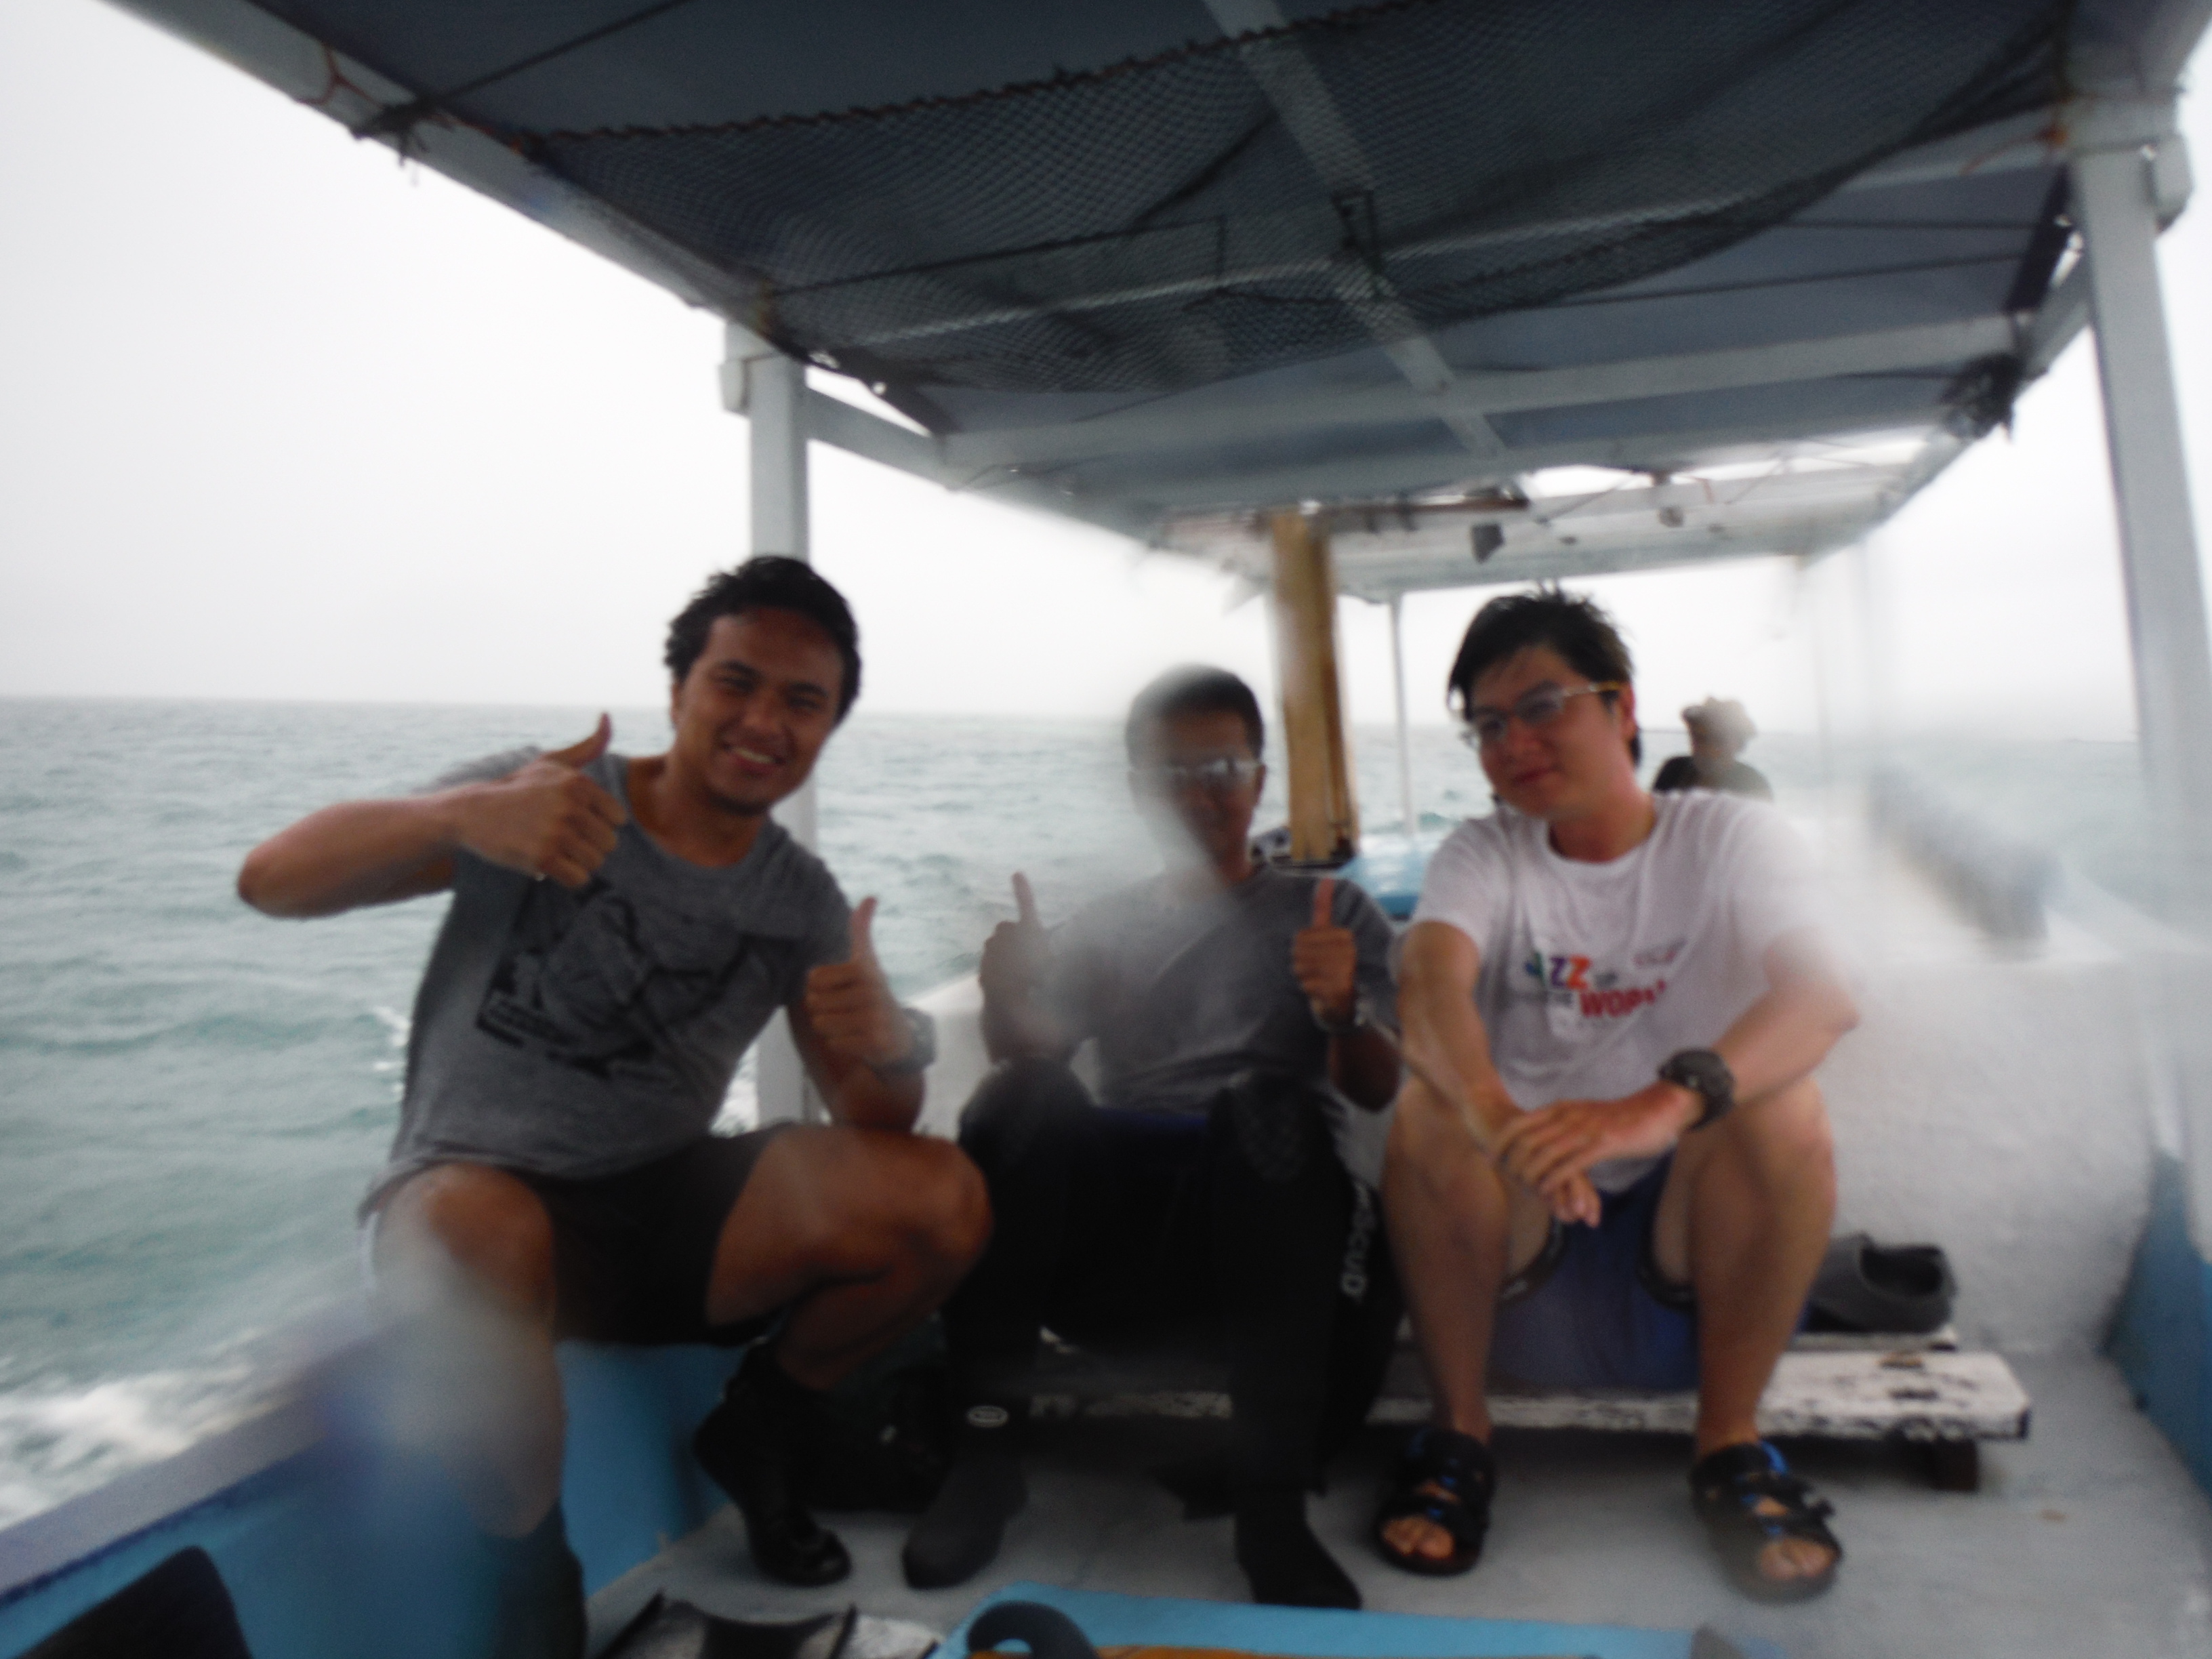
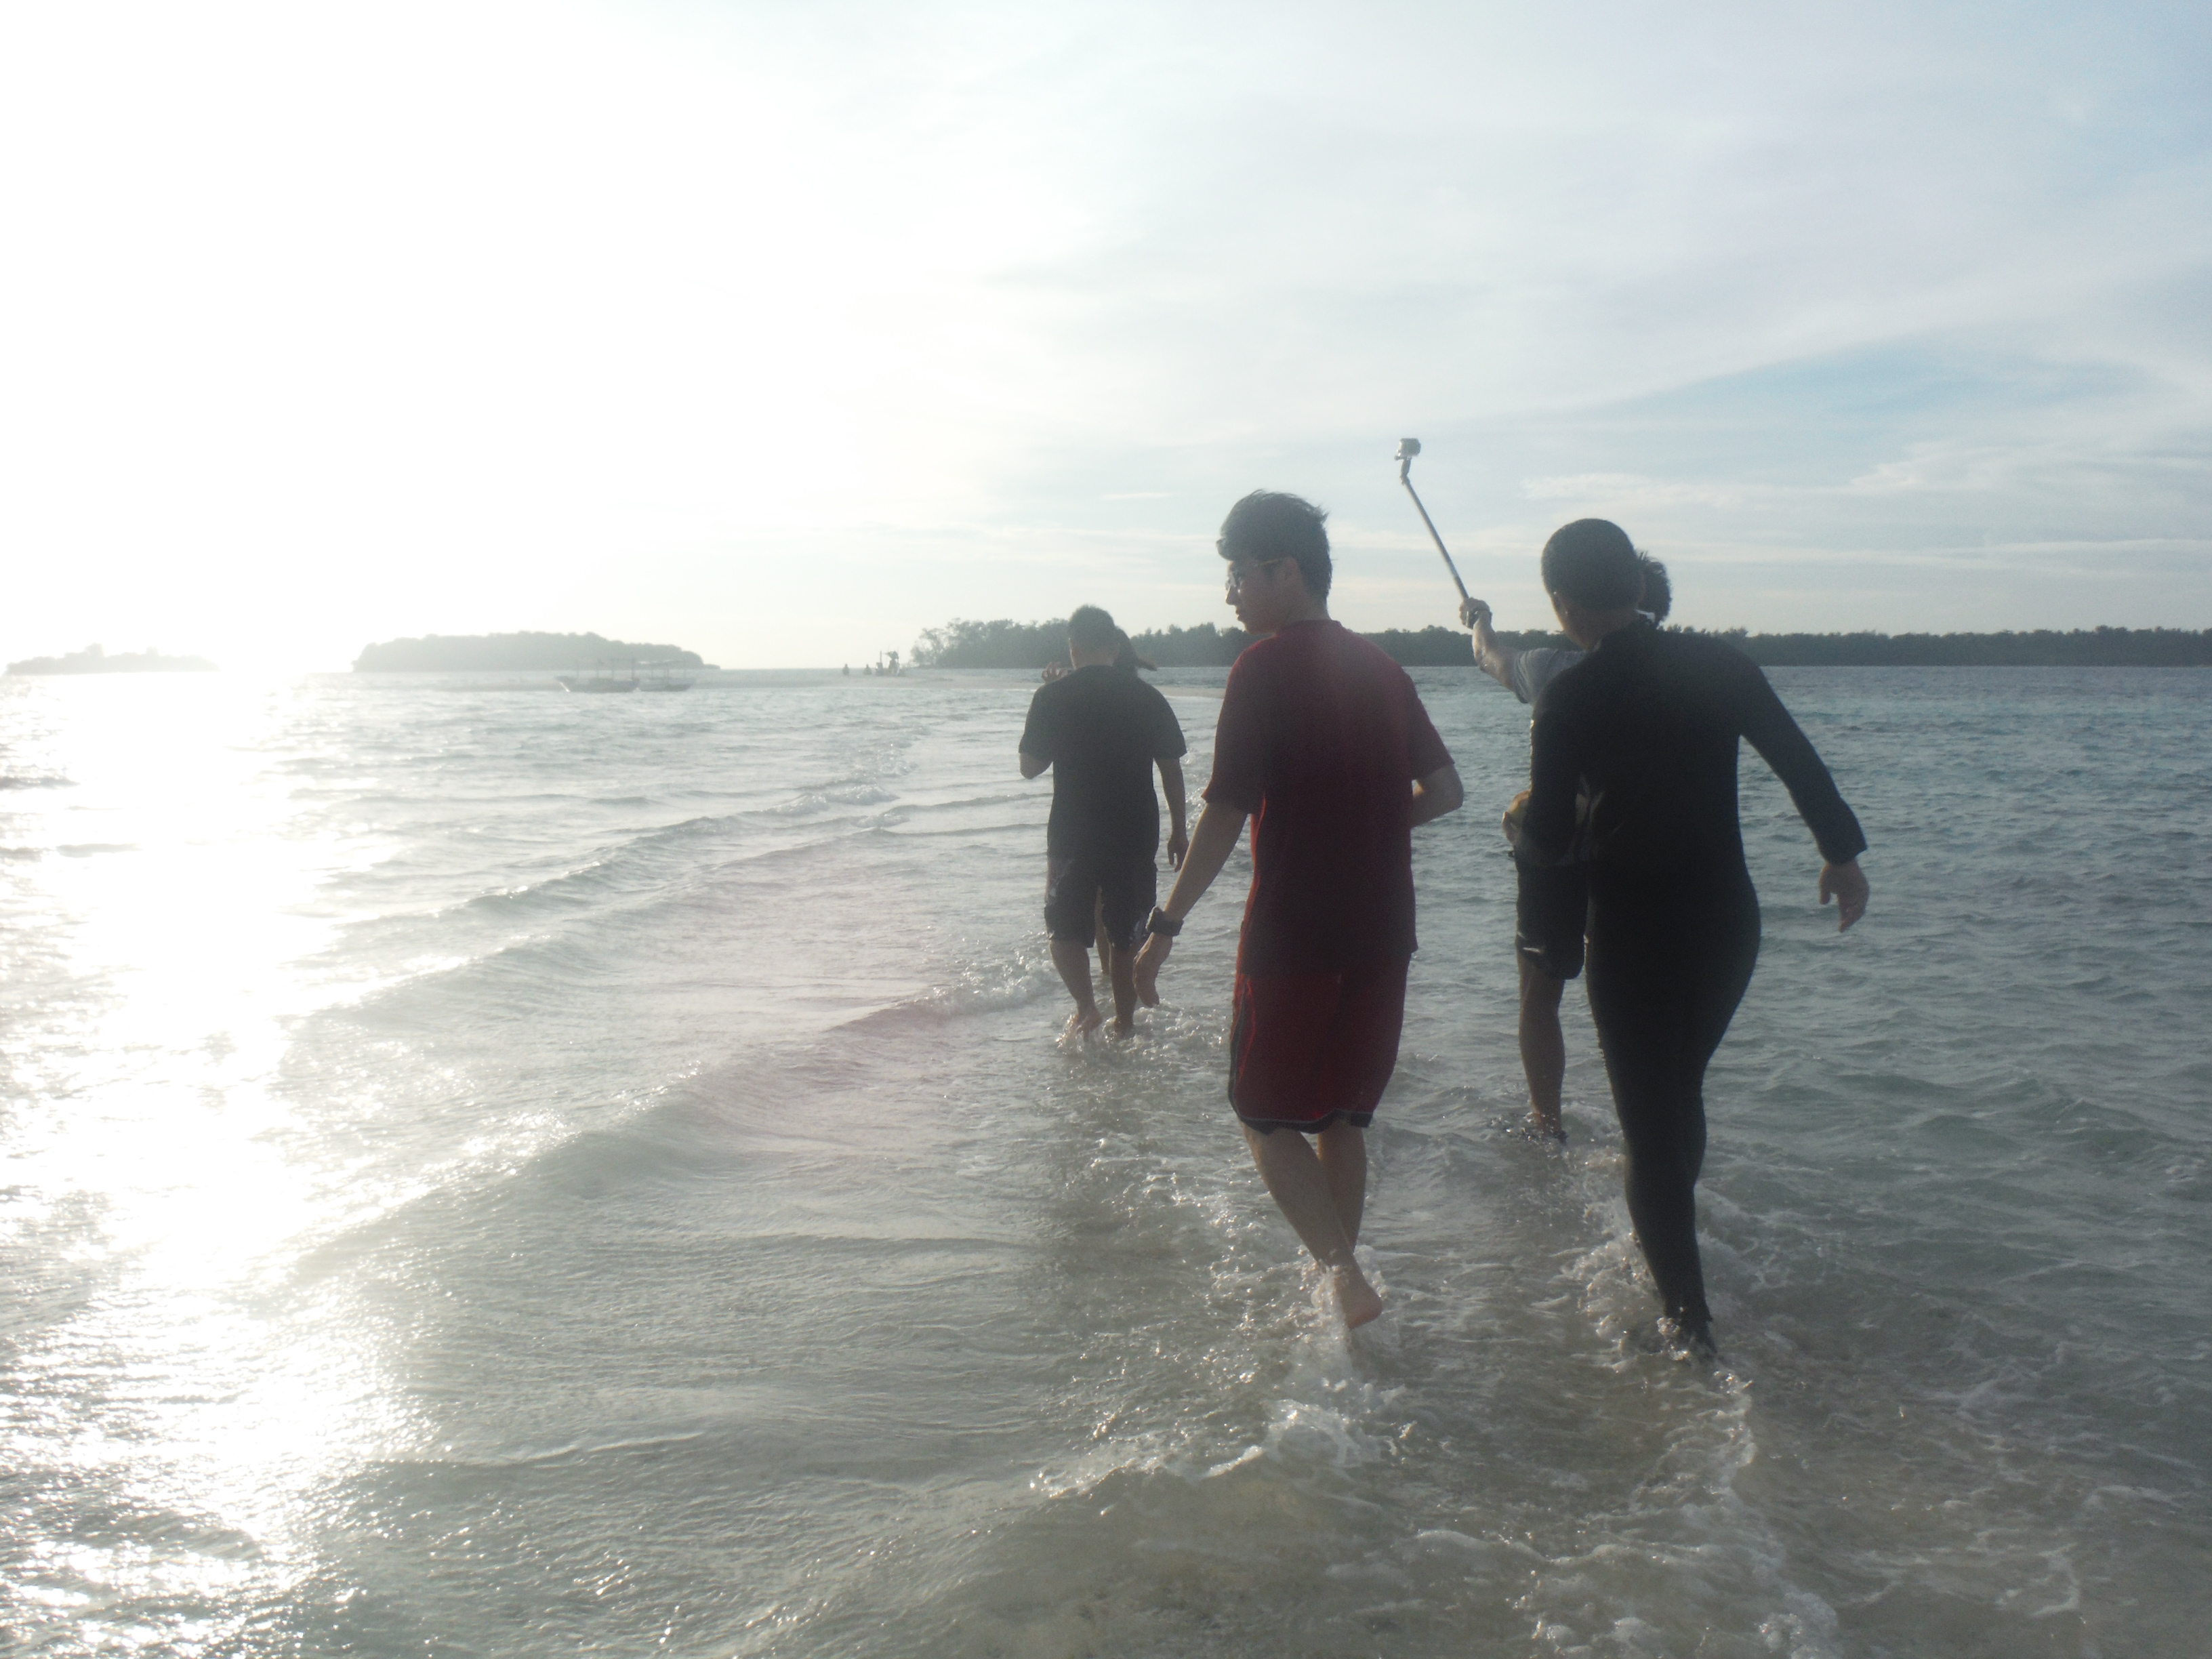
The swell was big on the way to Pulau Harapan so we had to stop for about 1 and a half hours to avoid the big waves but other then that slight “waste of time” mishap it was fine. We had some chop on the way to the smaller islands but for the most part the small nelayan boats held up good.
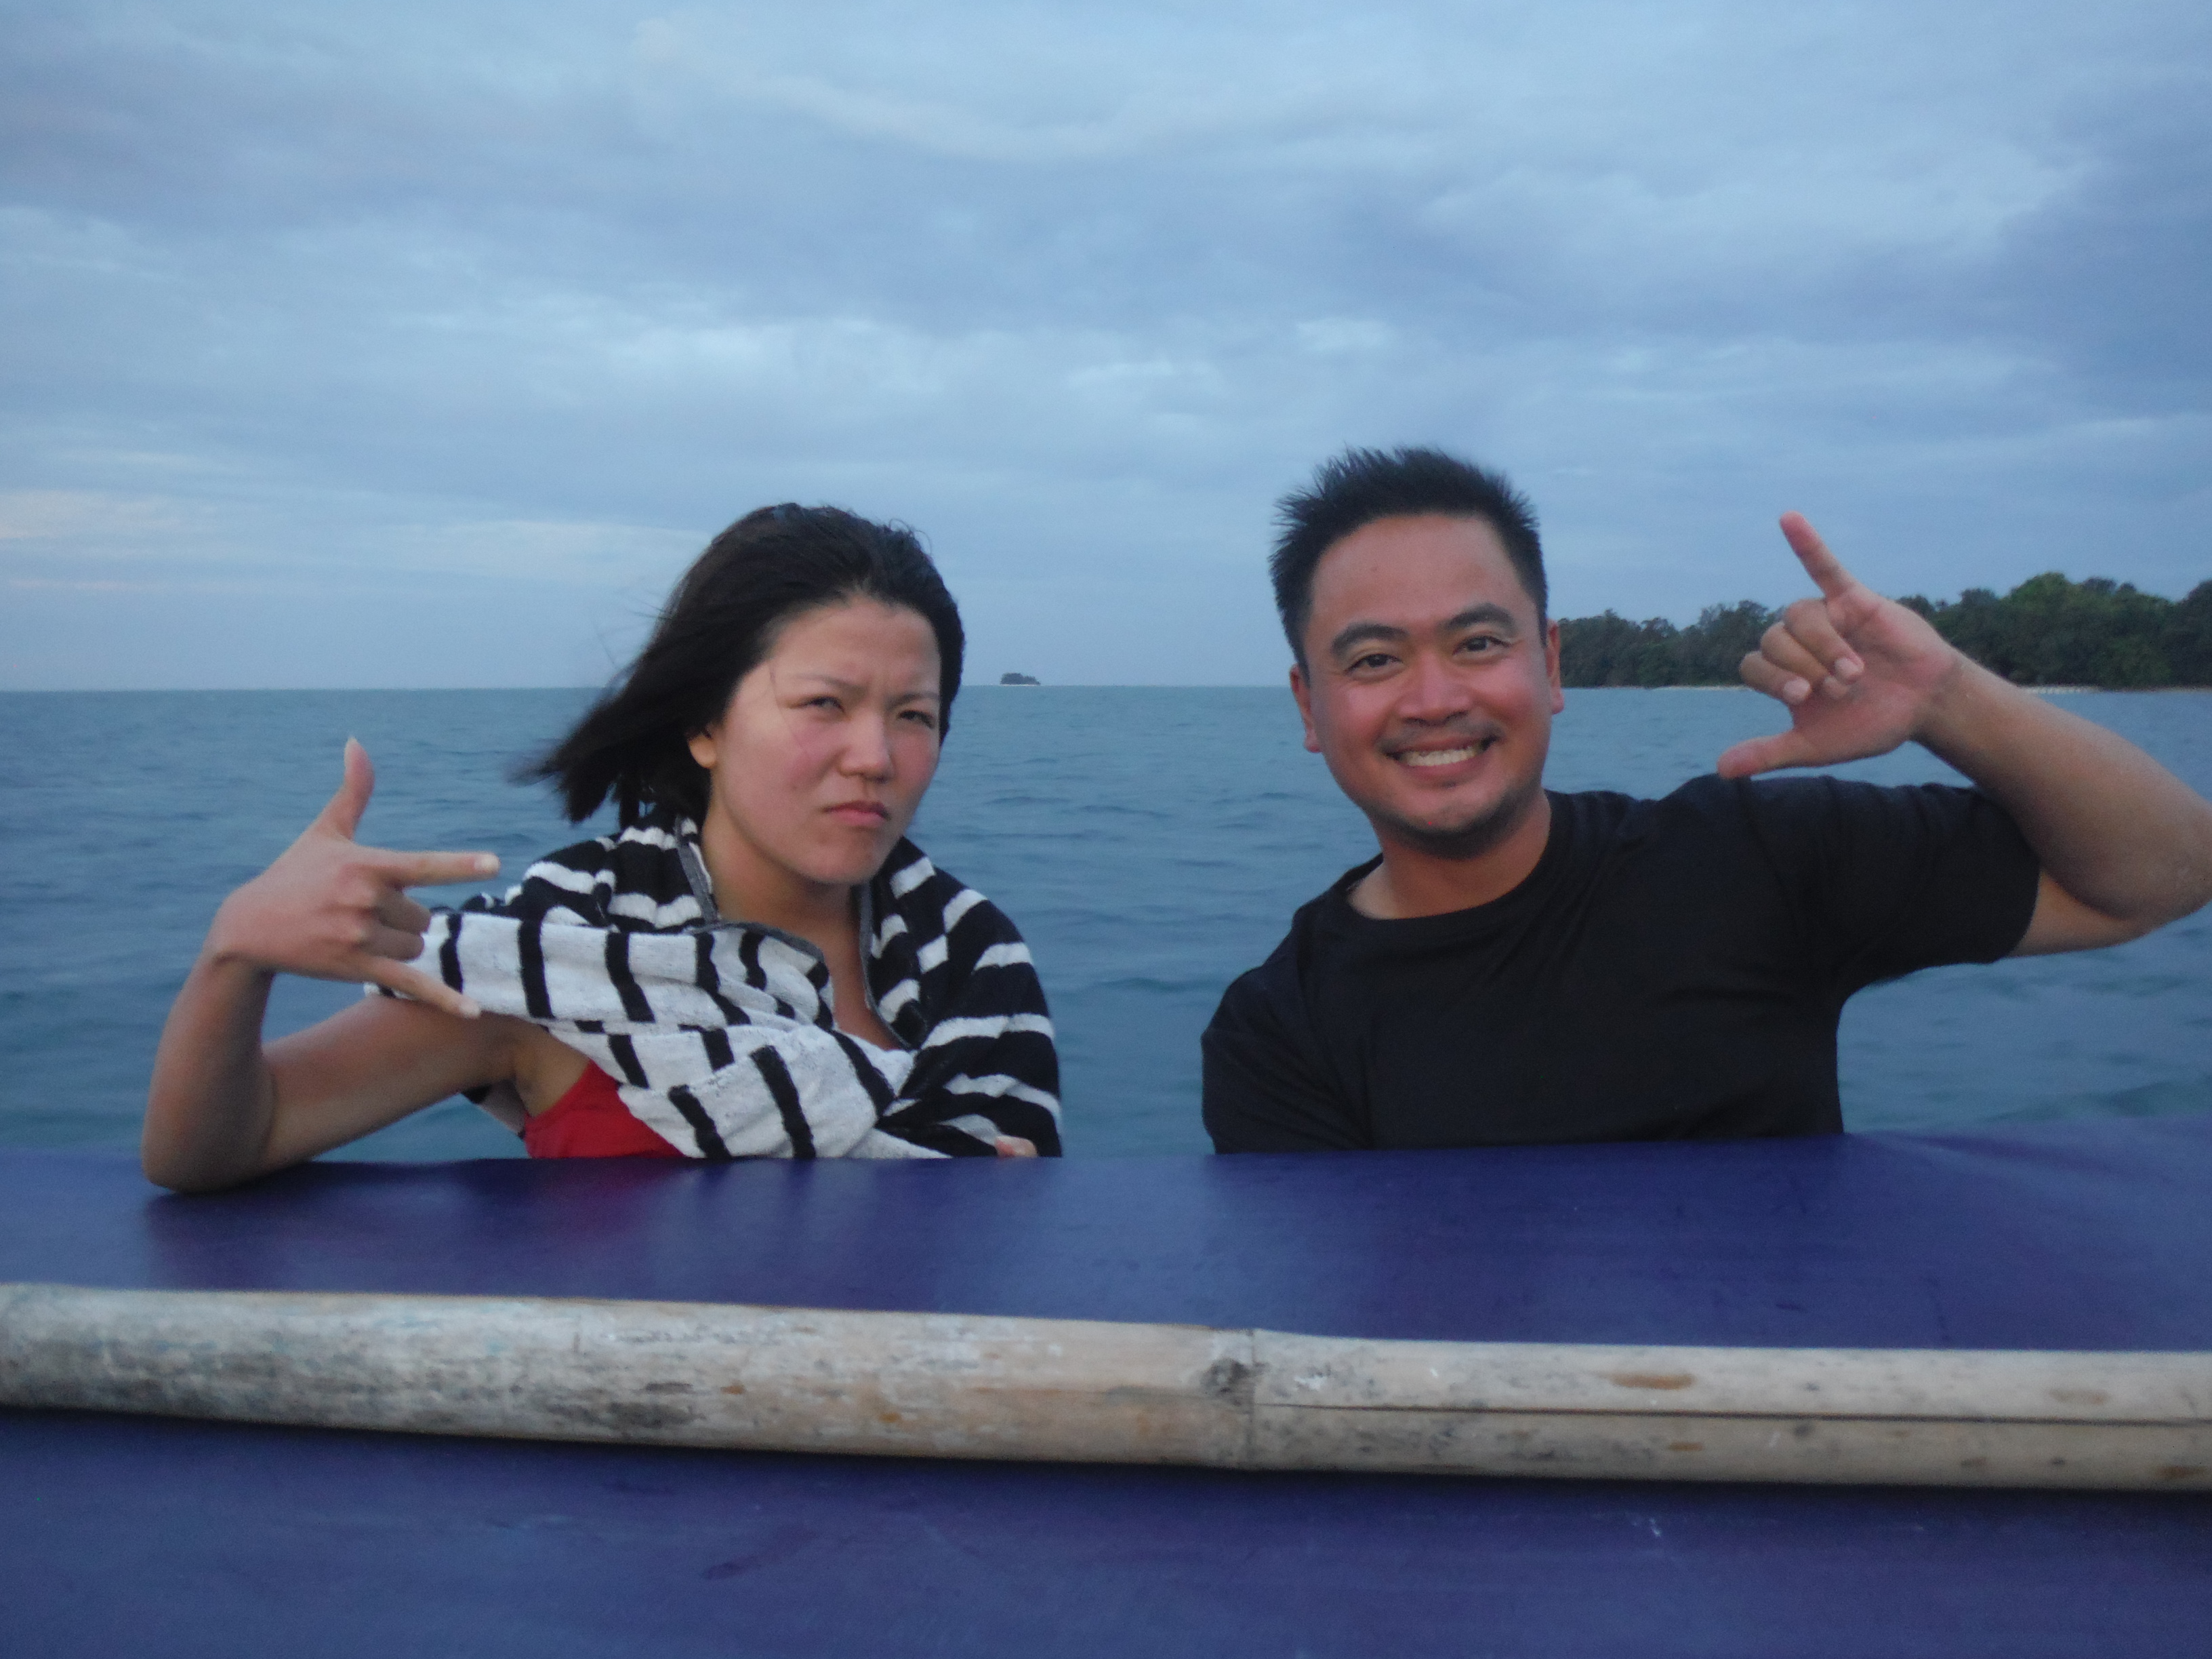
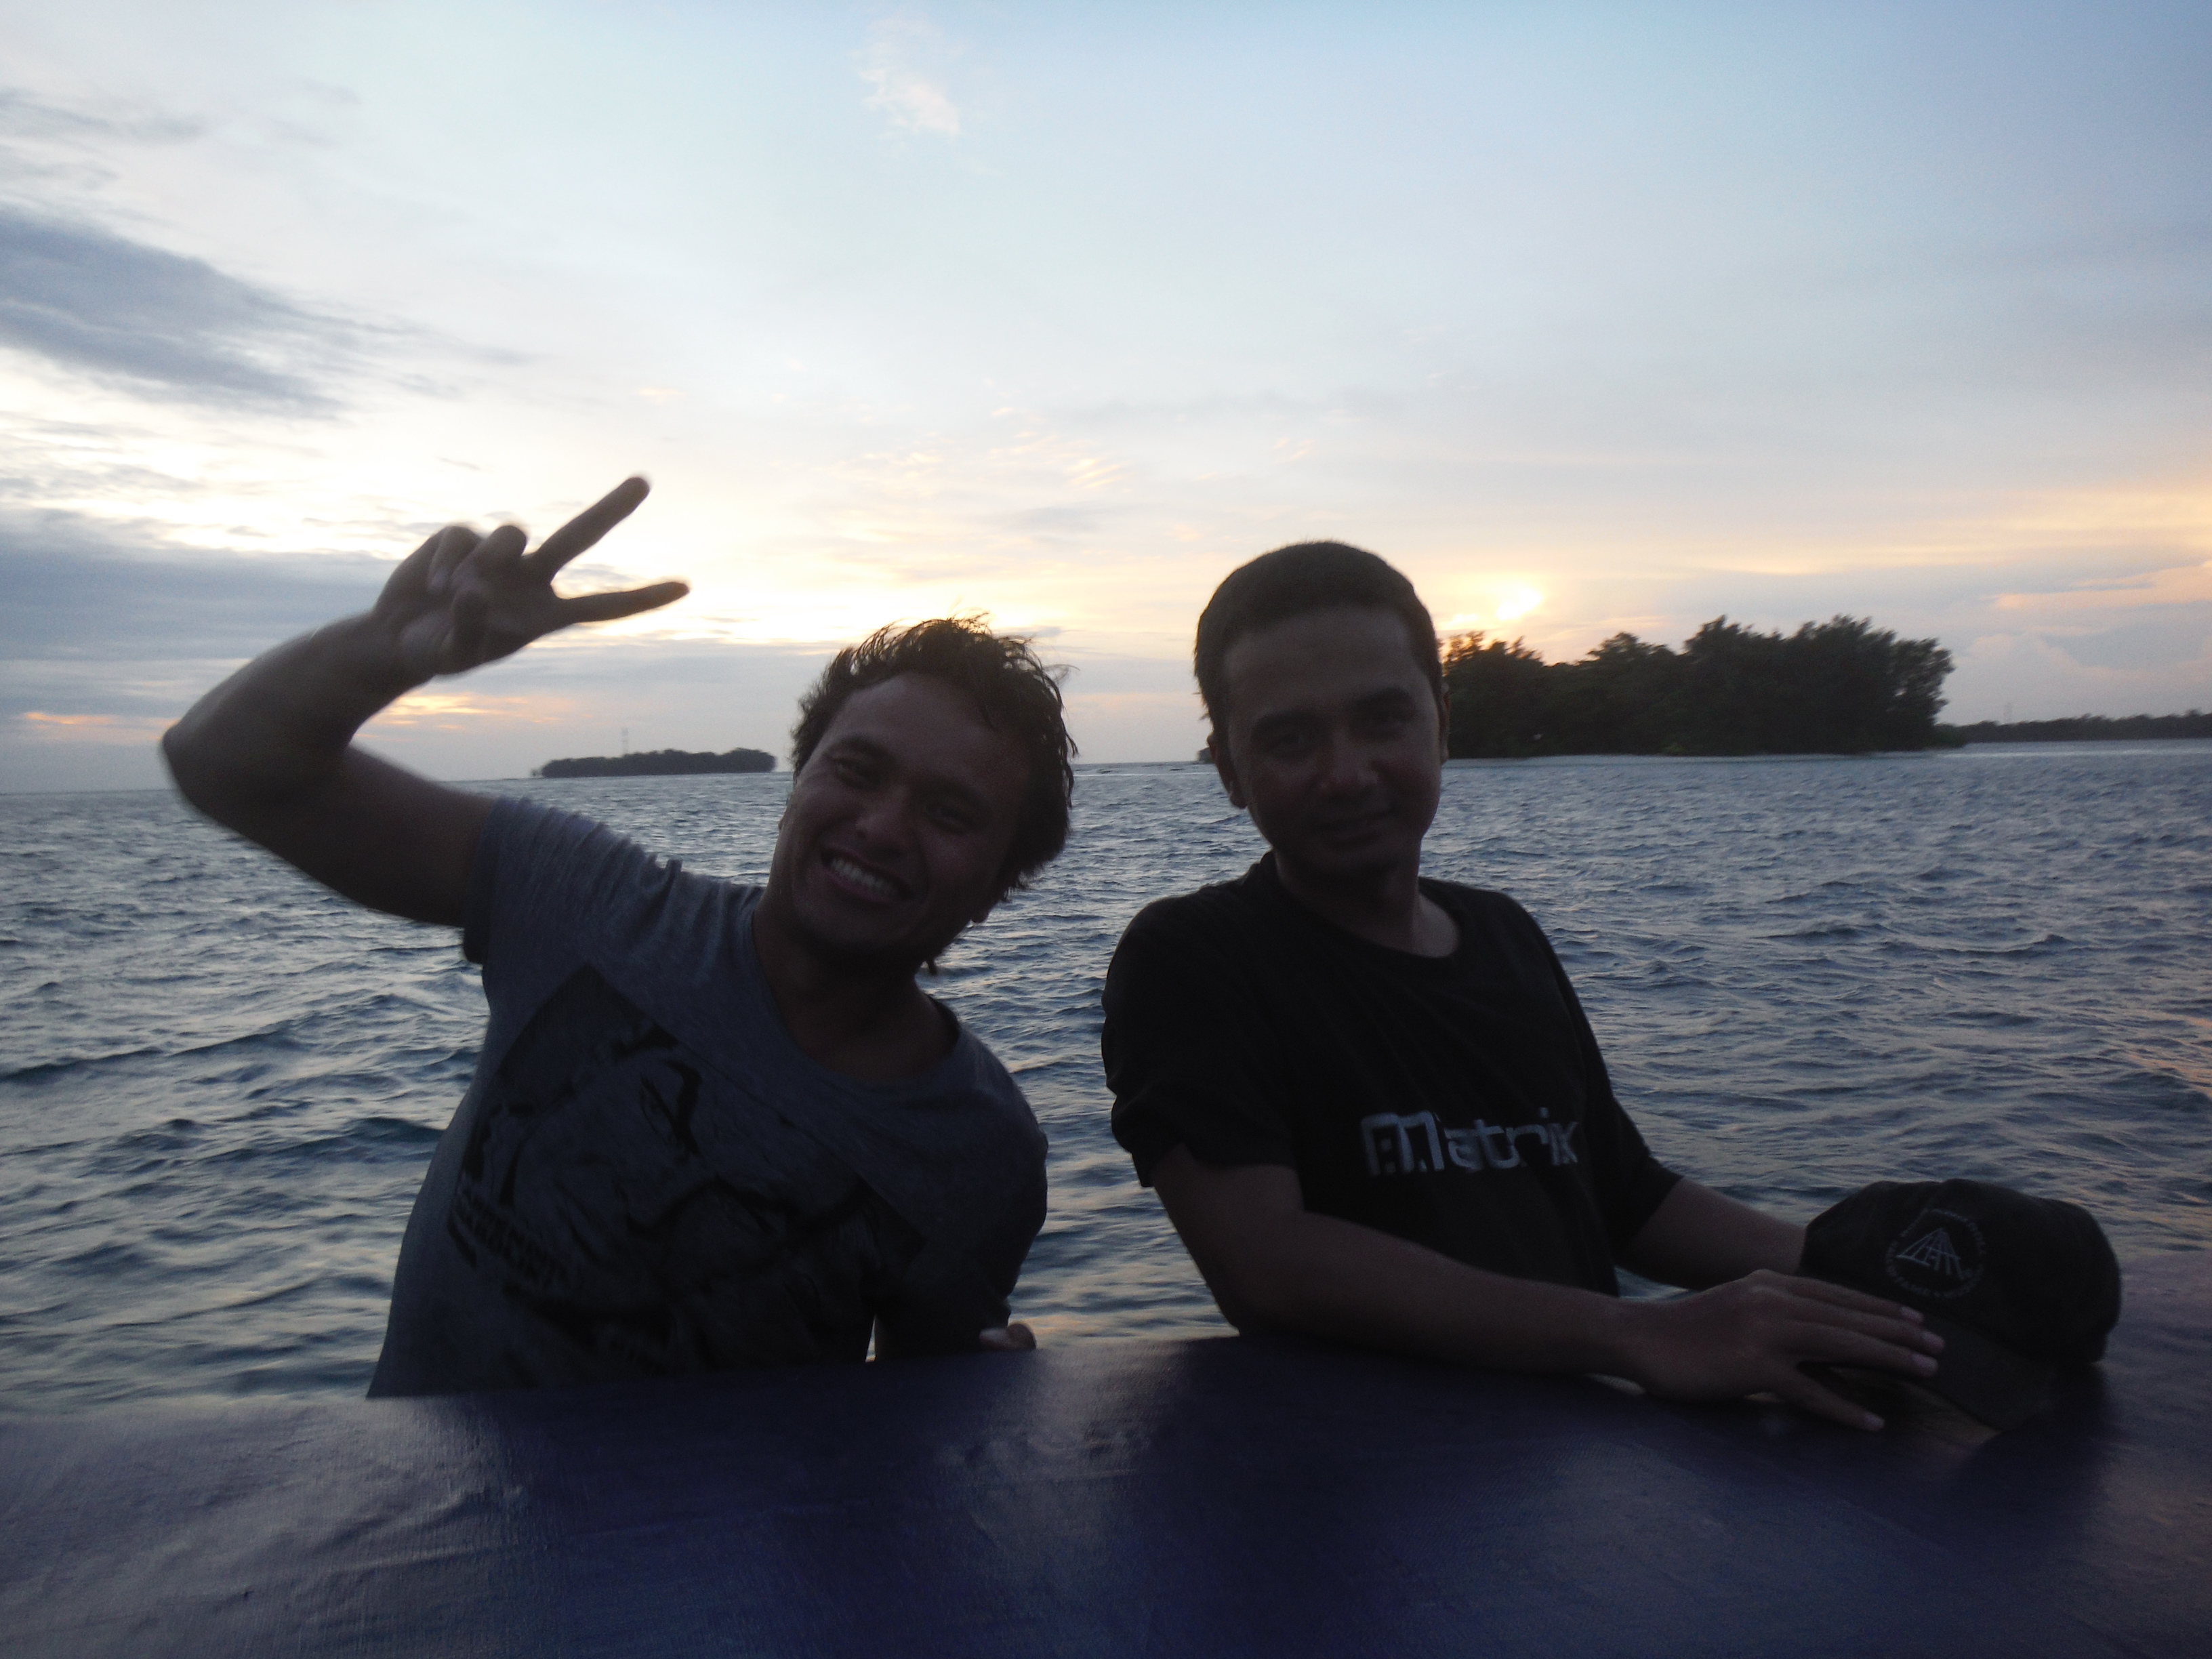
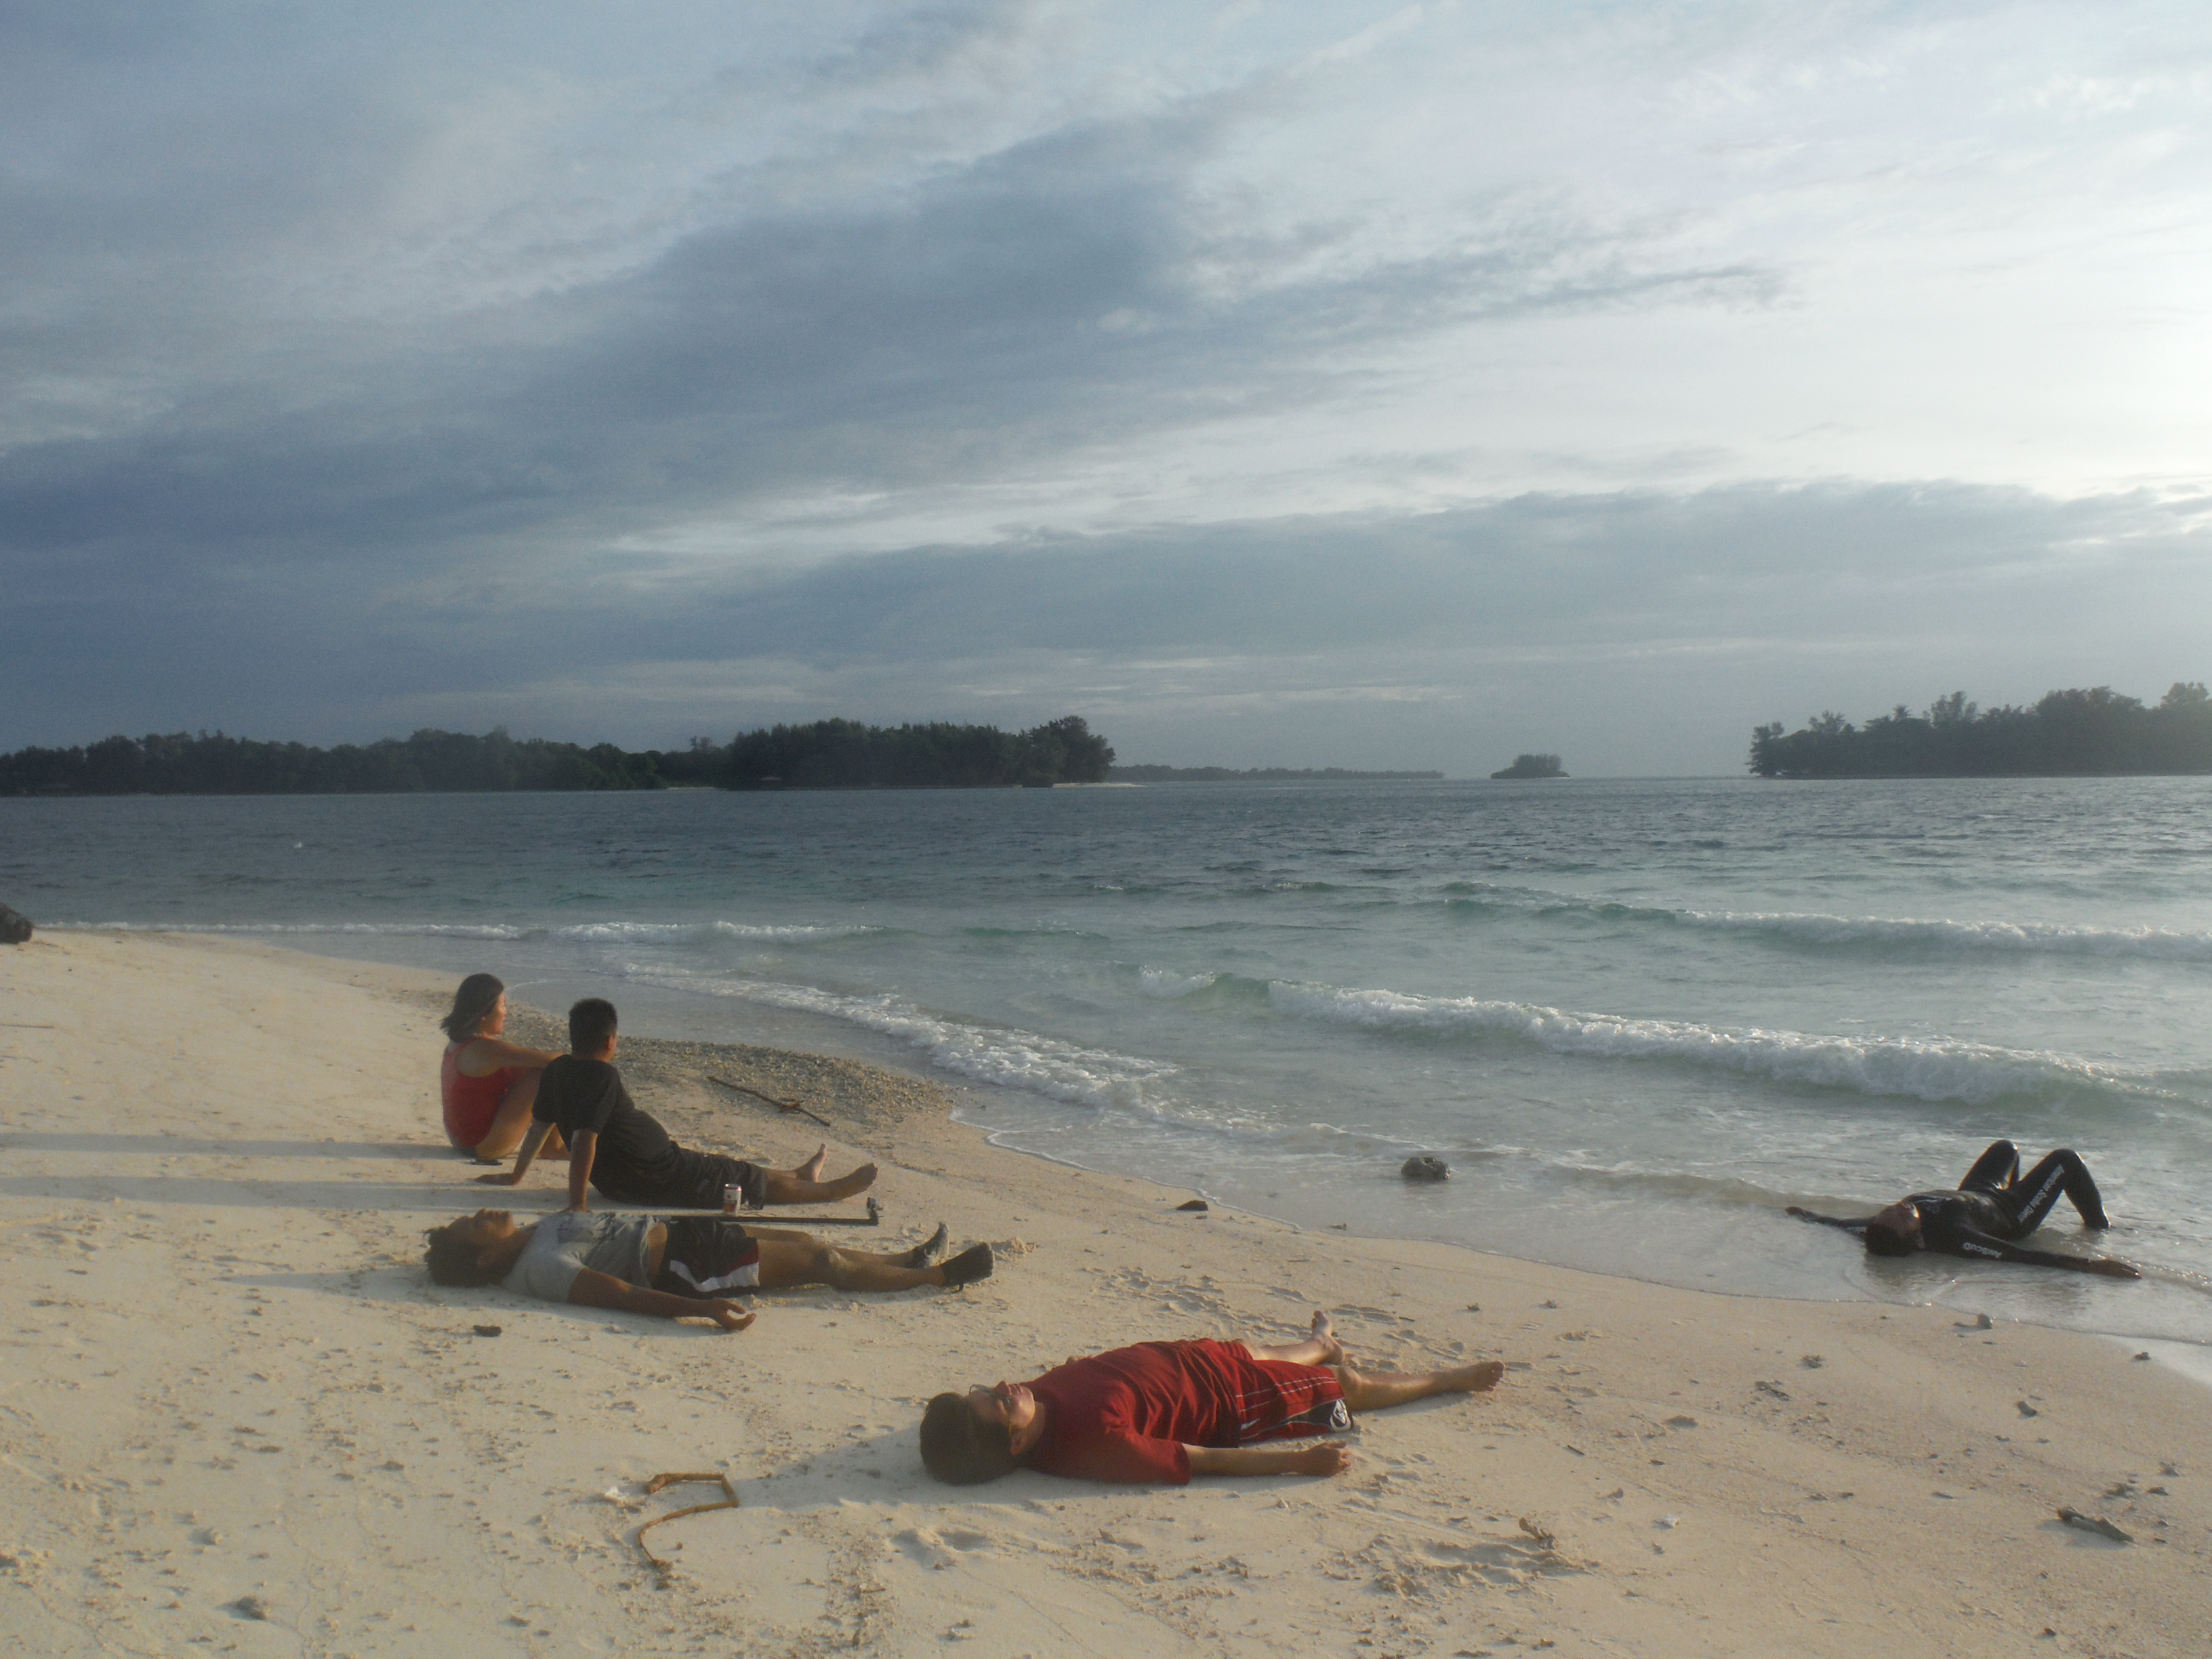
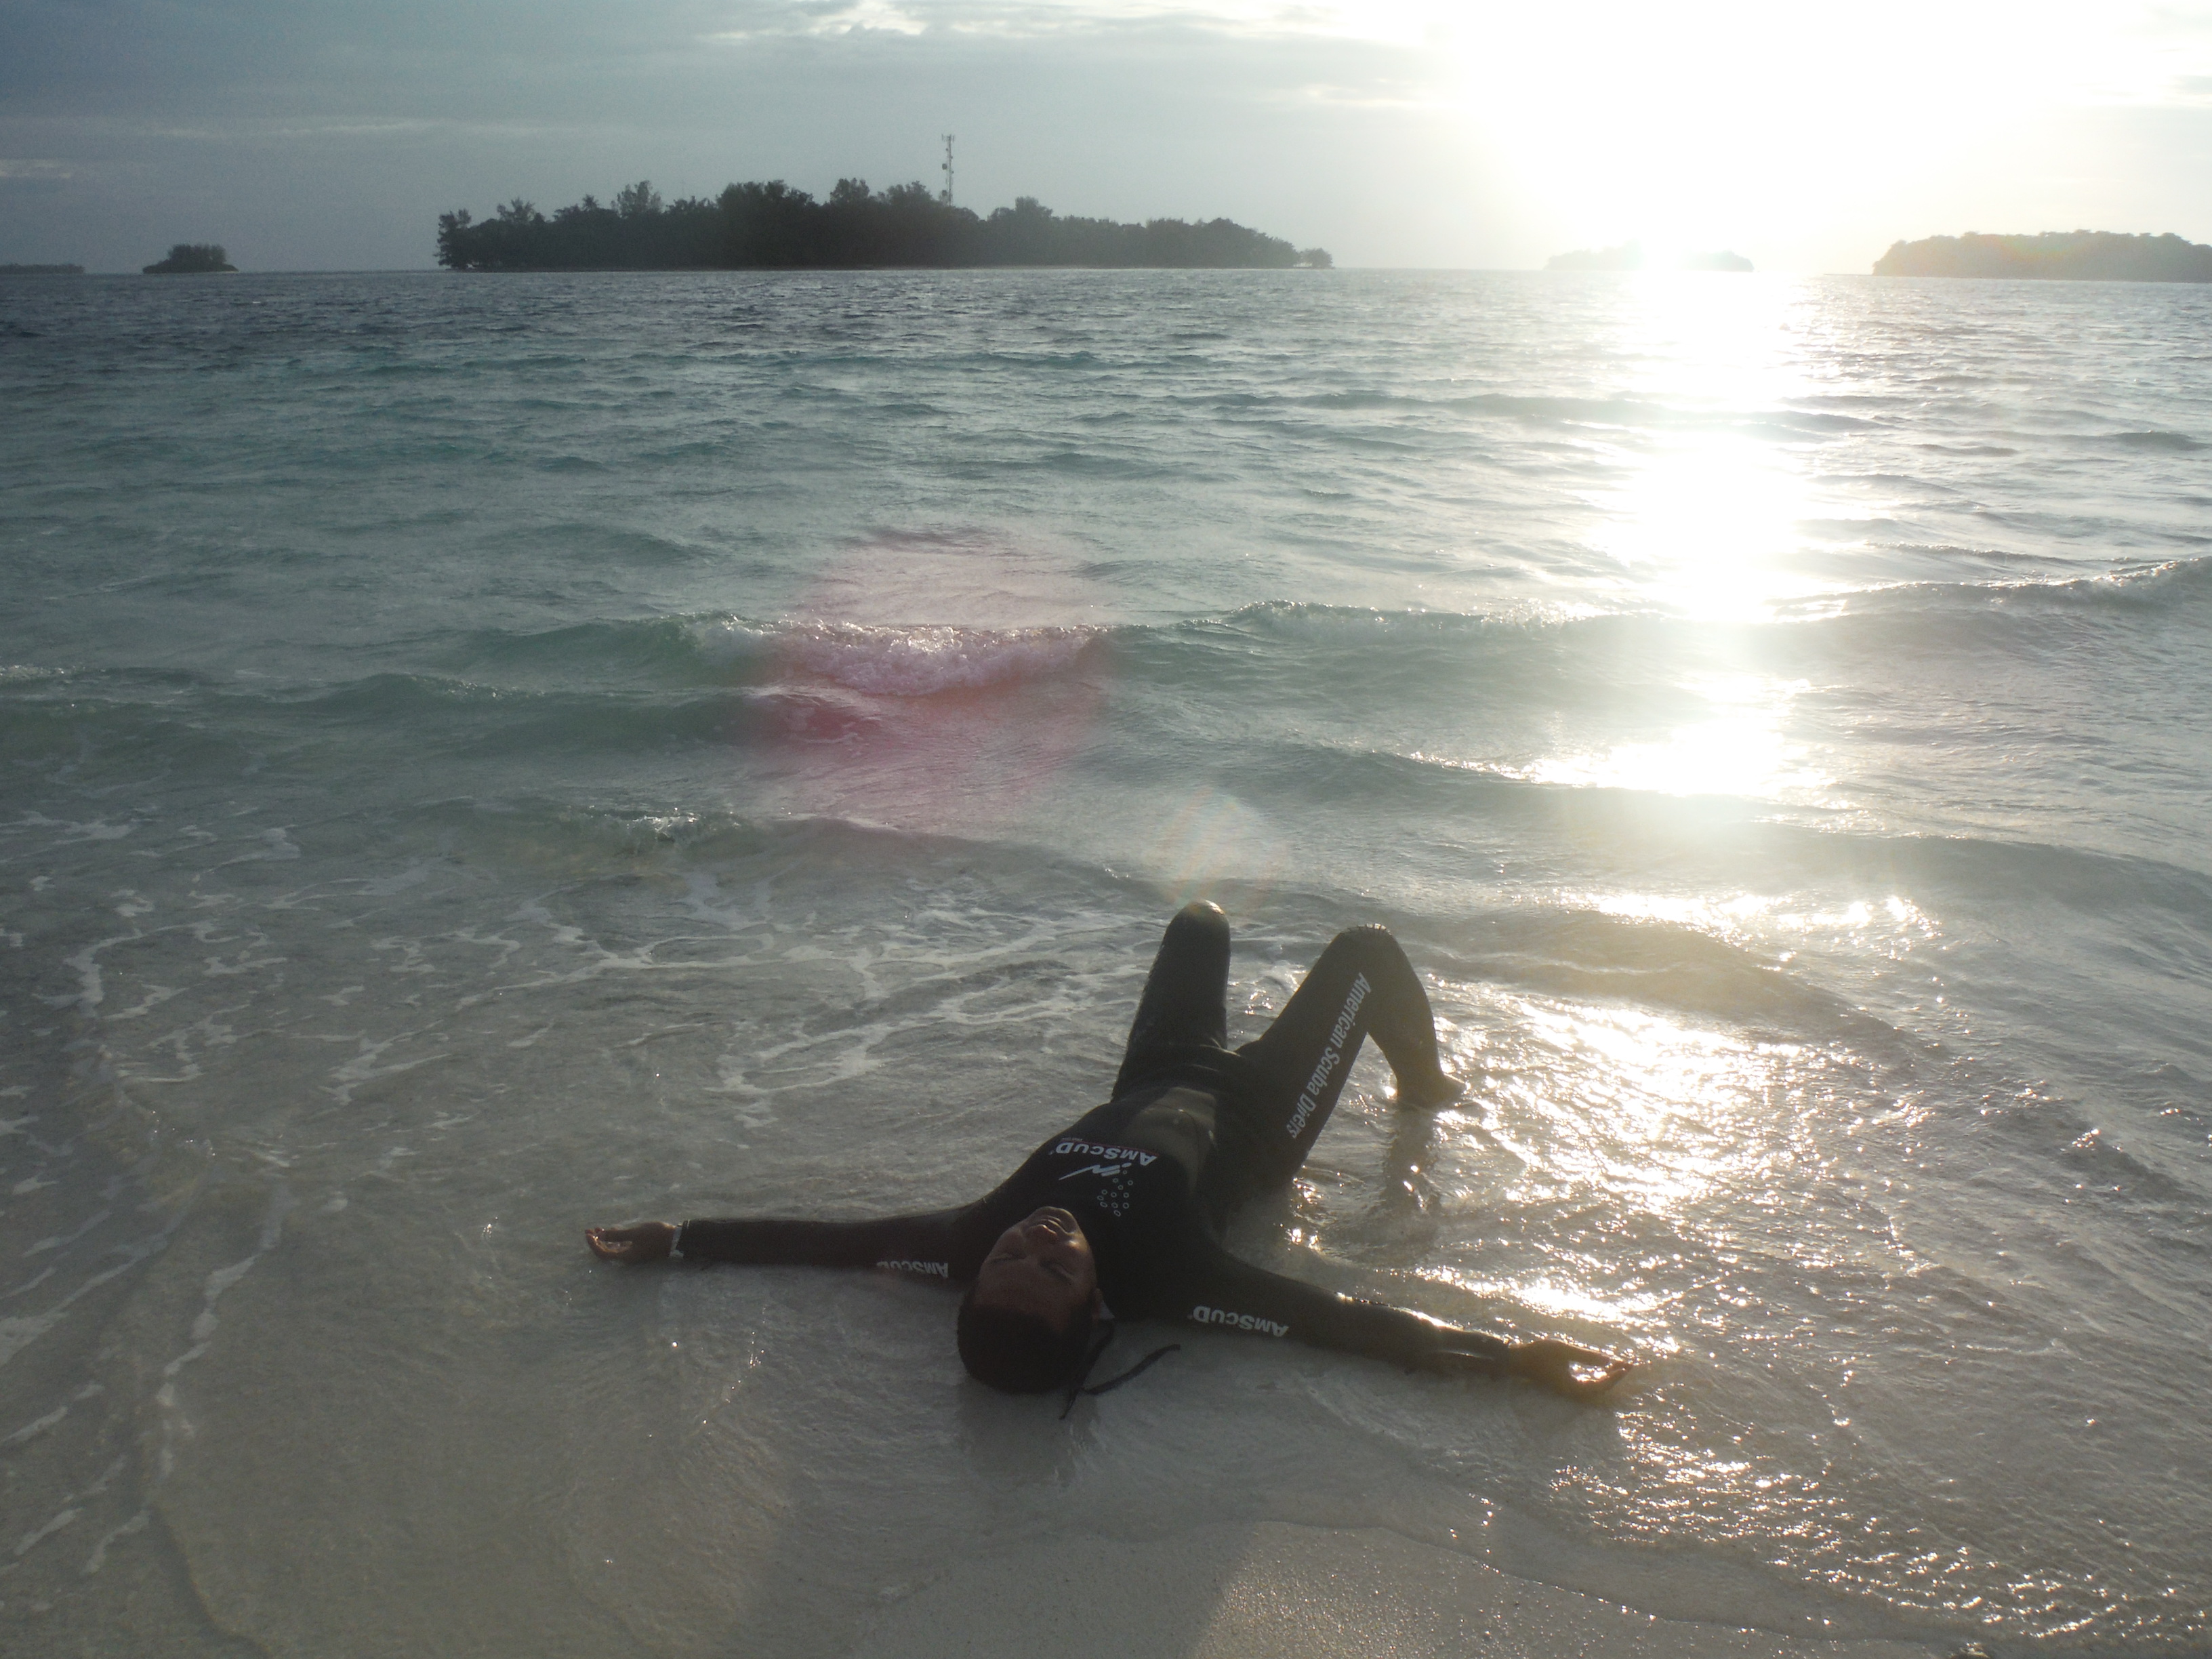
So the group this time was bigger then just the BUMS (me and mark) and it was fun having a slightly bigger group. We had Rafie join us, Widdy (Rafies work mate) and Vero (my work mate). We went to the usual dive locations but this time because of the choppy seas the silt was kicked up from the ocean bed and it made the visibility pretty bad and this did put a slight dampen on our expectations but … it didn’t matter cause we were in the water and some locations were much better then others and did have some slight visibility.
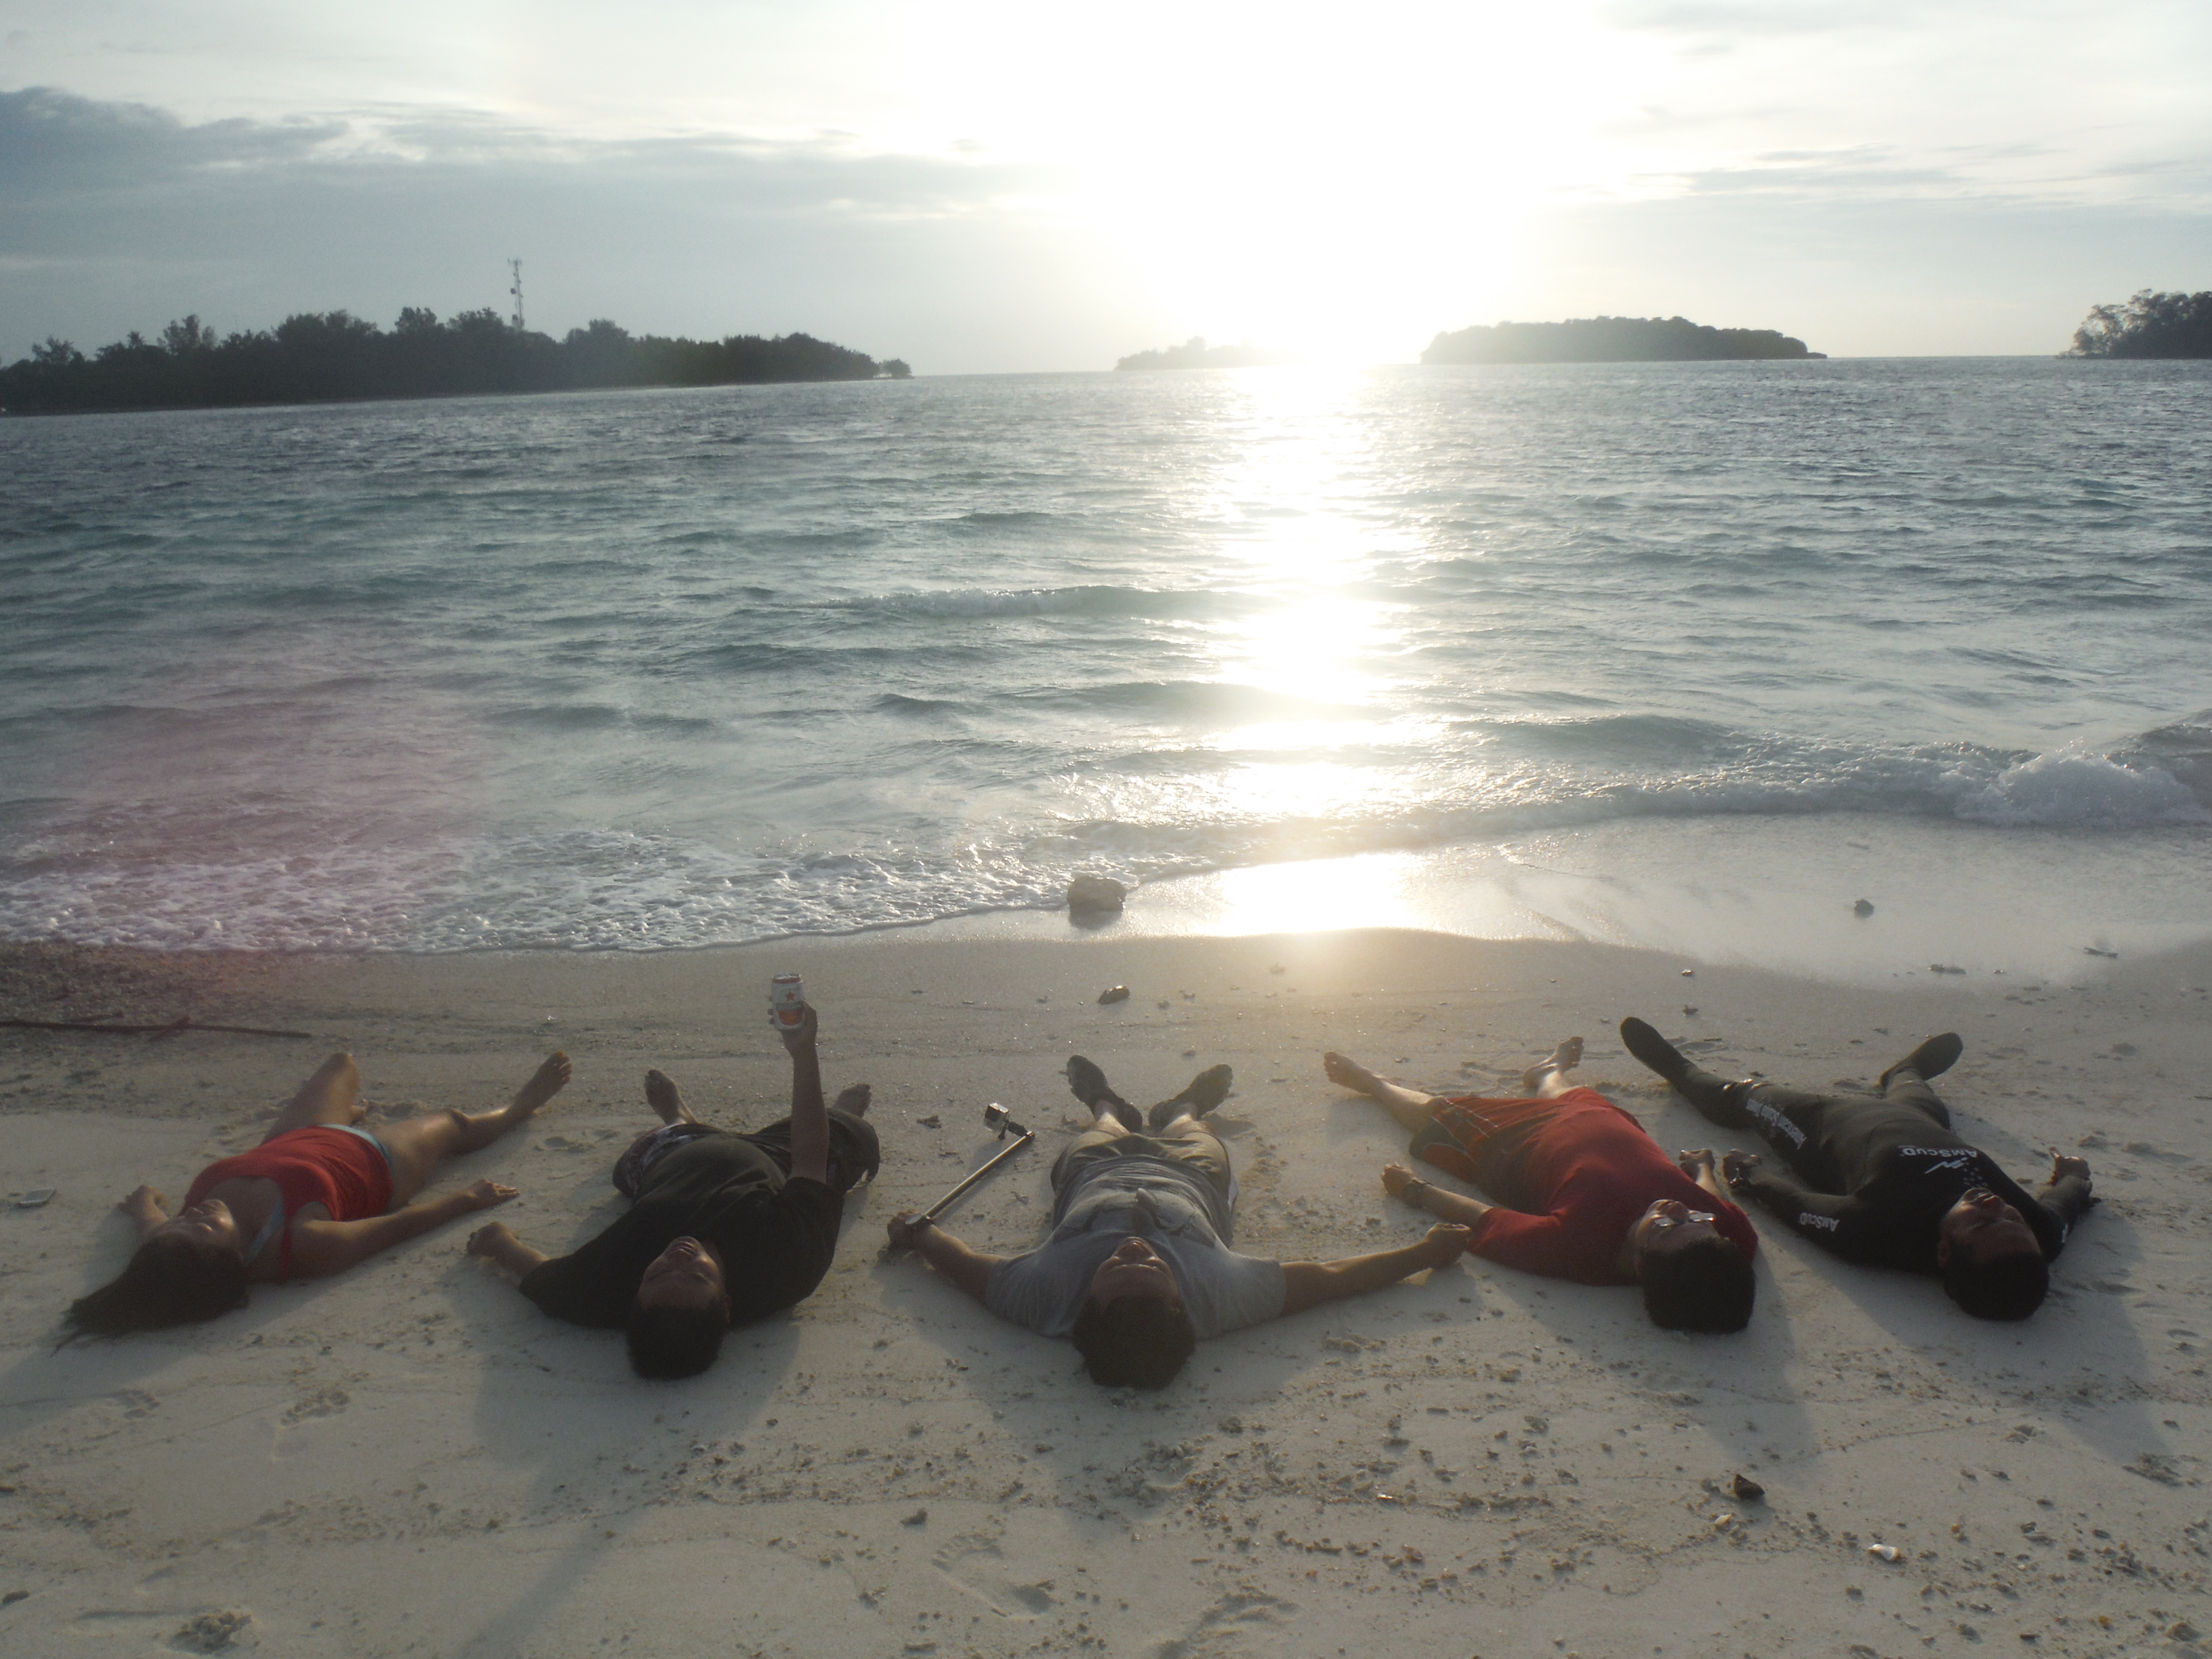
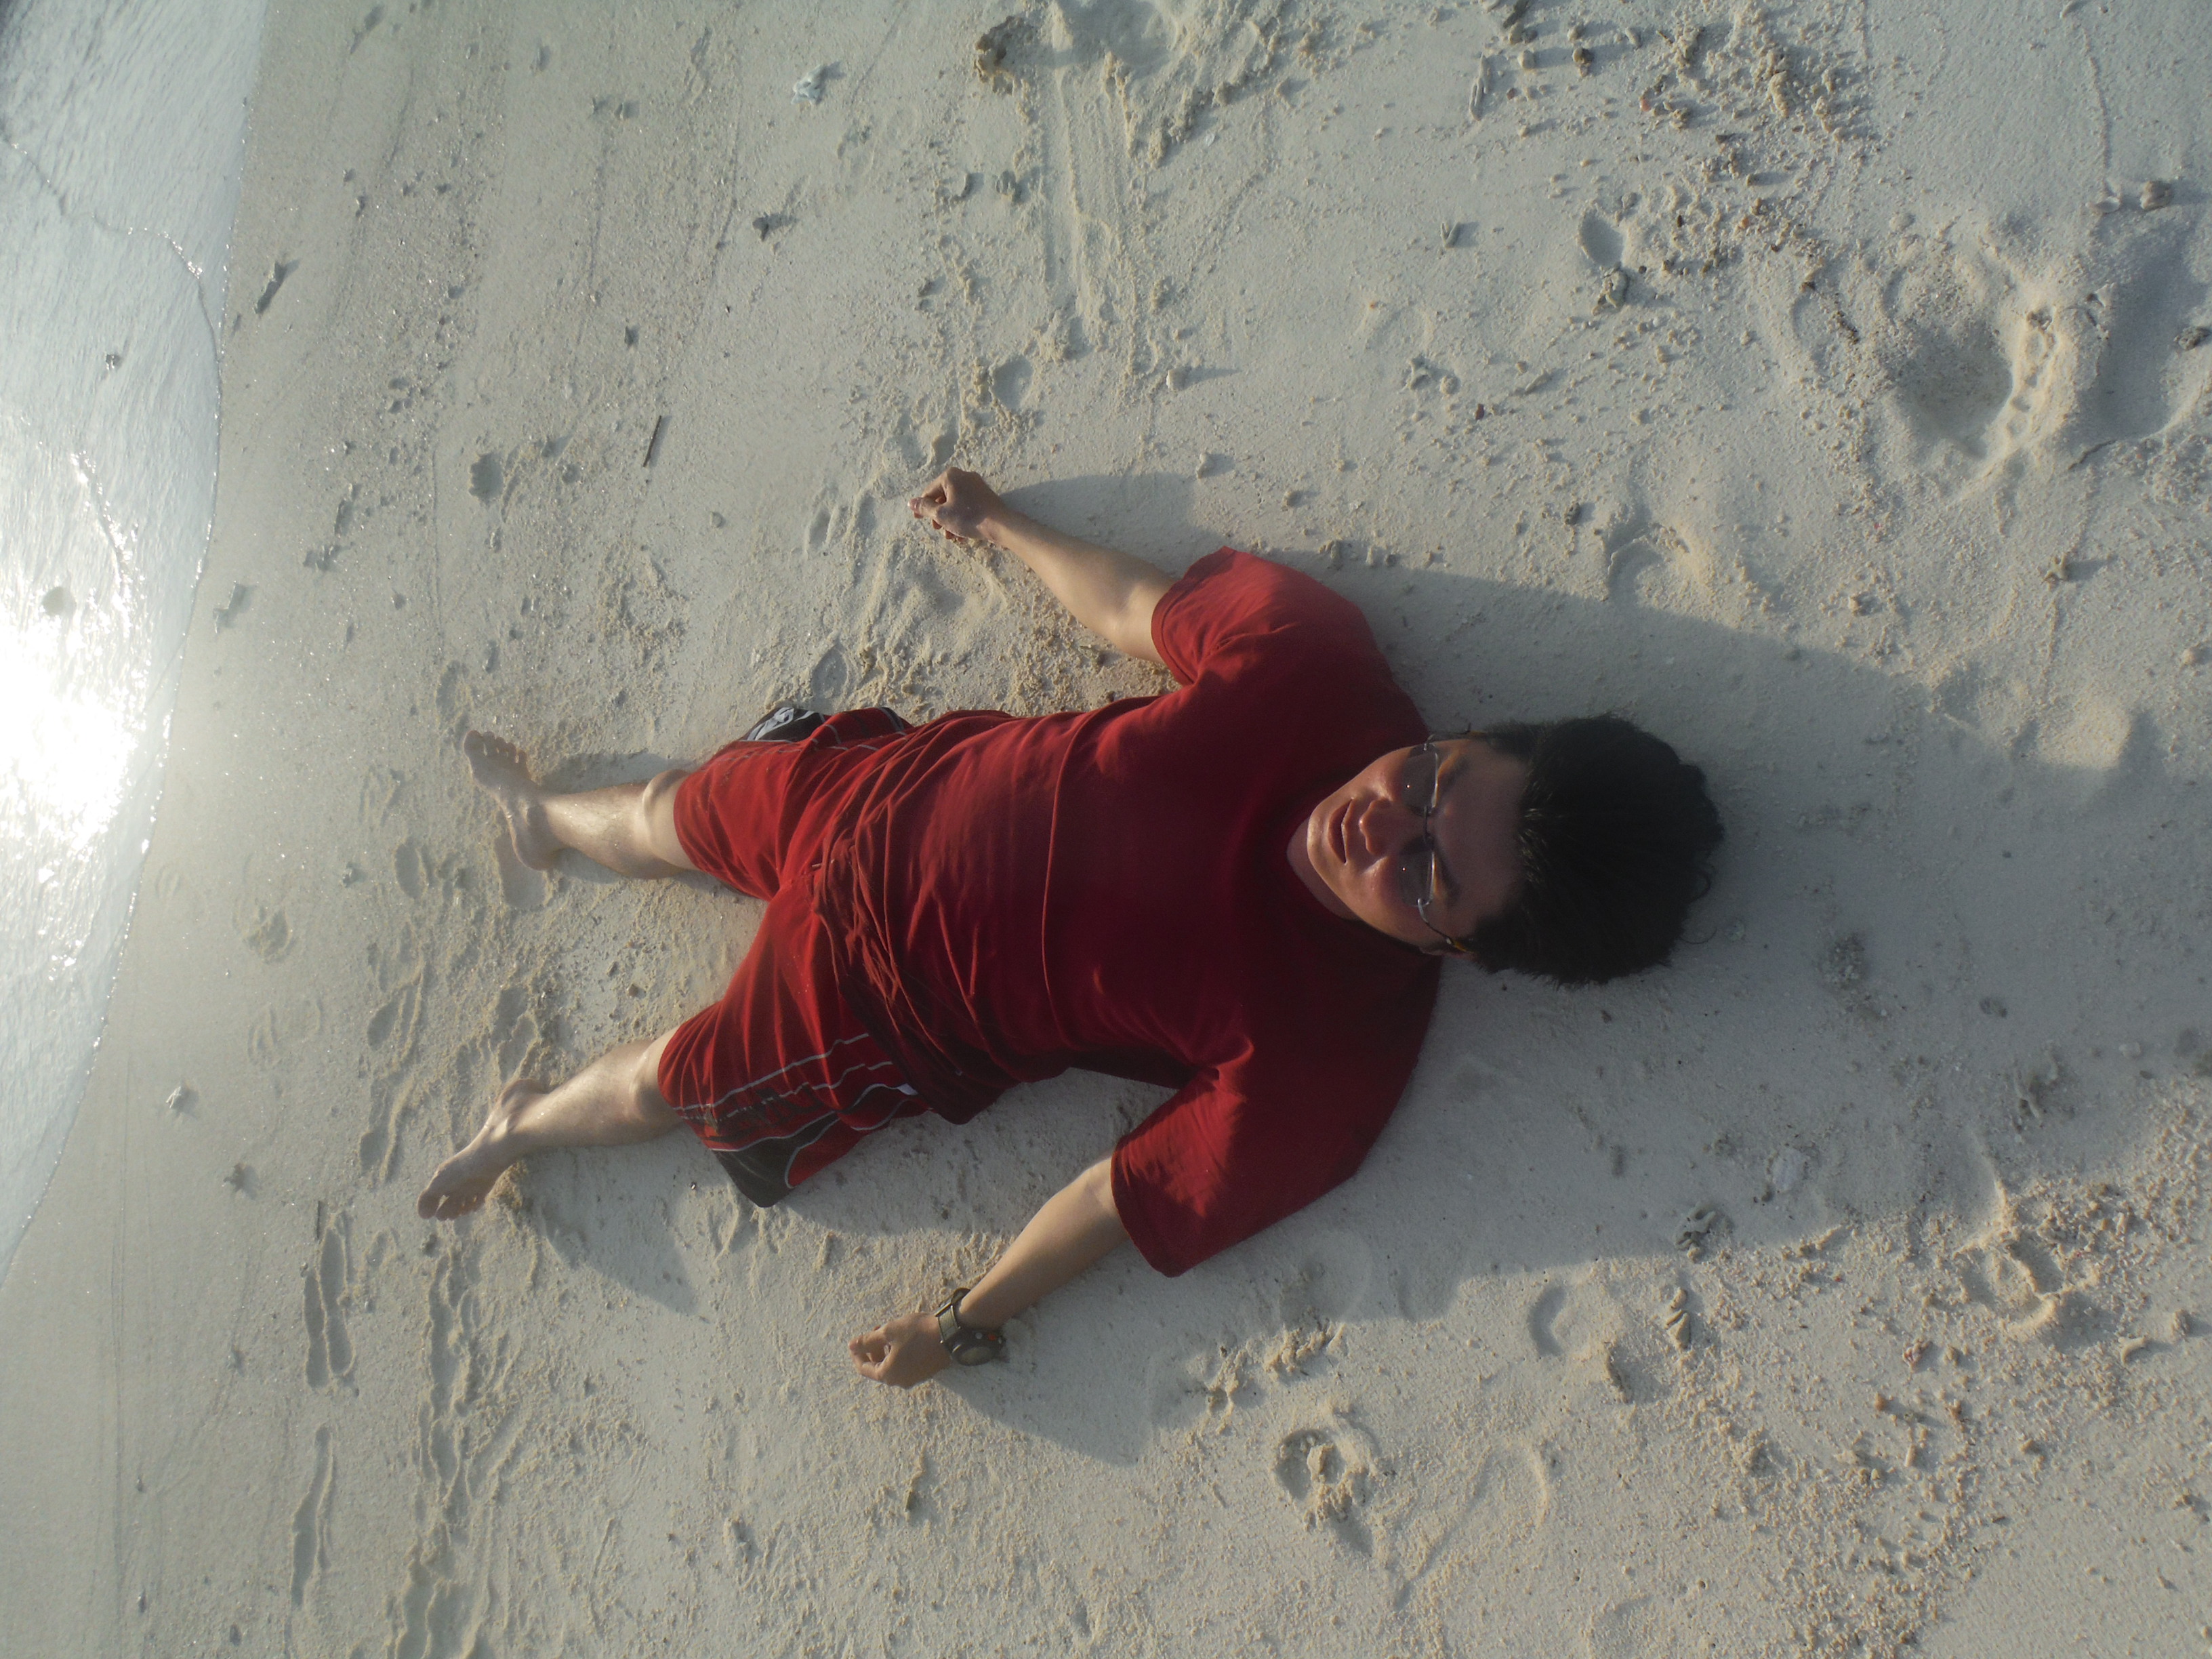
So in the group we had 2 light skinned guys Widdy and Vero and 3 dark skinned guys, Mark, me and Rafie. So as the 3 of us went black, Widdy and Vero got red. The biggest standout was Widdy, it looked like he had a red mask and vest on HAHAHA ! Thanks for being a good sport mate … hope you are now recovered and its not peeling to bad.
My skin started to peel after a day and I looked like two-face from batman, people at the malls probably thought I had a skin disease HAHAHA WHATEVER … The sun burn mostly occurred on the first day because the sun was out and strong. Come the second day it was a totally different story.
That night after we got home all painful and burnt we had dinner then played big 2 … yeah big 2 … I don’t really wanna talk about it LOL … dumb game … had to many issues with the cards I was being dealt so didn’t do too well (plus maybe i’m just shit I don’t know)
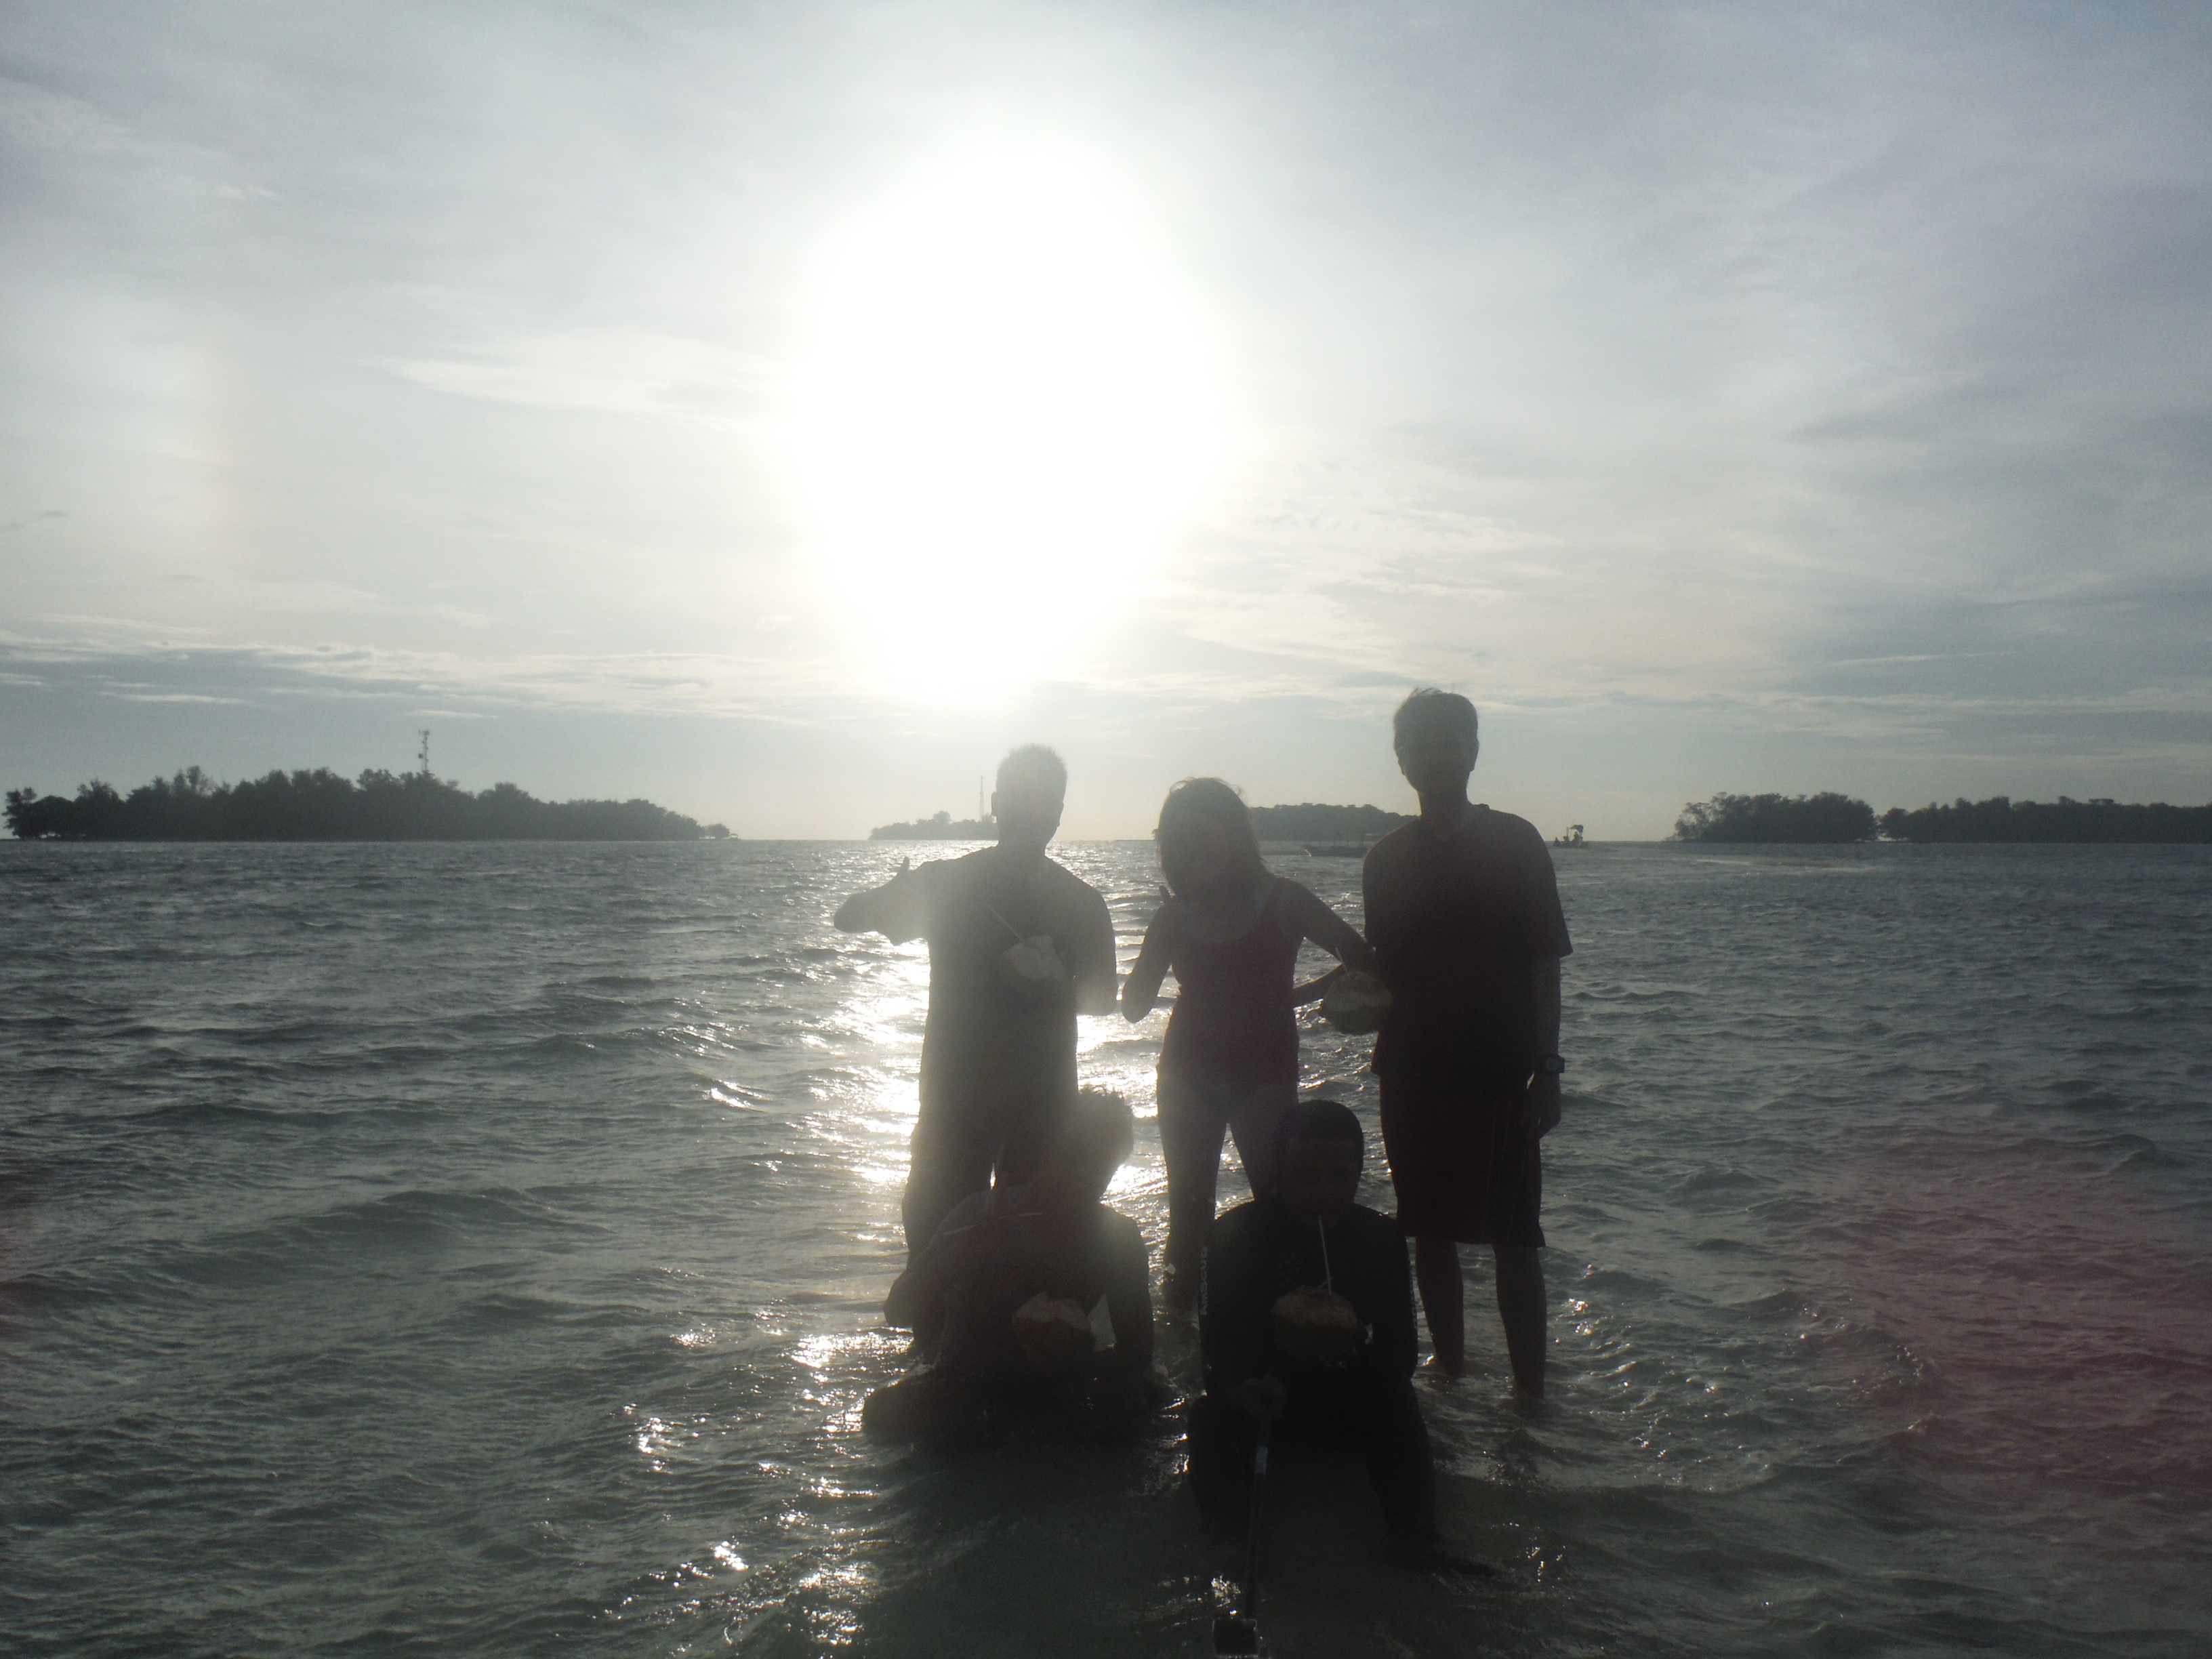
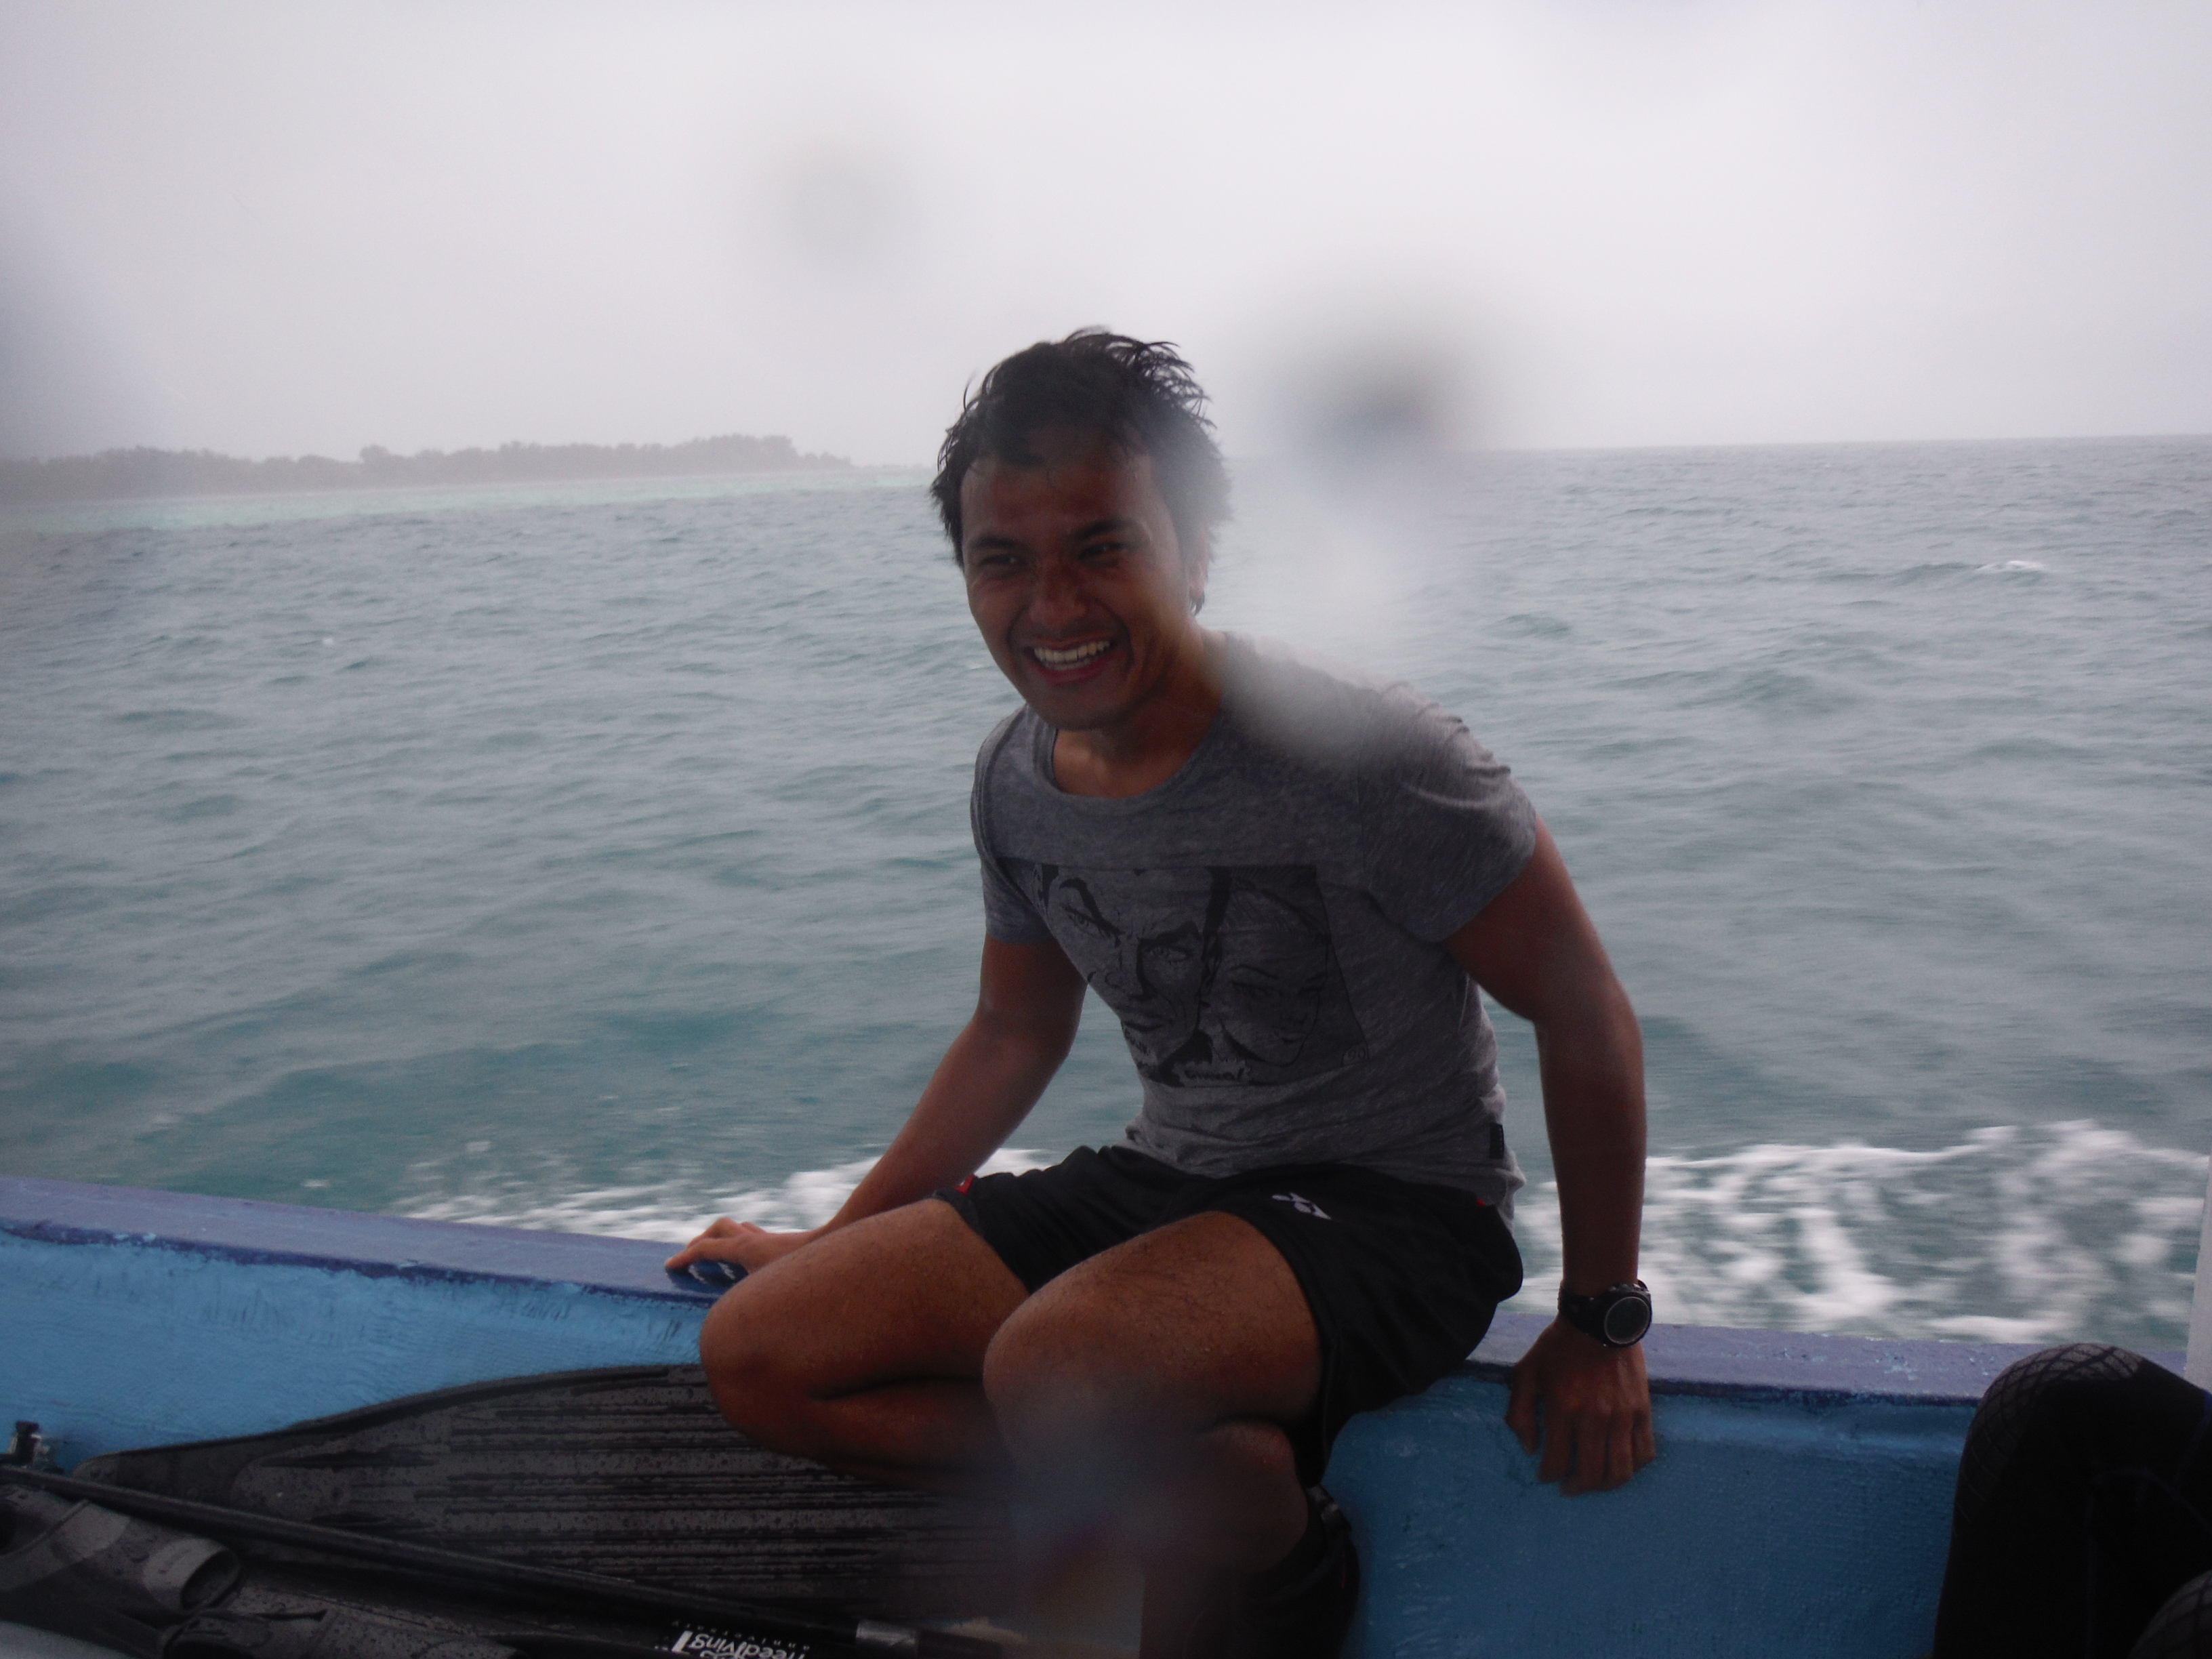
So on the second day it was a completely different atmosphere. The weather was gloomy and it started to rain as well. When we woke up the rain was pretty strong .. BUT .. it didn’t matter. We went out and to our surprise pulau perak (where we went diving on this very rainy day) was still very nice and relatively clear. We were able to still have some fun, see some fish and rafie was able to practice his dives and managed to reach the first double digit mark of 10m which is his PB and only second time in open water training.
The boat ride during the rain is actually very different, the water splashing on you and the large waves moving the boat side to side makes for a very different experience. Either way it was fun and a change from the normal boat rides I have experienced when I went to pualu seribu.
So … yeah … another successful weekend in one of the most awesome and cheapest countries to go for weekend trips I must say. Check out the video above to see a summary of our weekend !
… And thanks for coming to the new guys, hope to see you on the next outing 🙂
The goal was to get Rafie down to 10m. It’s his 2nd open water since he started diving 5 months ago when he did his first open water only after hearing about free diving 3 days before 😛 So if you look at it that way its really his first open water since he knew what free diving actually was !
Anyway Rafie has made some good progress since he started, he has a breathe hold PB of 3:23, dynamic of 50m with fins, dynamic 25m with exhale and not sure about no-fins (what is it ya ?)
One of the hardest things to practice when your in really shallow pools or even in pools that max out at 4-5 meters is
Equalisation (you might be able to do it at 3m, 4m, maybe 5m but after you start to get deeper and deeper things change because the pressure gets more intense)
Kicking down – As kicking down is different to kicking horizontally (well not really) but because your orientation is different your mind plays games on you.
And the most important one is staying calm in the open water were you don’t know whats below you, and were your mind plays all sorts of games on you as you start to get deeper and the surface starts to disappear from sight.
I remember the first time ever that I went down to 15m, I did it with no-fins, I was standing barefooted on the bottom of the ocean, I slowly looked up and thought WTF … why am I here, what am I doing here, how far is it to the top, am I going to make it up swimming without fins and as you start to swim up, every time your not at the surface nervousness slowly sets in.
This simply goes away after the first time you do it and make it back to the surface cause you understand what 15m means, you understand that its not like all the previous experiences when your practicing in a pool and getting to the surface is a matter of pushing really hard from the bottom of the pool and your back to the surface to take in that air. You understand that you have to swim up slowly, calmly and just enjoy the ride up.
These are the things you get in open water and why sometimes you perform really well in the pool but when your in the ocean your kicking is messed up and your not equalising well (things you do easily in the pool). Seems like all these things are a function of how calm and relaxed you are.
So we bought Rafie into the ocean and it took about 6 dives to get him down to 10m. At the start equalisation was the problem but after we got over that and started to reach depths of greater then 5m it was more about staying calm.
On this particular weekend the visibility was terrible so you couldn’t see anything more then 3m or so ahead so it was dark, gloomy and kind of scary. After a while though he got more calm with the darkness and was able to get to 8.3 – 9.3 then finally 10m after almost running into some coral and then crashing into me as well (all in the video :P)
I think he should be able to get much deeper then 10m but first, on the next few open waters it will be good to do nice relaxing dives at < 10m (but up to and on 10m) and enjoy the scenery at that depth when the visibility is much better.
Next open water at the end of January ….. can’t wait 🙂
I have been staying at my cousins place while working here in Indonesia for this 3 month period. This situation is a little different then in the past because at the moment I am working for my own company so I don’t get the lavish apartments and perks that a big company can offer.
It’s all good though cause my cousins place is nice and its good to have family around to talk to and to enjoy the weekends with. We also like to do the same activities so it makes it more fun. One of the bonuses also is my cousin has a pool in his backyard though one of the negatives is that the pool is extremely shallow, about 1.5m, and really short (about 10m) so its not really good for freediving practice in the normal sense.
However there are many great exercises you can do with a pool this size. The first and most common one is static apnea, the second is you can practice your kicking by pushing up against the wall and simple kicking with or without fins. The next exercise you can do is your stroke, specially if you like to do no-fins.
The final one that I like to practice is the Exhale or FRC breath hold. There are many definitions of what an exhale dive is and I am by far not an expert in this as I will learn more about this in the advanced course however I practice this so that I can get better times on my normal static apnea and it makes me very negatively buoyant so I can stay at the bottom of the pool and do dynamic no fins without weights or without having to fight to stay down in such a shallow pool.
Since I practiced this method of breath hold I have been able to get basic breath hold times to mid 3 minute mark very easily, get to mid 4’s OK but have not yet been able to beat my PB of just over 5minutes. I think though this is more mental and probably just need to work on keeping calm more towards the end of a breathe hold.
I know that with exhale there is a lot of risk and hence I don’t forcefully exhale, I simple exhale just till my body gets negatively buoyant and I sink to the bottom of the pool. I have seen some of the diving champions reverse pack, and exhale to get complete empty lungs but because I don’t know the effects and haven’t officially learnt it I wont experiment to much other then to exhale enough to be negatively buoyant and swim dynamic and some not to deep < 10m dives. When I officially learn the risks and what to/not to do then I will experiment more.
Anyway, its a great way to train in a shallow pool and still get a lot out of each training session even though the pool is not deep or long.